My Honest Review of the Utah State Advanced Cheesemaking Course
Last week I trekked across Montana, Idaho and down into Utah to Utah State University to attend their advanced cheesemaking course. It was not at all aligned with my cheesemaking goals — be sure to read this review BEFORE taking the course! (Or any course for that matter).
In case you are planning on attending this class I wanted to share my experience. Originally I had planned on attending a class by David Asher last fall, but unfortunately his class within driving distance was canceled.
I was not impressed with this course. Now hear me out - I am not saying that the course itself was bad, or taught useless information or anything like that.. HOWEVER this course was, let’s say, not aligned with my personal cheesemaking goals.
My honest review of the Utah State University Advanced Cheesemaking Course
I like to think of myself as a natural cheesemaker. I use raw milk from my own animals that I have raised, both cows and sheep. I do not pasteurize the milk, I definitely do not homogenize the milk. I don’t use freeze dried cultures, instead choosing to use clabber for all of my cheeses.
With that in mind, this was not the class for me. I am partly to blame for this - I should have done better research and due diligence on this course before enrolling in it. But before we get into all of that, let’s go over the basics of this course quick.
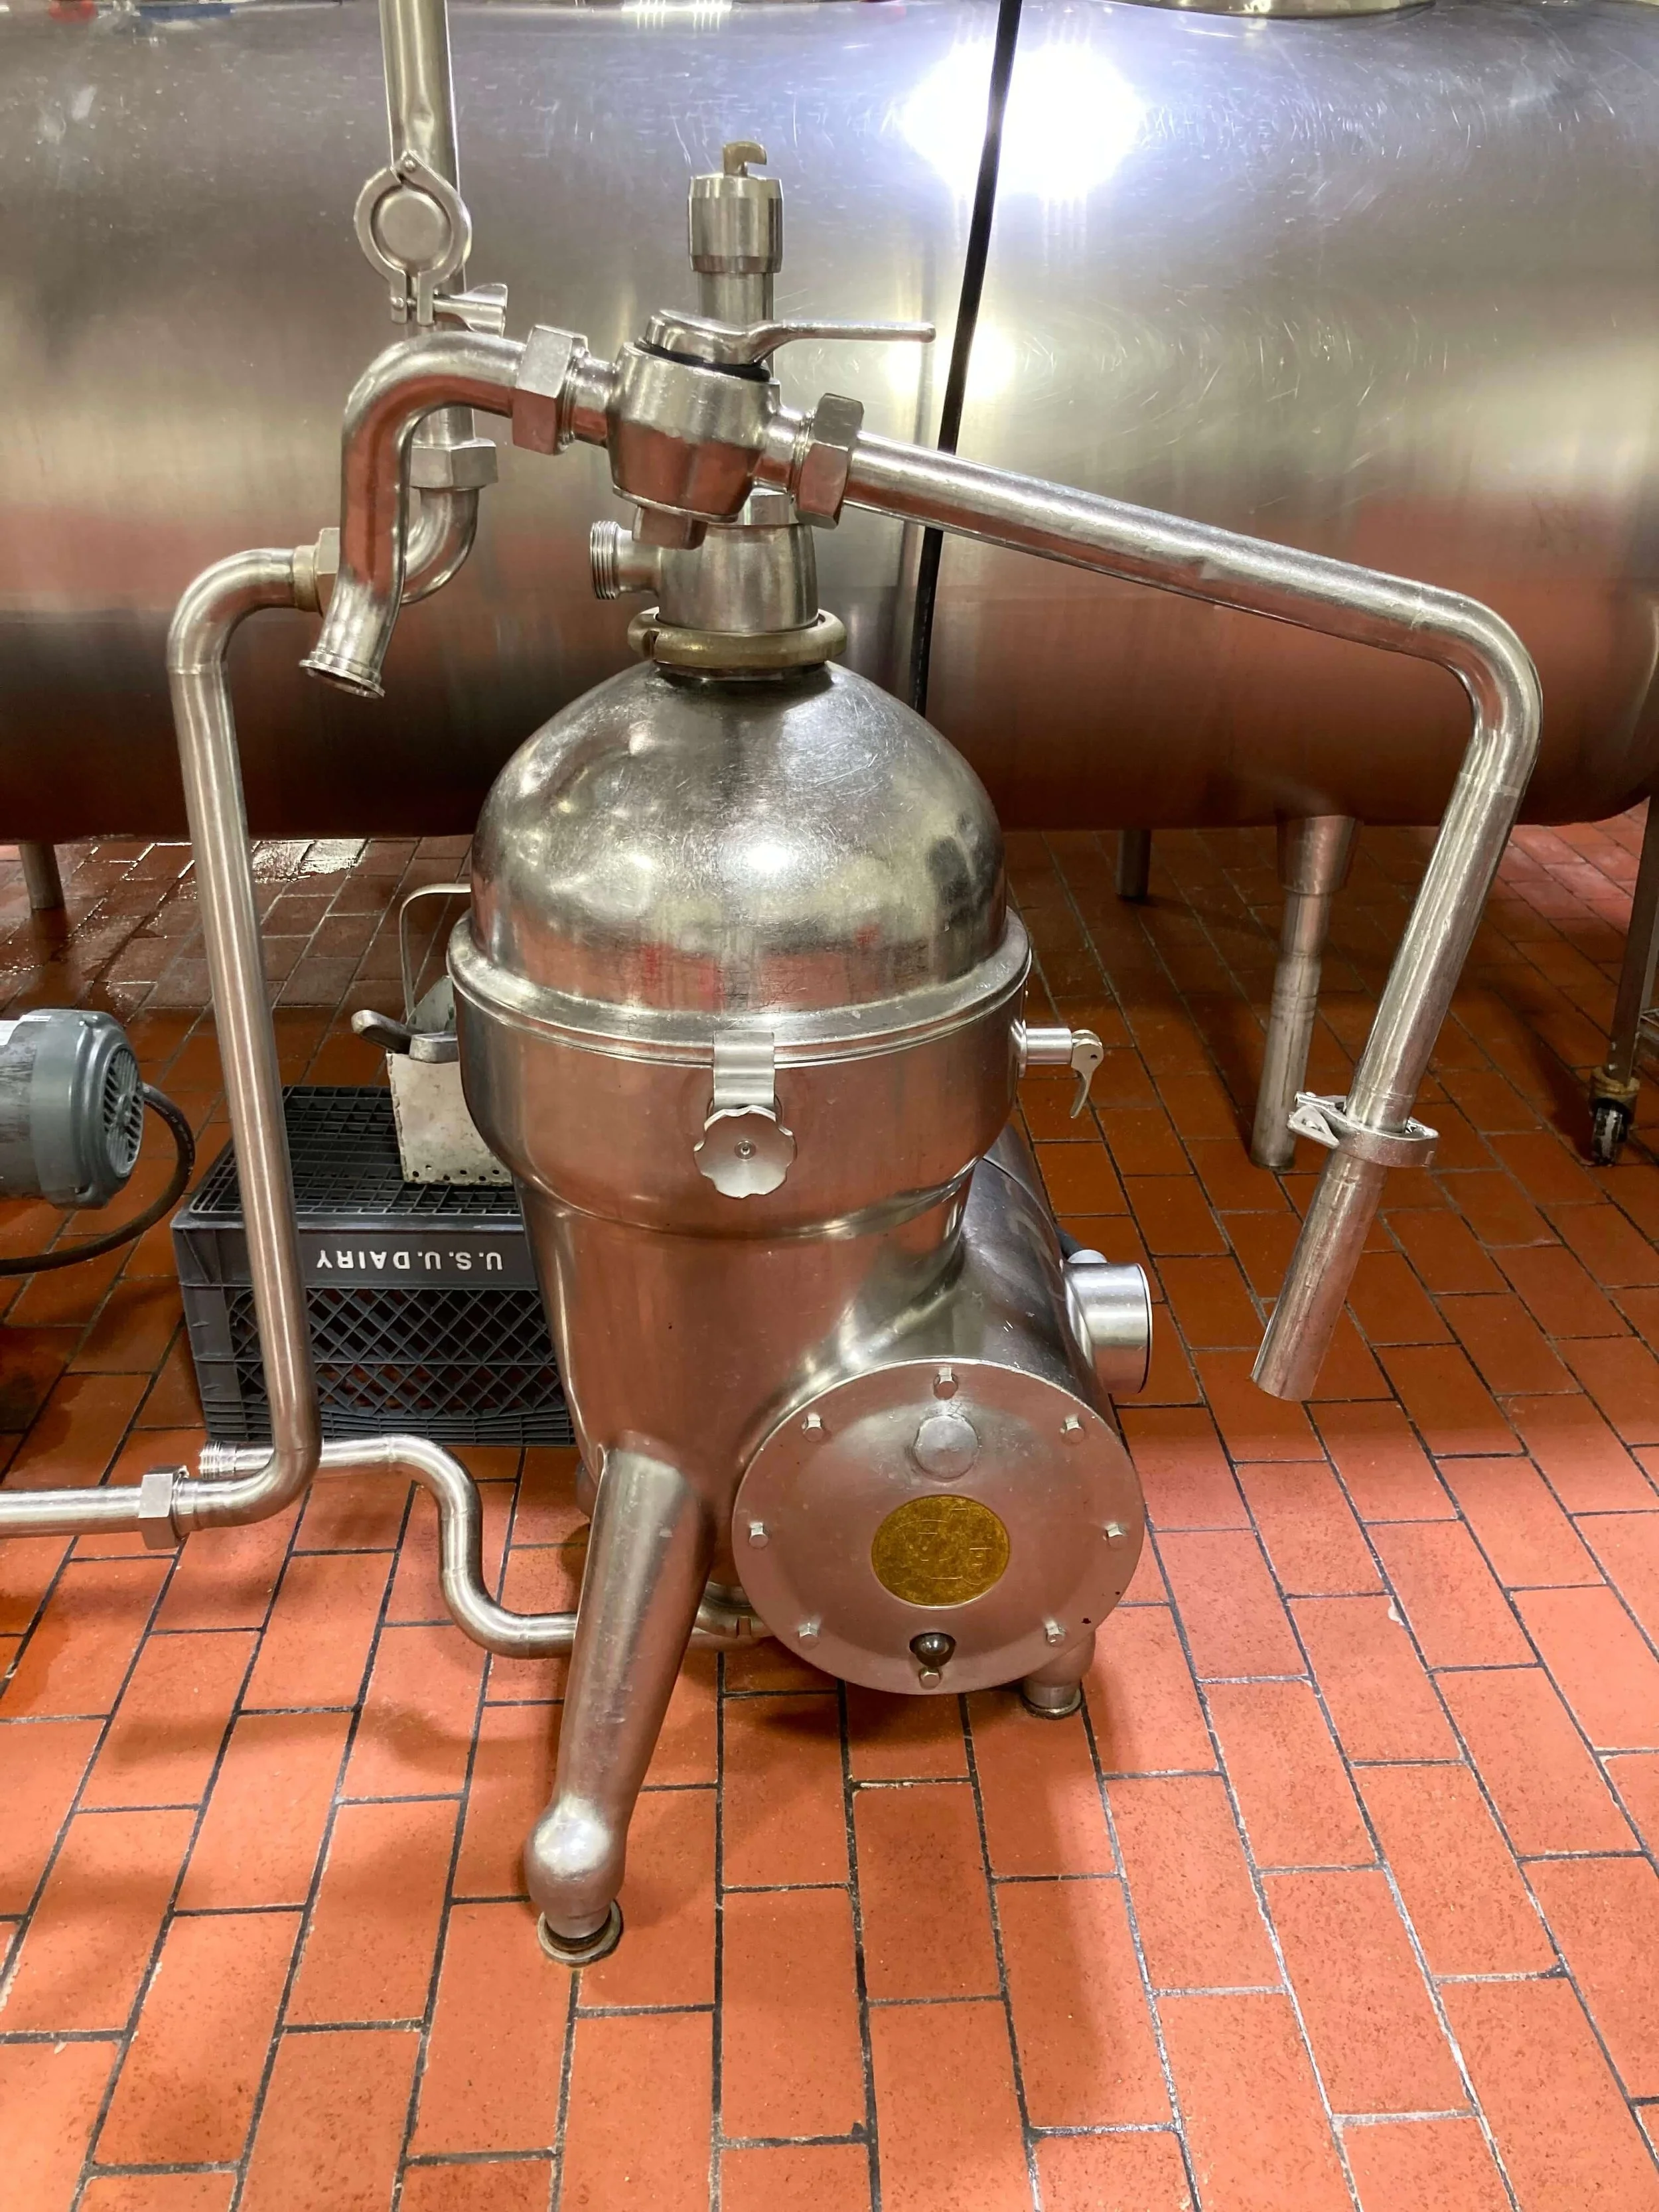
The vintage cream separator in the USU dairy plant.
Basic course details
The course was a four day program held at Utah State University’s dairy plant in Logan, Utah. There were 12 students in the class, which was nice to have such a small group of people. Most of the students worked for large food processing companies. A few however, worked or owned their own dairies and made their own cheese. The course went over the following cheeses: Feta, Chenko, Monterey Jack, Butterkase, Mozzarella, Ricotta, cream cheese and Juustoleipa. It also discussed in detail much of cheesemaking at the microbiological level. The course cost around $1,300.
What else was covered in the course?
Review of basic cheesemaking
Review of acidity and pH
Review of milk microbiology, starter cultures and bacteriophage
Sensory evaluation of cheese
We evaluated several cheeses. Most of which were store bought cheeses, and only two were made by the dairy plant. I would have preferred to review all cheeses that were made in house, but maybe that’s just me.
Comparison of cheese make procedure
Controlling physical & functional properties of Mozzarella
Packaging cheese
Understanding cheese chemistry
Aging & flavor development
The first day of the course began in the classroom. We reviewed the first four points of the list. The next day was in the dairy plant, making the cheeses where we were split into three groups, each making a cheese. While I realize this is the most efficient way to make several cheeses and the start of many cheeses begin the same, this method made it difficult to observe each of the different cheese makes. I missed the last day and a half of the course due to a storm and needing to head home.
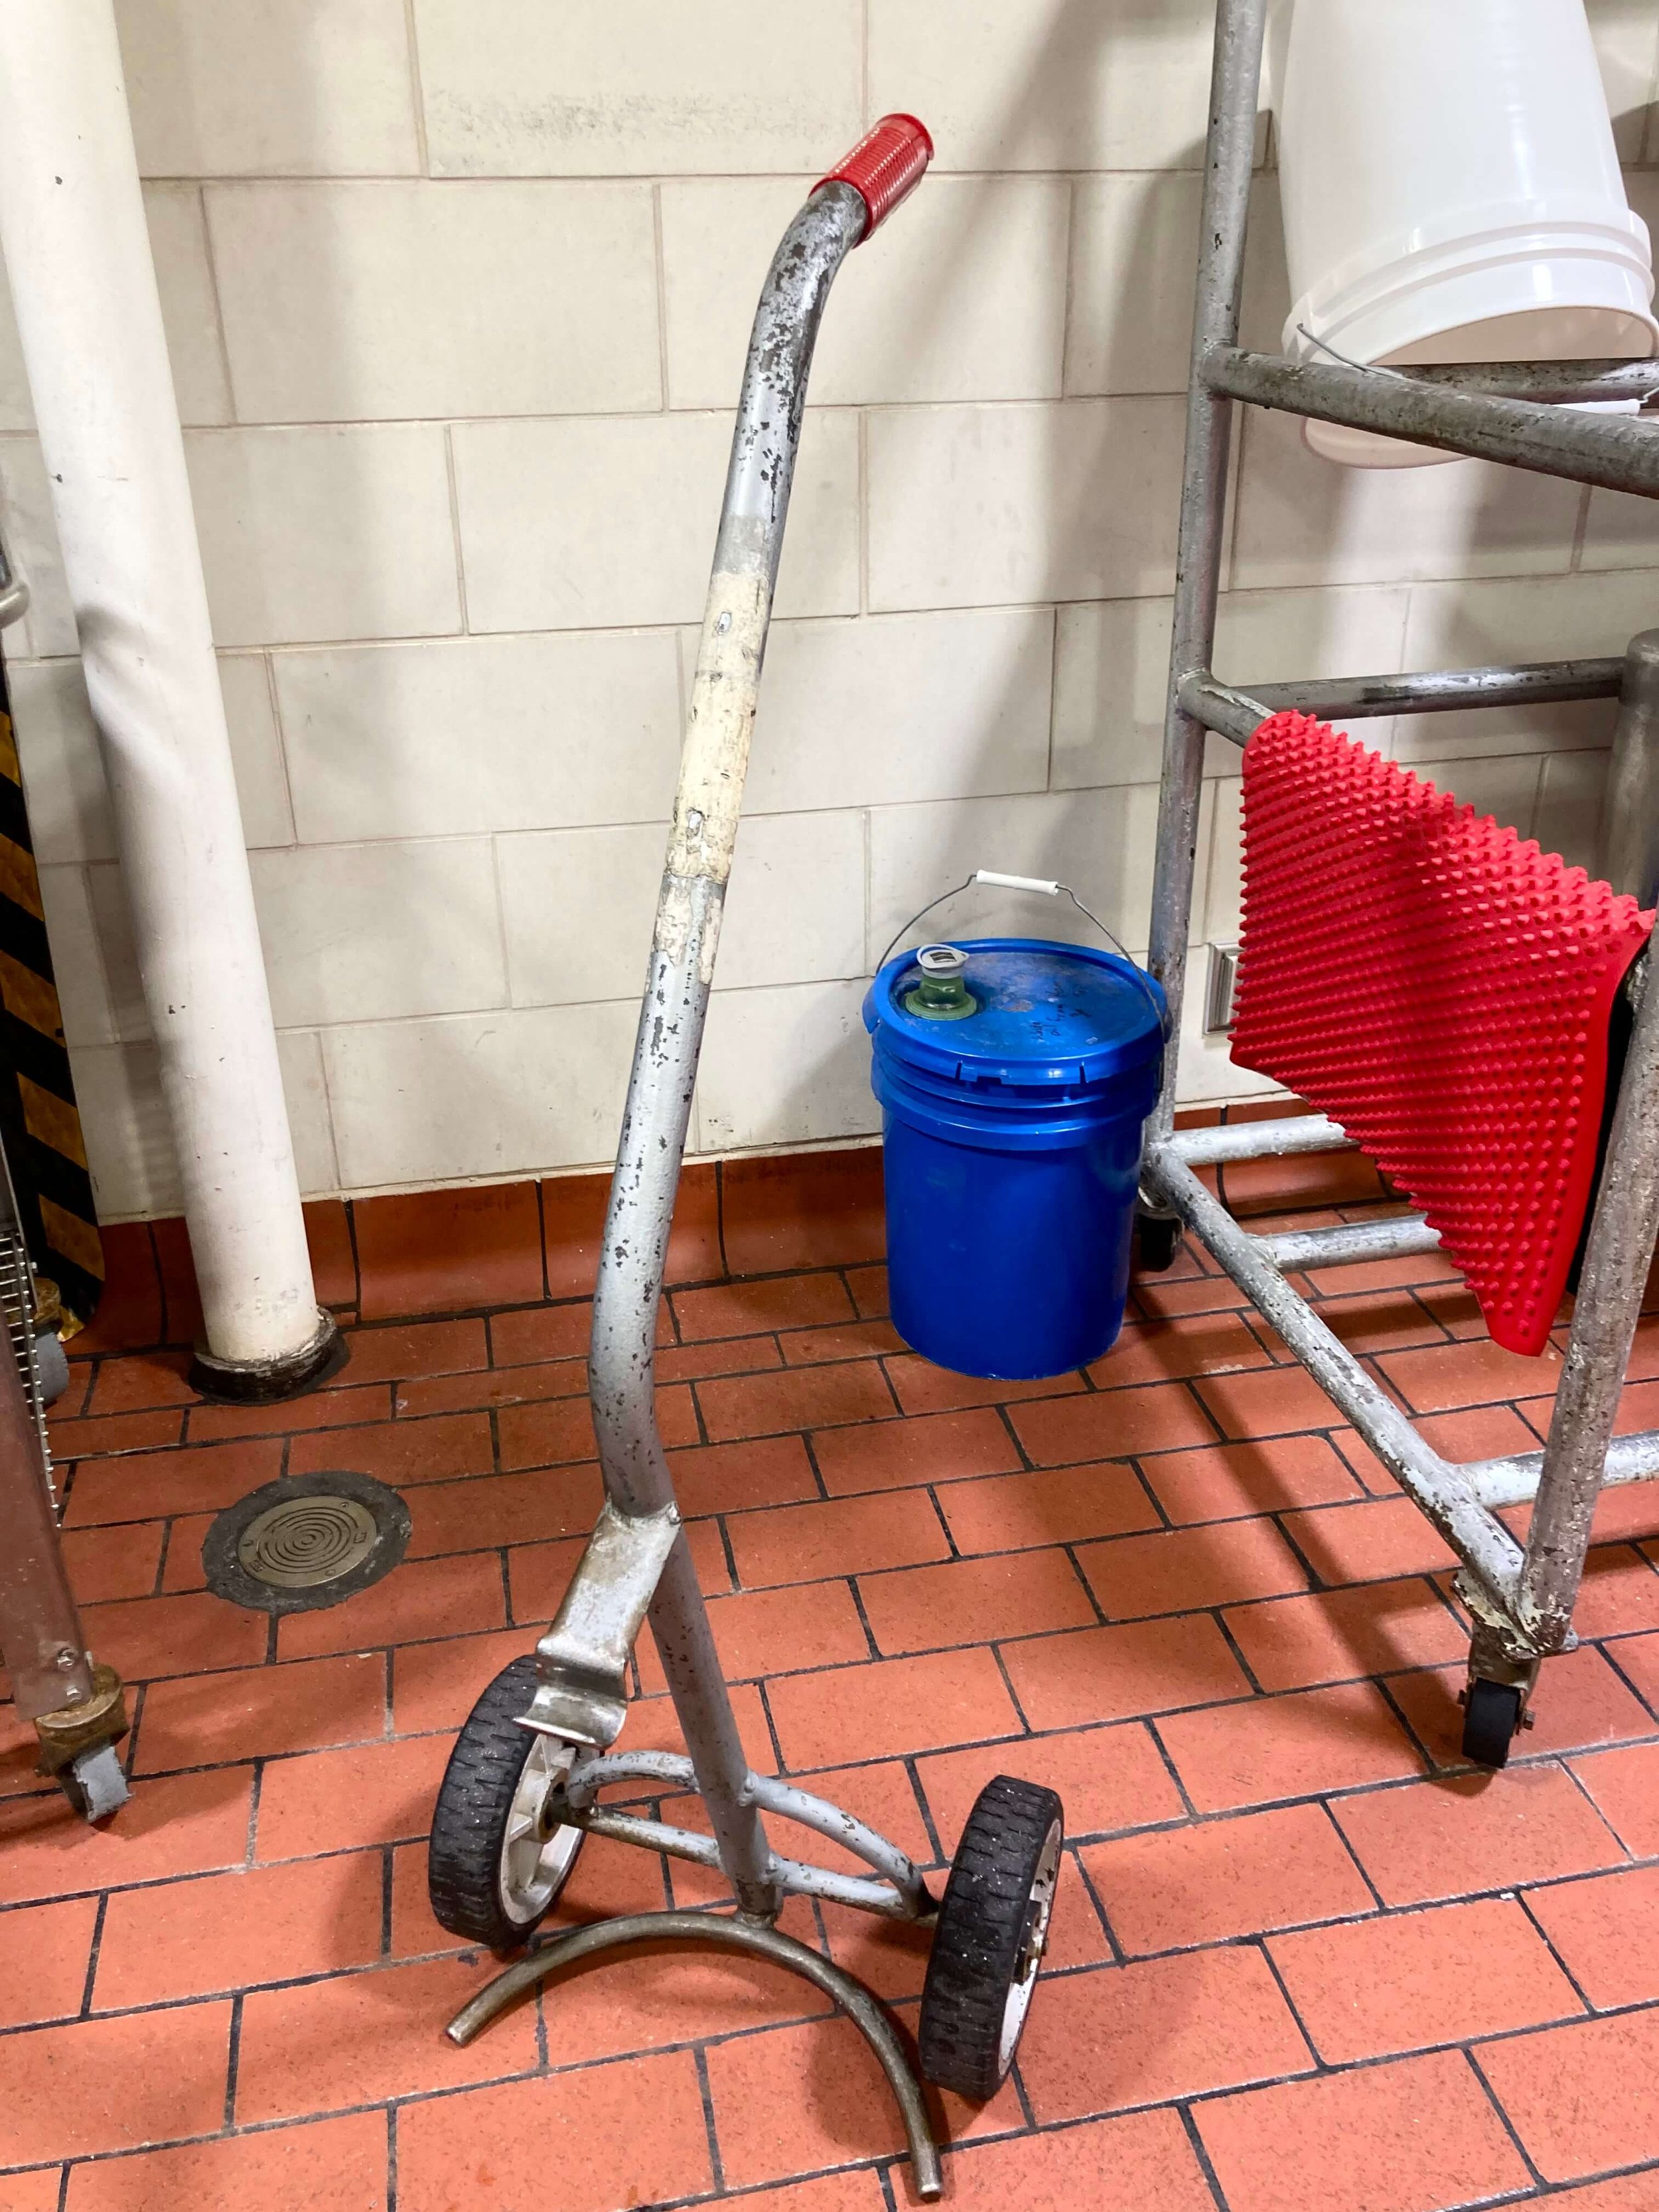
Milk can dolly - I thought this was SO COOL and I’m talking my husband into building me one!
What surprised me about the course
One thing that surprised me was how heavily modern cheesemaking relies on measurement instead of touch and intuition. Instead of feeling the curds or observing the milk, much of the decision-making was based on pH readings and precise temperature control. In these big factories, cheeses are made in giant vats that are completely closed off, you never even see the milk or cheese until it is ready to be packaged. I guess I am naive, but I had no idea.
Utah has many large factories that process millions of pounds of milk into cheese each day. This course focuses much more on that type of cheesemaking - industrial. How can we make cheese faster, cheaper, with a longer shelf life so we can ship it all over the world?
That might be fine for those companies. But I am not a huge company. I am a mom, a wife, a daughter. A small town resident who just wants to make good, nourishing, SLOW food for my family and friends.
There were a few other raw milk producers in the class, but aside from them, I felt like raw milk was made the enemy. That natural and traditional methods had no place in cheesemaking. That’s alright, I’m happy to buck the trend and do things how I want to do them. That is half the fun of doing it yourself, right?
I really struggled each day going into this course — knowing that each day I would be taught to do things pretty much the complete opposite of how I do them. There was no handling of the cheese in this course. No learning what the cheese should feel like at each stage. No, there is a pH meter for that.
I didn’t even get to finish the course. We had a big storm coming back home, so I had to miss the last day and a half to get on the road before I couldn’t get home anymore. Even leaving that early the interstate and a local highway were both shut down so we had to drive way out of our way to make it.
All that aside, I believe in having a positive attitude and trying to make the best of every situation so I am not going to continue to dwell on the fact that this class wasn’t what I expected, and focus on the connections I made and the things I did learn.
My biggest takeaways from the course
If using frozen milk for cheesemaking, bring it up to 120 degrees before starting make procedure, that allows the calcium to go back into the curd so your curds won’t shatter or be mushy.
While I haven’t had a chance to test this yet, I am intrigued because I have experienced this with frozen milk!
If your water has chlorine in it, Chlorine will deactivate rennet. However, milk will deactivate chlorine so add a small amount (just a drop or two) of milk to your water before adding your rennet.
I don’t have chlorine in my water but I thought this was a great tip for those who do!
If you are getting whey in the bag after vacuum sealing, you are NOT getting enough moisture out of your cheese
Things to try:
Use lower fat cheese
Cook at a higher temp
Stir longer
This is an area of cheesemaking that I have really struggled with. My cheeses are great while aging with a natural rind, but then when I vacuum seal, I end up with whey in the bag that ruins the cheese. I believe so many recipes out there do not call for stirring long enough. I will really be focusing on this this year and keeping detailed notes on what works and what doesn’t.
Whey is a valuable resource - do not dump it!
Feed it back to your in milk animals (cows, ewes, etc)
Mix it in their grain, or spray it on their hay - it is used as a sugar source over molasses and will increase their milk production.
I learned this from an incredible woman I met in the class. I didn’t get a chance to know her well, but I wish I could have. From what I learned she operates a 1,000 head family dairy along with a beef herd and she is an amazing business woman.
Freeze dry leftover cheddar cheese curds - they are a delicious crunchy snack!!
I learned this from another awesome raw milk producer in the class. I don’t have my own freeze drier but I have a friend that has one and I can’t wait to try this!
Why do cheeses have different aging times?
Part of the reason is due to the length of time it takes for the salt to migrate to the center of the cheese due to different styles of salting. Cheeses that have the salt mixed directly into the curd age a lot faster than cheeses that are brined because it takes a set amount of time for the salt to get from the rind of the cheese to the core.
I also came home with some different recipes that I am hoping to adapt to my style of cheesemaking - I’m excited to see how they turn out and share them with you all.
One more note, the people that worked in the dairy plant were very kind and eager to answer any questions.

Here is a photo of one of their small cheese vats. This vat holds 500lbs of milk. In this photo someone is using a harp to cut the curd into horizontal strips.
My personal reflection
This class reinforced something I already suspected — that there are two very different worlds of cheesemaking: industrial and traditional. Neither is necessarily wrong, but they serve very different goals.
Bottom line - would I recommend this course?
If you are planning to start a licensed creamery, sell cheese commercially, or produce cheese at a larger scale, this course would probably be extremely valuable. There was a strong focus on sanitation, pH monitoring, food safety, and producing consistent results for commercial distribution.
If you are planning on making cheese at home for your family, prefer to use raw milk, natural cultures and use traditional methods - don’t waste your money on this course.
Final thoughts
In the end, this class reminded me that there are many different paths in cheesemaking. Some are focused on efficiency, scale, and global distribution. My path is a little different. I care about milk from animals I raise, traditional methods that have been used for generations, and making nourishing food slowly and intentionally. I’m always eager to learn new ideas and techniques, even if I don’t adopt them all. Every class, conversation, and experiment helps me become a better cheesemaker—and I’m grateful to be able to share that journey with you.
Thanks for sticking with me through that SUPER long post! Have you ever taken this course or thought about it? What about other classes? I am still hoping to learn from David Asher someday!
More cheesemaking content you might enjoy:
Pin for later
