Learning to make sheep milk cheese: A delightful Colby with red pepper flakes
This is a family favorite cheese and today, we’re making it with frozen sheep milk. If you are looking for a simple cheese to try or a way to use up excess milk, this is an excellent option!
If you are anything like me, you owned a dairy animal for going on ten years before you ever attempted to make a “hard” cheese. You were too scared that you might screw it up, or told yourself you couldn’t do it because you didn’t know every detail of how to do every step just right in the process, or you didn’t have the “right” equipment.
Just stop. Now. “Hard” cheeses are anything but hard. They are really pretty simple for the most part, and pretty forgiving at that. I promise you, you can use about anything in your kitchen to make a makeshift press. It may be precarious, but it will work!
I honestly think the “hard” cheeses are easier than the quote on quote “easy” cheeses.. aka fast mozzarella.
Anyway, with that said, there are many things you can screw up, sure. So today I want to share with you my experience making this cheese…and how it seemed like everything was going wrong…. And yet I ended up with a lovely cheese.
So please stop making excuses. Stop worrying. Leave perfection at the door and lets make some cheese!
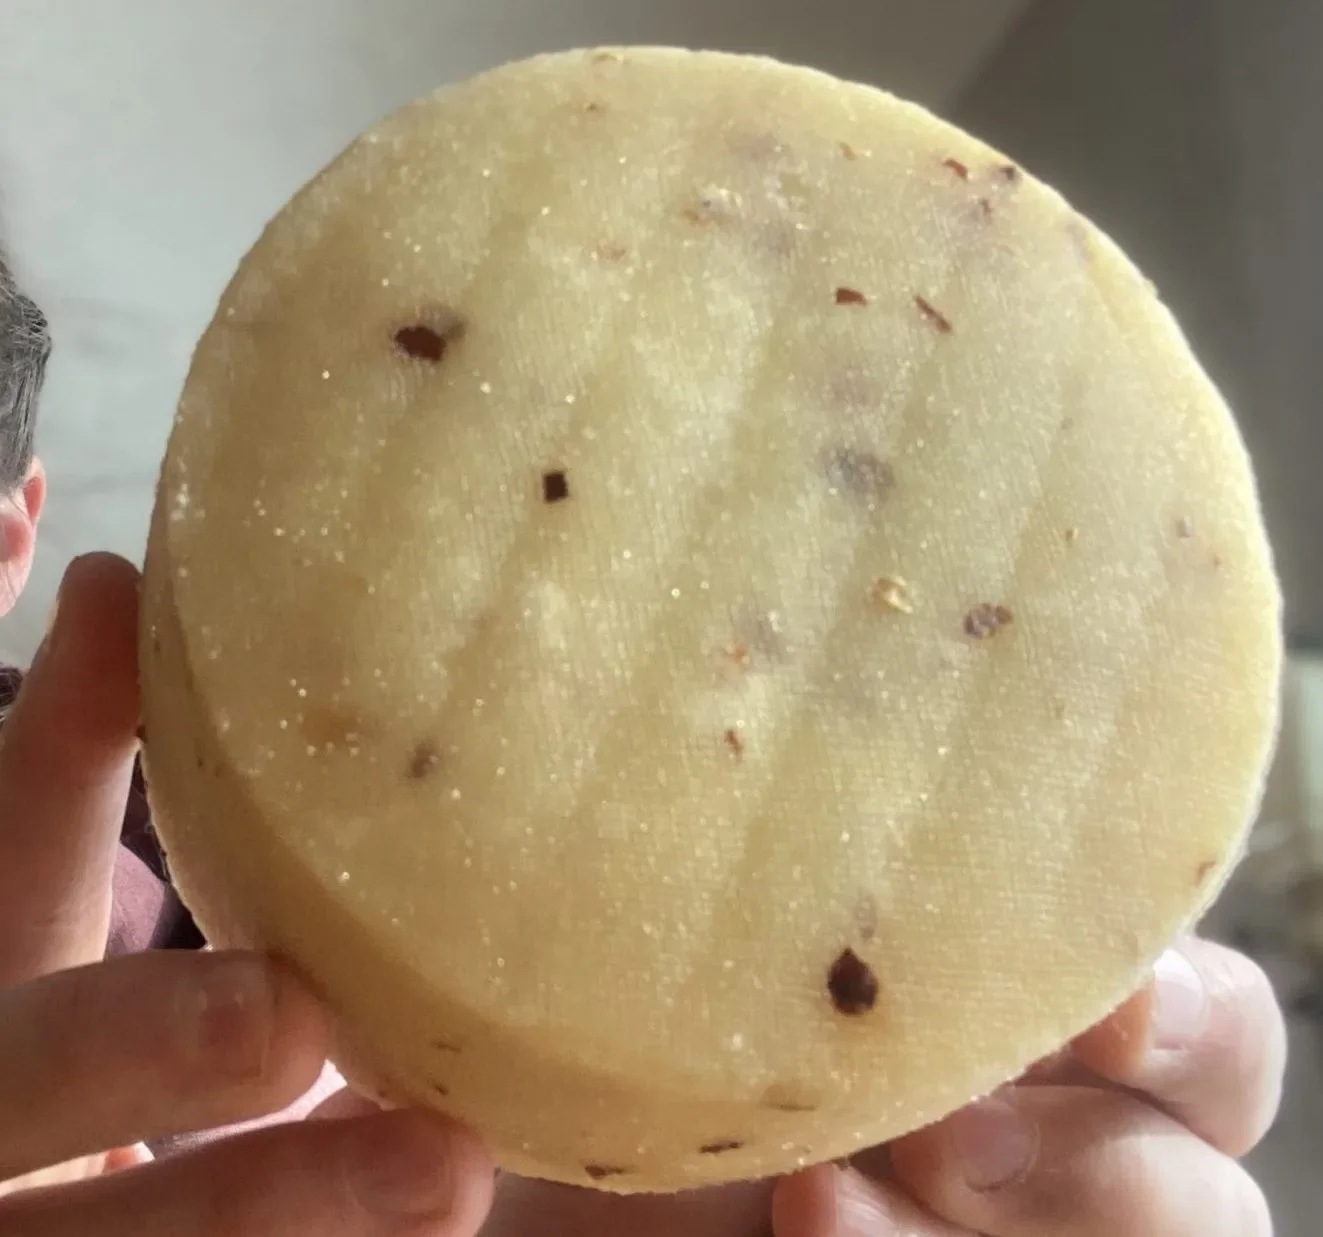
Colby Cheese
A few quick details about the cheese we are making today.
First, Colby is a washed curd cheese. All this means is that you remove some of the whey and replace it with water. This changes the acidity of the cheese, making it less acidic and more sweet. It also makes the cheese more pliable, and less crumbly.
Did you know that almost all of the cheeses you buy from the supermarket are washed? Yes, even Cheddar that is not supposed to be a washed curd cheese.
The reason for this is because washing creates a more flexible, pliable cheese. This is the texture most Americans are used to, so that’s what is sold in stores. Just a little something to keep in mind when you begin making your own cheeses – the textures are going to be different, and that is OKAY!
Steps to Making a Colby Cheese with Sheep Milk
Step 1: Always the same first step in cheesemaking, clean your kitchen / sanitize your equipment.
This doesn’t have to be sterilization status. I get rid of the old towels in my kitchen and put out fresh. I wipe down my counters with just soap and water, occasionally with a splash of bleach. I boil all of my equipment in about an inch of water for ten minutes, then remove and air dry.
Step 2: Heat your milk to 88-90 degrees. It is recommended to heat sheep milk to a couple degrees less than you would cow milk, that is the reason for the range.
Step 3: Add culture. Colby calls for a mesophilic culture so that means you can use clabber, cultured buttermilk, or freeze dried cultures.
Step 4: Add rennet. This is where you really have some room to experiment. For this particular recipe I went with the amount of rennet recommended on the bottle, 1/4 tsp / gallon. I have read conflicting things – some books say that rennet is needed in the aging of the cheese and to NOT reduce the rennet. Most books adamantly recommend reducing the rennet, up to 5x!
Step 5: Let ripen until you get a clean break. If you don’t know what a clean break is you can watch my video on making this cheese here.
Step 6: Cut curds. It is recommended to be very gently with sheep milk curds. Cut them larger than recommended in the recipe and handle as little as possible.
Step 7: Stirring and Heating: I had a lot of trouble with my cheese at this step, the curds just turned to mush. Moral of the story – I just kept going and it turned out fine! Even if a cheese doesn’t turn out how you expect it always has a purpose.. even if that purpose is just to feed the pigs or chickens!
Step 8: Remove whey, wash curds with water, stir again. Remove the whey down to the surface of the curds, add same temperature water to the previous level of the whey.
Step 9: Remove whey, add red pepper flakes if desired. We like to use 1 tsp / gallon of milk! The milk really removes the spiciness, so it just adds flavor.
Step 10: Put curds in mold & press. You want to press gently at first, just enough to see drips of whey coming out of the press.
Step 11: Flip, redress & press. Repeat this process 1-2 times depending on how much of a perfectionist you are about the rind.
Step 12: Salt the cheese. Do this after removing from the press, you can brine or dry salt it.
Step 13: Air dry. Leave sit at room temperature until dry to the touch, flipping a couple times per day. I cover mine with a cloth just to keep dust and whatnot off of it.
Step 14: Age: You can natural rind, wax or vacuum seal. Because I struggle with extremely low humidity (we live in a very dry climate!) I choose to wax or vacuum seal to help maintain moisture.
Step 15: Try not to eat it all in one sitting… the last Colby I made was half gone during our taste test and I had to hide the other half so it didn’t get eaten too fast!
I know this seems like a lot of steps but I promise a lot of it is hands off time and you can have this cheese in the press after only about 3 hours.
More raw milk recipes:
Are you feeling brave enough to try to make your own cheese? Give it a try! We all have to start somewhere. If you try this please tag me on Instagram, or put a picture in the comments below, I’d love to hear from you!
-Sari