Sheep Milk Yogurt
Are you wondering what you can make with sheep milk? Yogurt is an excellent choice! Easy to make, kids love it and sheep milk makes a thick, creamy and delicious yogurt. Let’s dive in to the simple process!
Yogurt is one of the very first things I learned to make when I got my first dairy animals. It is so simple and it is a great way to get probiotics into your family!
How to make sheep milk yogurt in 8 effortless steps
Step 1: Heat your milk to boiling
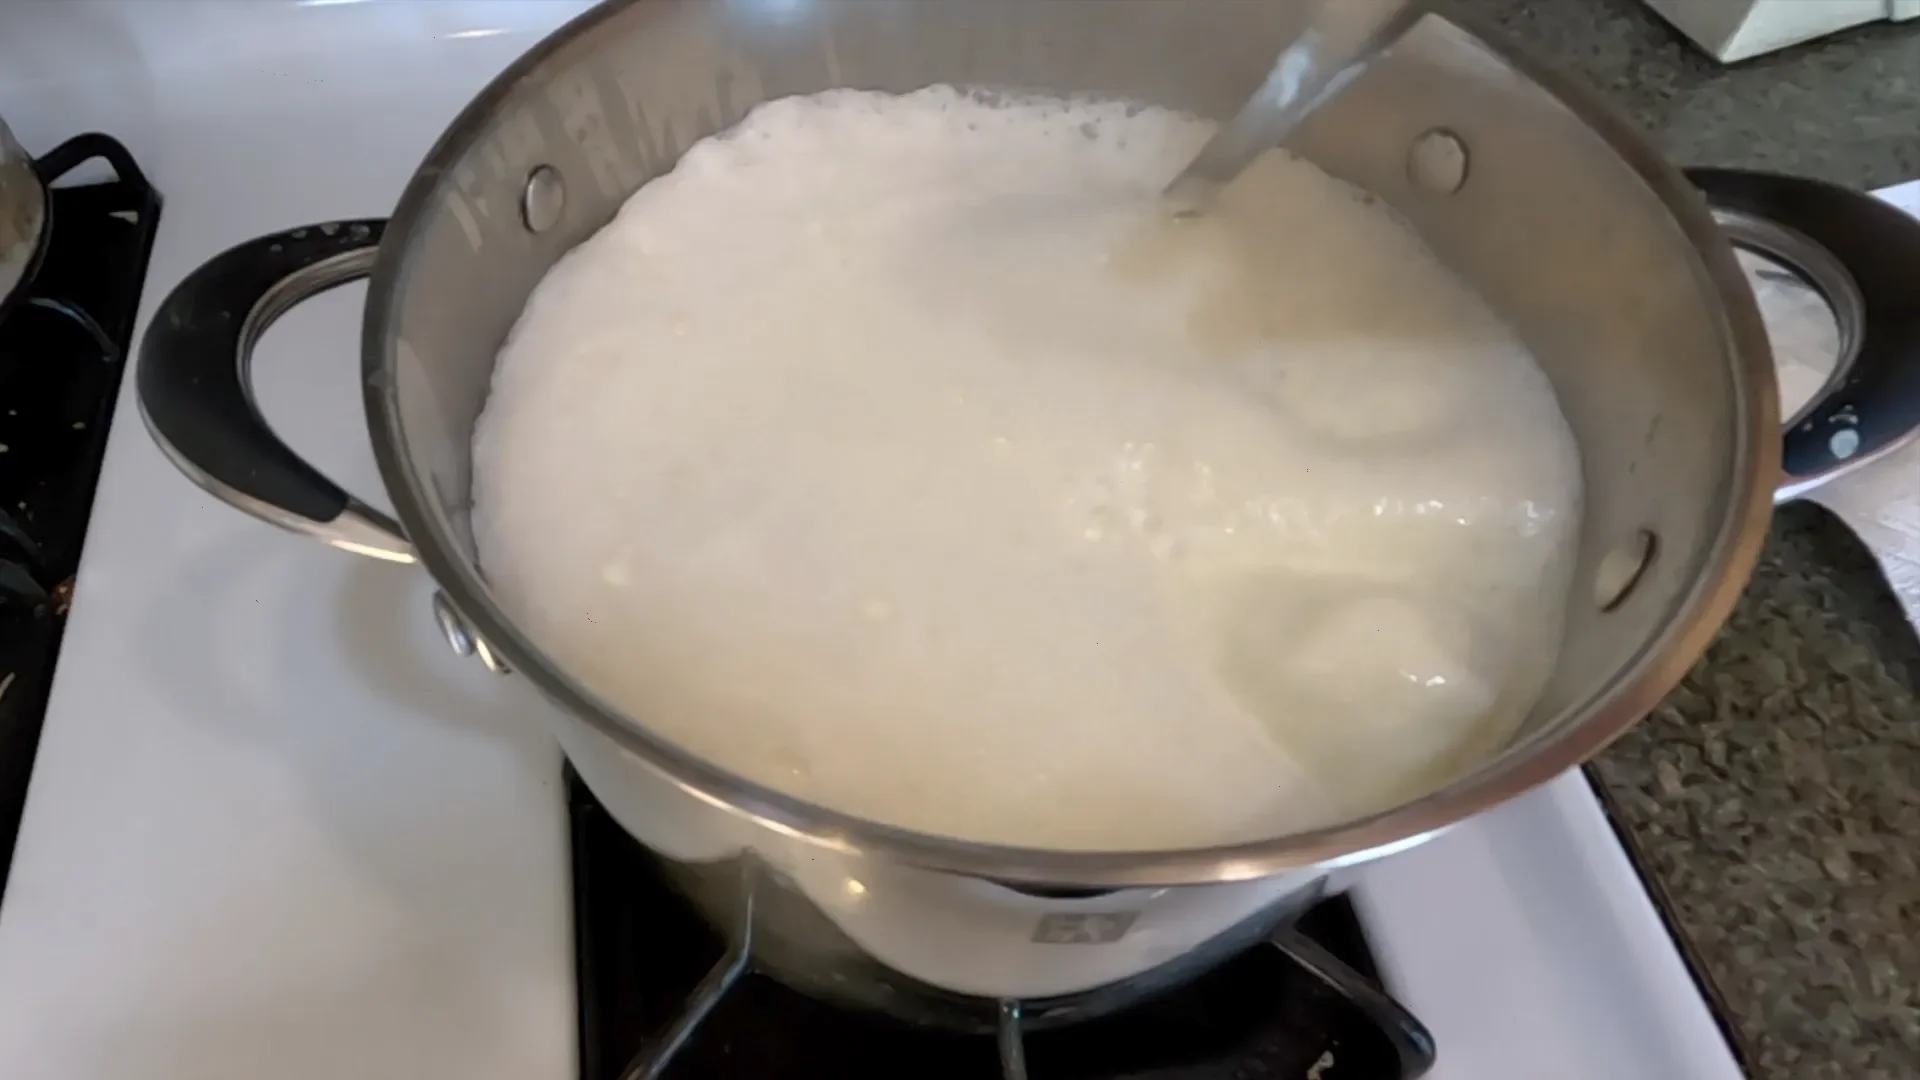
The first step to making yogurt is to heat your milk. How long you heat your milk is up to you. I’ve seen a lot of talk about people not wanting to heat their raw milk because then it will no longer be raw milk. While that may be true, if you are not heating your milk, you are not truly making yogurt. You are making clabber… which is also delicious but it is not yogurt. How long you choose to heat your milk is up to you. Heating the milk to boiling causes a thicker yogurt. The longer you let it boil, the thicker it will be. I usually bring mine just to a boil, then move on to step 2.
Make sure you stir often during this step, scraping the bottom of the pot so it does not scald. Keep a close eye on it to make sure your milk doesn’t boil over.
Step 2: Cool your Milk
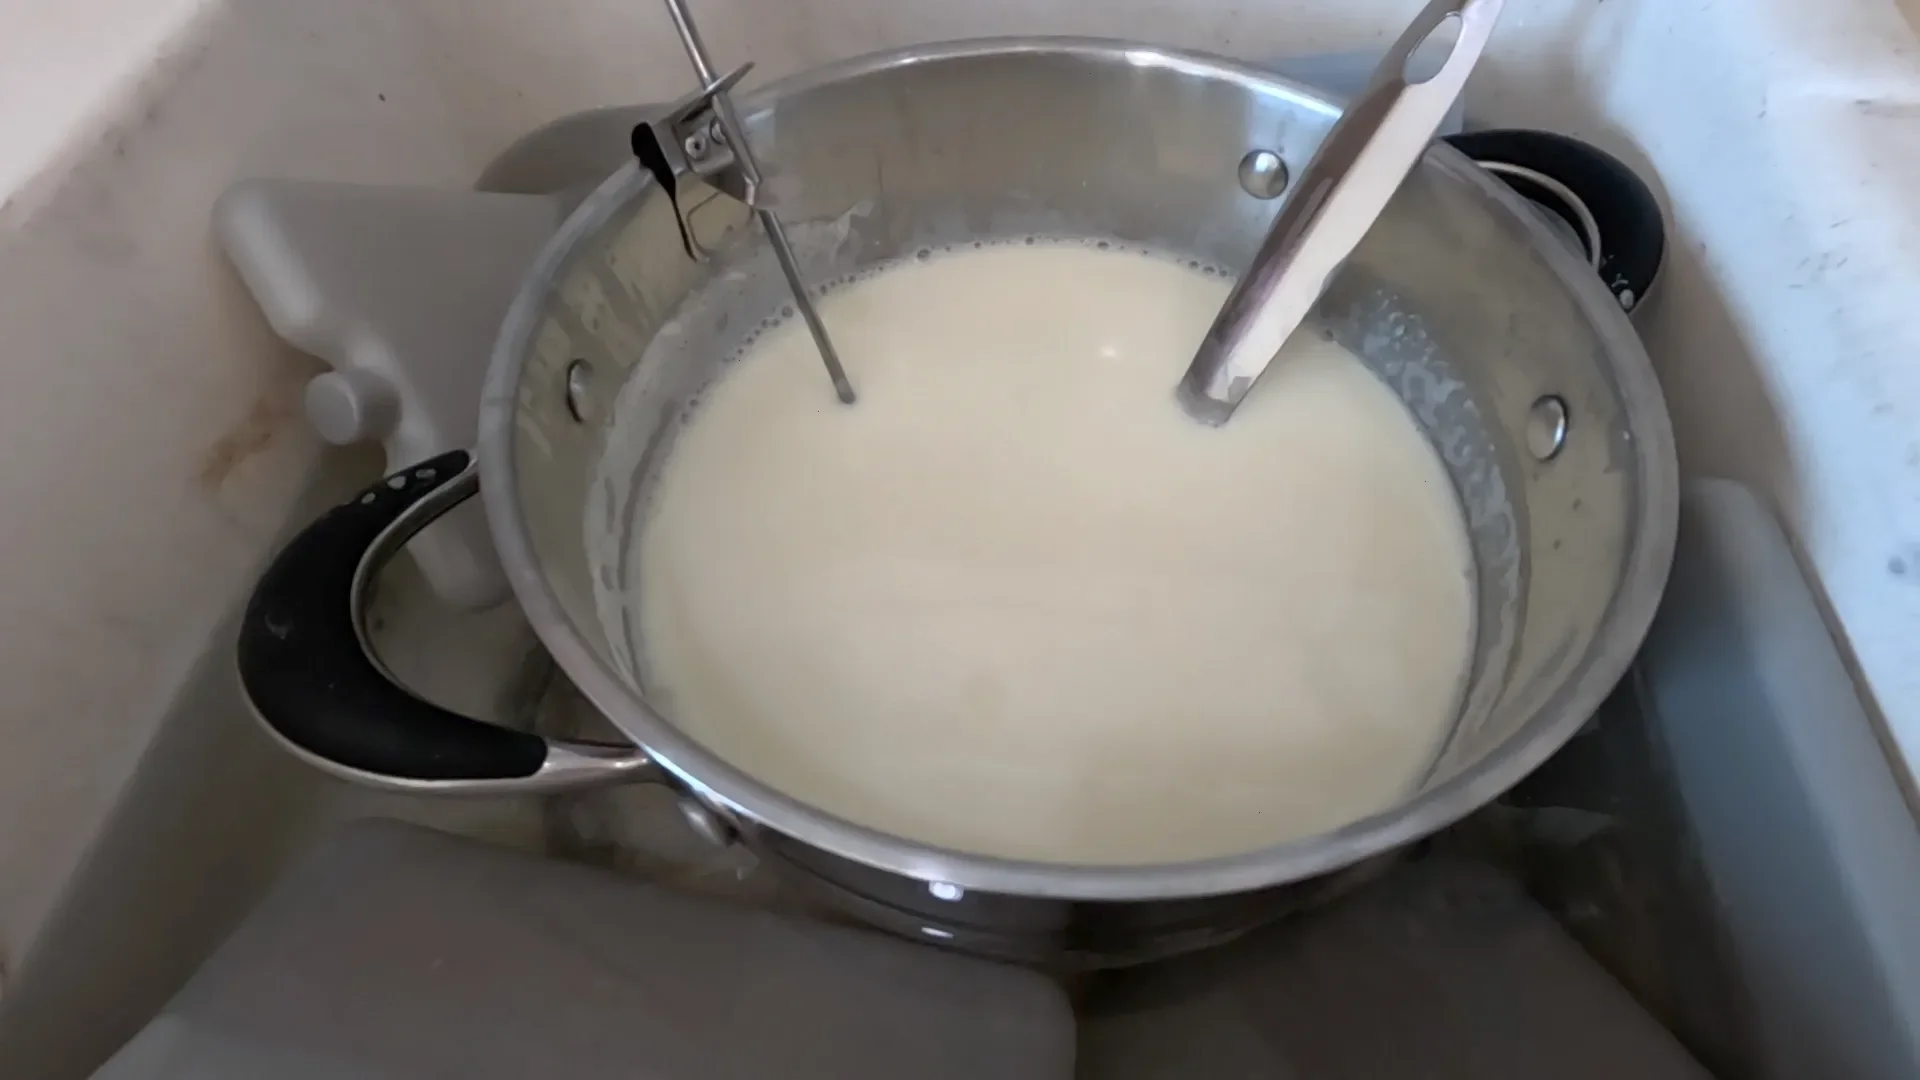
How you cool your milk is not important, you just need to bring it down to a temperature where the thermophilic bacteria that you add in, can thrive. You can let it cool naturally, or I like to cool mine in an ice water bath in my sink. Stirring often will help it cool quickly. You are aiming for a temperature between 105-115 degrees Fahrenheit. I like to cool mine on the warmer side of that range, just so it doesn’t cool too much in the following steps.
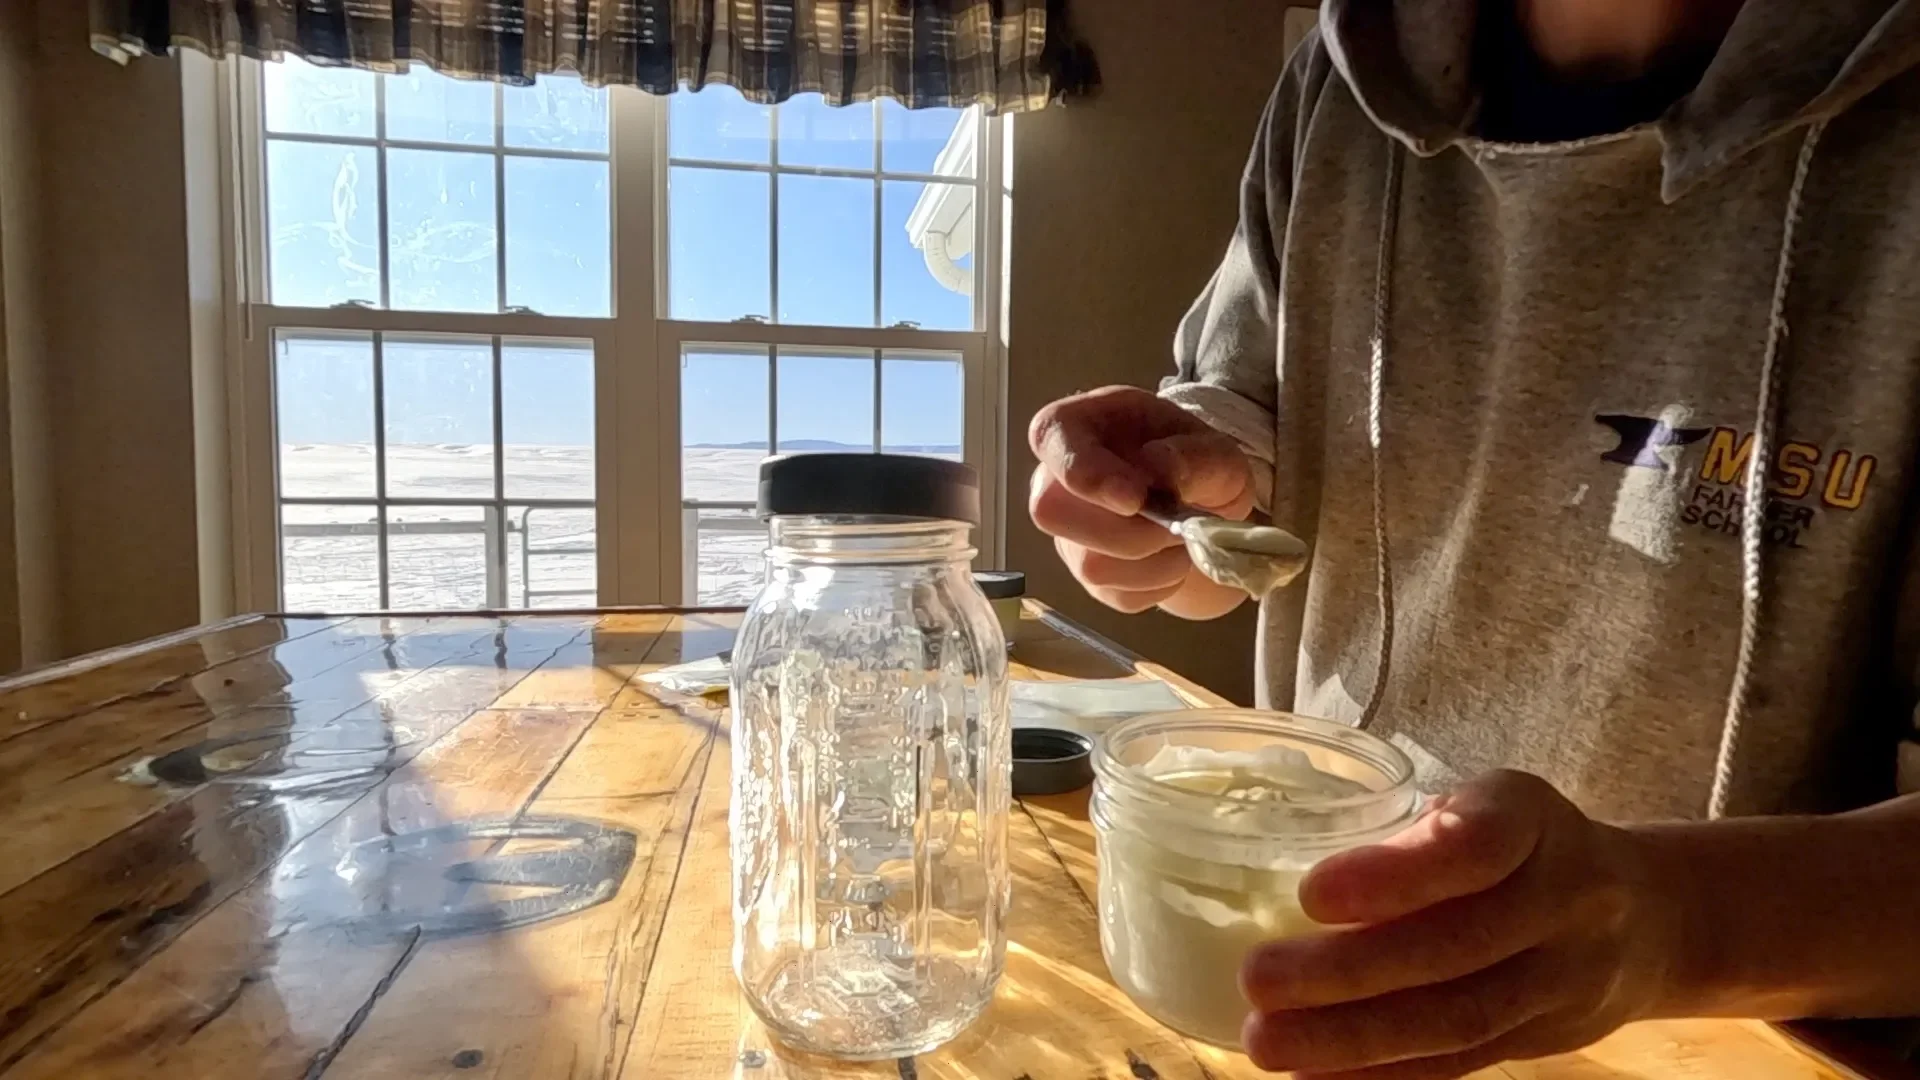
Step 3: Add your cultures
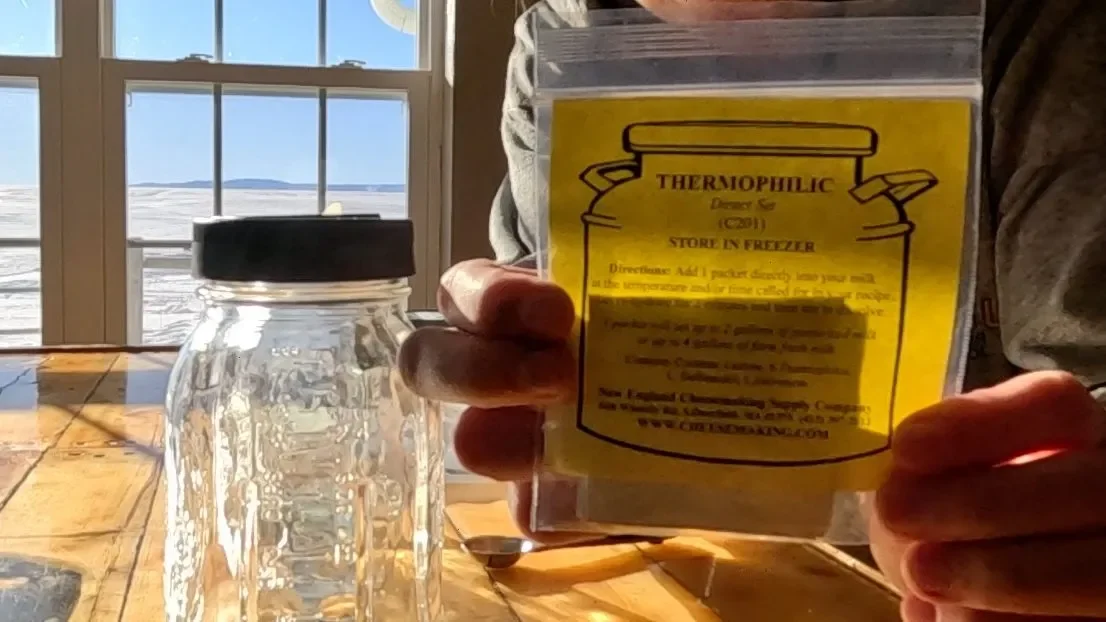
You have a lot of options in this step. You can use store bought yogurt, yogurt from a previous batch you or someone else made, freeze dried thermophilic culture, whey saved from a thermophilic cheese, or your own homemade thermophilic culture. Let’s talk a bit more about each of these.
Using store bought yogurt works great, and you can pick a yogurt that you truly enjoy to mimic that flavor in your own homemade yogurt. Be sure to pick a yogurt that says “live active cultures” on it. Find a plain, non flavored yogurt. Use 2 tsp / quart of milk.
Yogurt from a previous batch works great, just make sure it is fairly fresh (less than a week) and has no off flavors. Use 2 tsp / quart of milk.
If you have freeze dried thermophilic culture in your freezer, that can be used as well. It will give a very tangy, true to flavor yogurt. Use only 1/8 tsp / quart of milk.
You can use whey saved from a thermophilic cheese. Like using yogurt, make sure it is fairly fresh, less than a week old. It can also be frozen. Save from cheeses such as Alpine or Mozzarella. If the whey is from Mozzarella, make sure it is a naturally fermented mozzarella and not a “quick” mozzarella that uses an added acid to acidify. Use 2 tsp / quart of milk.
Finally, you can use your own homemade thermophilic culture, I experimented using my own cultures in this video. You can make your own thermophilic culture by culturing a jar of fresh raw milk at 104 degrees F until it thickens and sours. Once thick and sour, feed it with fresh raw milk and set at 104 degrees to thicken again. Continue until it is thickening and souring reliably.
You can also use a clabber culture through adaptive fermentation. What that means is you can adapt the bacteria in a clabber culture from mostly mesophilic bacteria to mostly thermophilic bacteria by culturing it at that higher temperature. Use 2 tsp / quart of milk.
Step 4: Add cooled milk
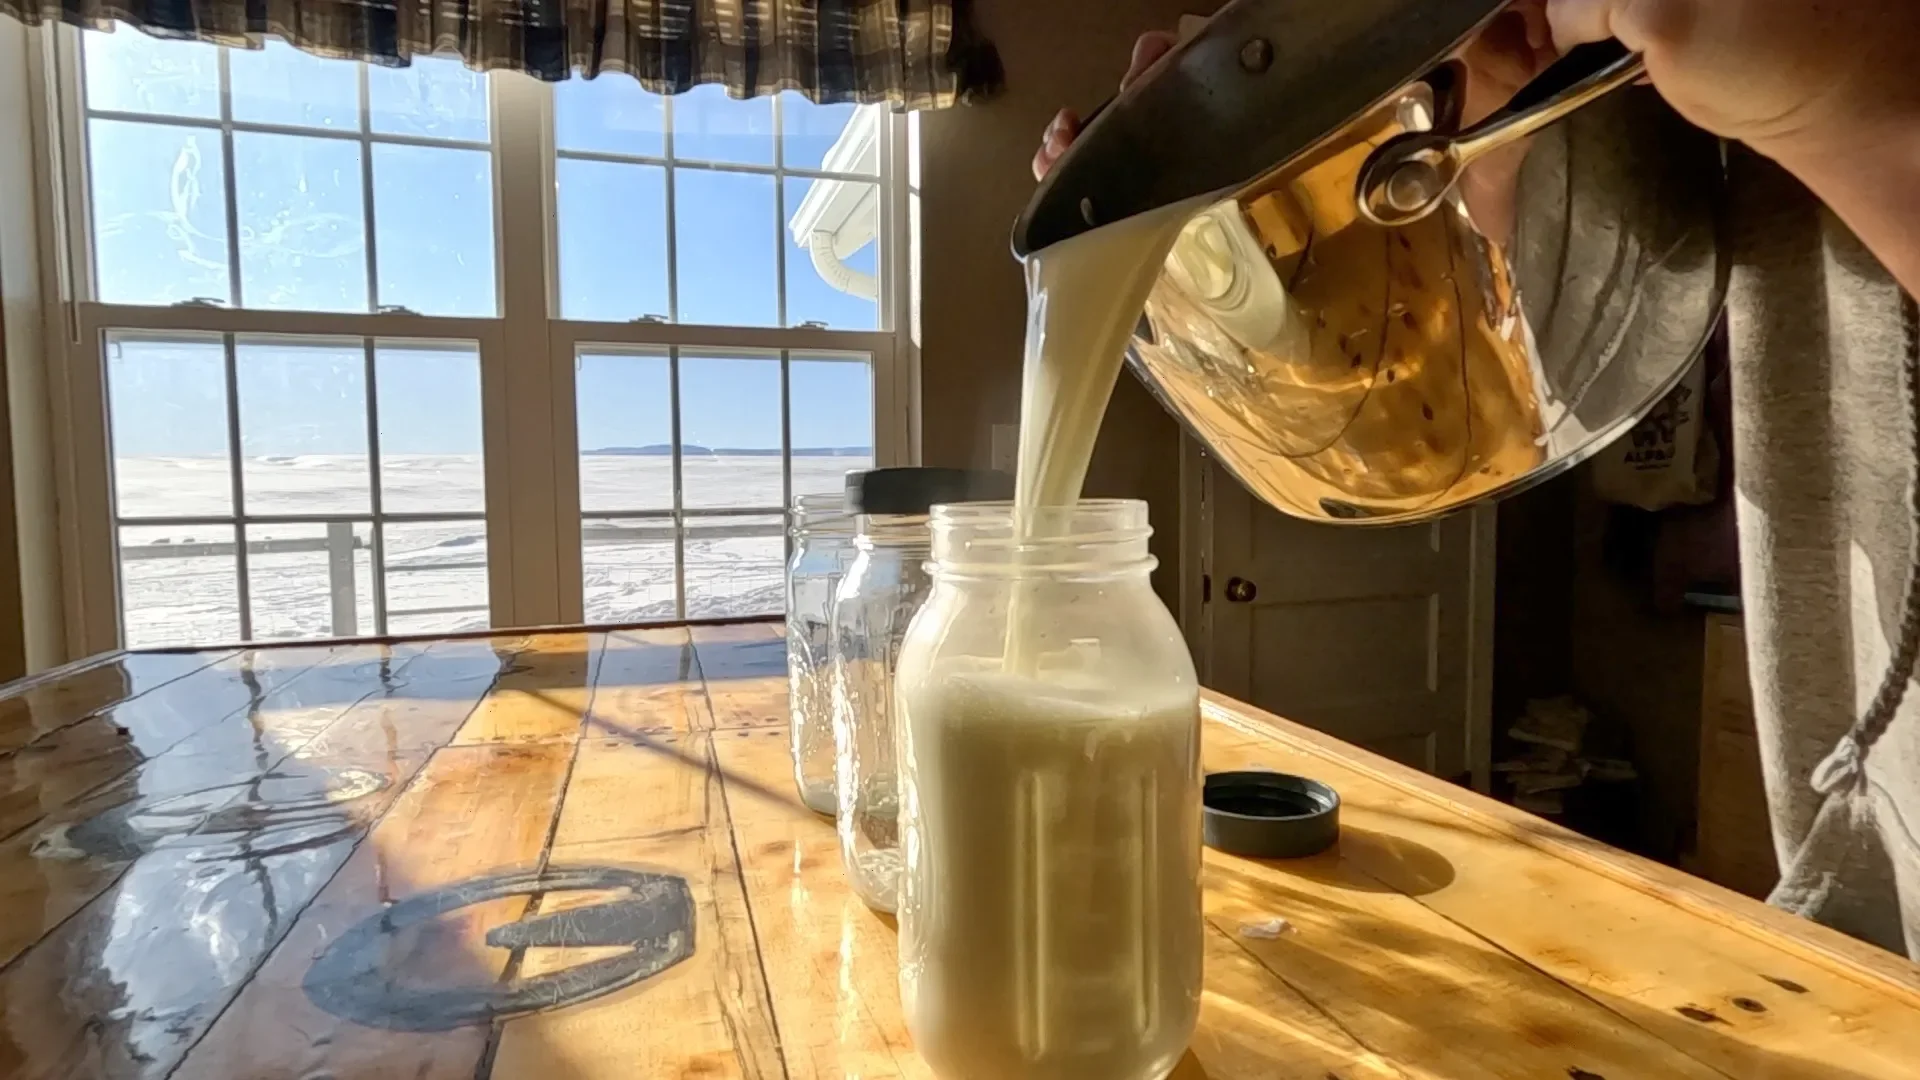
Add your cooled milk to your culture of choice. Stir thoroughly to incorporate the culture throughout the milk.
Step 5: Incubate
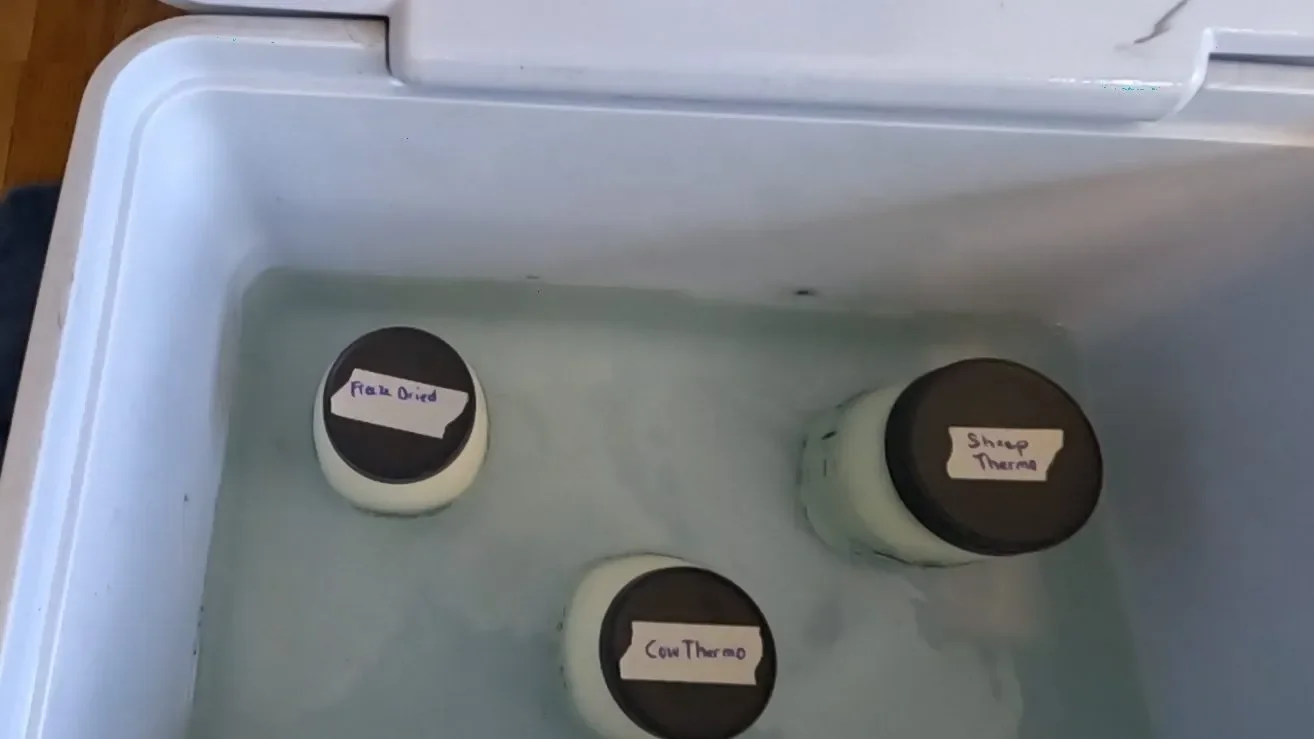
There are a lot of options for incubating your milk. Basically though, you want to keep the temperature around 104 degrees for at least 6 hours. Depending on how you like your yogurt will dictate how long to incubate it for. If you like it more mild, incubate for a shorter period. If you like it more tart, incubate for a longer period.
I have two methods I like to use – I have a large dehydrator. I put my jars of cultured milk into the dehydrator, and set it for 105 degrees for about 8 hours.
The other method I use is a cooler. I put warm water from my tap (no more than 120 degrees) into my cooler up to the shoulders of the jars of cultured milk. I add my jars of cultured milk into the cooler. Close the lid, and wrap with a blanket to insulate. This works excellent.
Step 6: Refrigerate
After your yogurt is done incubating, it is time to put it in the fridge. If you prefer a thick, greek style yogurt you can strain it through butter muslin at this point. However, sheep milk produces a quite thick yogurt without straining.
Step 7: Enjoy!

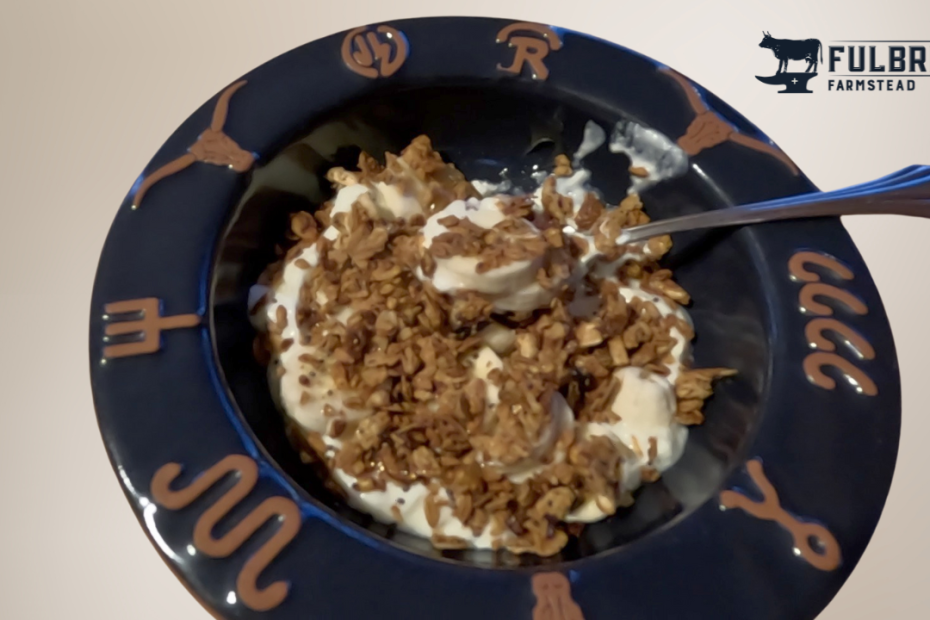
We love to eat our yogurt from breakfast in the morning with fruit and granola. Also delicious in smoothies. My daughter’s favorite way to enjoy yogurt is as frozen yogurt!