How to make Sheep Milk Mozzarella
Do a little digging and you will not find much about making Mozzarella with sheep milk. In this post, we are going to find out if it is possible and how you can do it.
If you ask five different people how to make mozzarella, you will get ten different answers. A search on google will bring up hundreds of articles and videos of the various methods. This is a post on how I did it, which does not mean it is the only way, or even the right way for that matter. All said and done, this method made a finished product that did what it was intended to do.
Sheep Milk Cheesemaking
First, a little background on making cheese with sheep milk if you are not familiar. One of the first things that drew me to milking sheep is the fact that their milk contains almost double the amount of solids as cows or goats milk, which means that their cheese yield is almost two times as much as the dear, humble cow.
They also have higher butterfat and higher protein than cows and goats. Because of these differences, making cheese with their milk also comes with its own nuances. It is recommended by many sources that you use less rennet when working with sheep milk – up to five times less in some cases! The only way to know for sure, is to get your hands dirty (not literally!) and experiment with some cheeses.
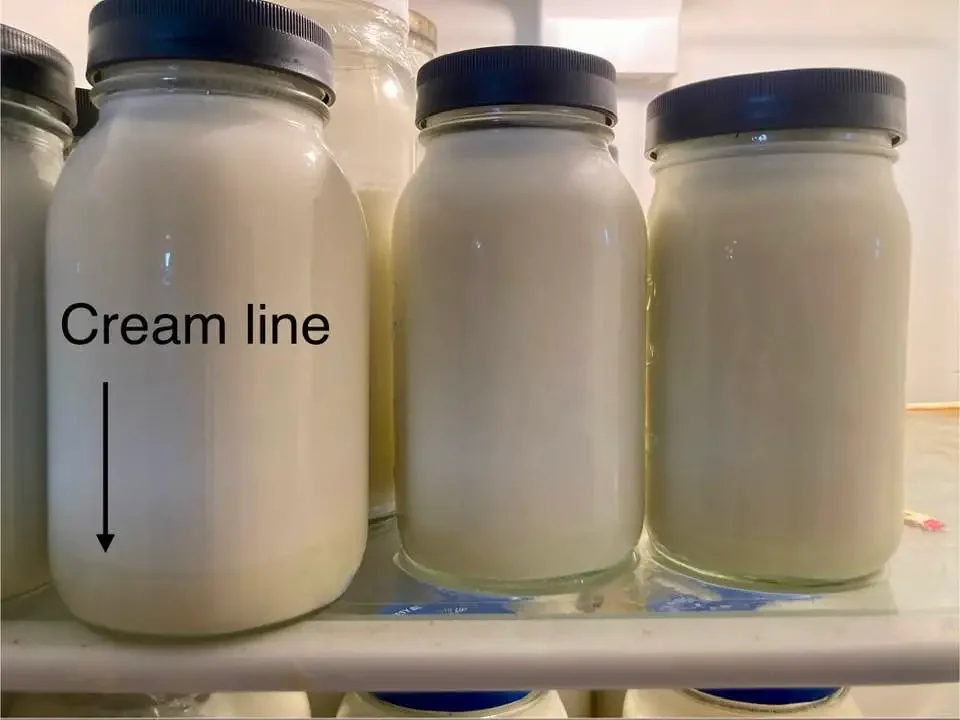
Another nuance to sheep milk cheesemaking is the curd needs to be handled more delicately than cows milk. Cut your curds larger, and stir less to keep more of the cream in the cheese where it belongs.
A further distinction is that mozzarella made with 100% sheep milk will not have the stretch and workability of a curd descendant from cows milk. This makes it harder (not impossible) to determine when the curd is ready to melt / stretch.
With those subtleties covered, let’s dive in to the sheep milk mozzarella process.
How to make naturally acidified sheep milk mozzarella
Prepare equipment & sanitize
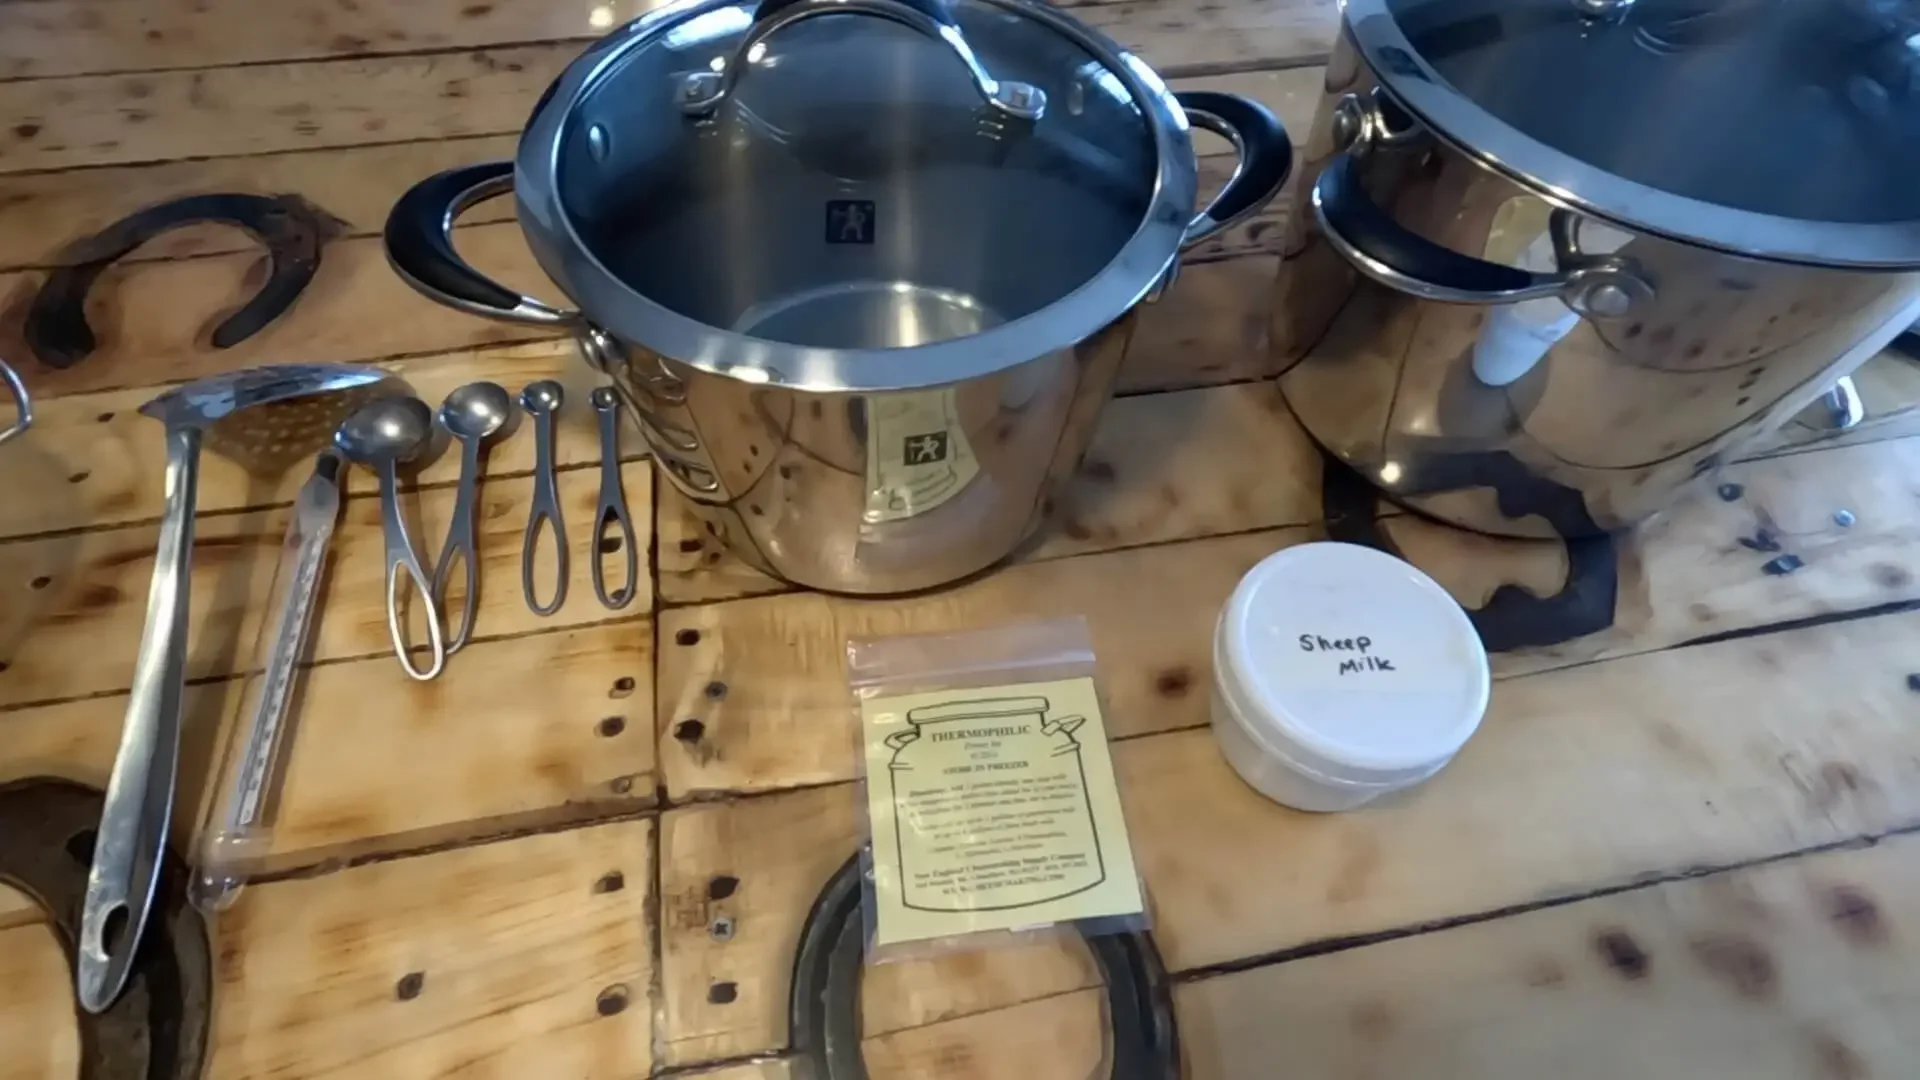
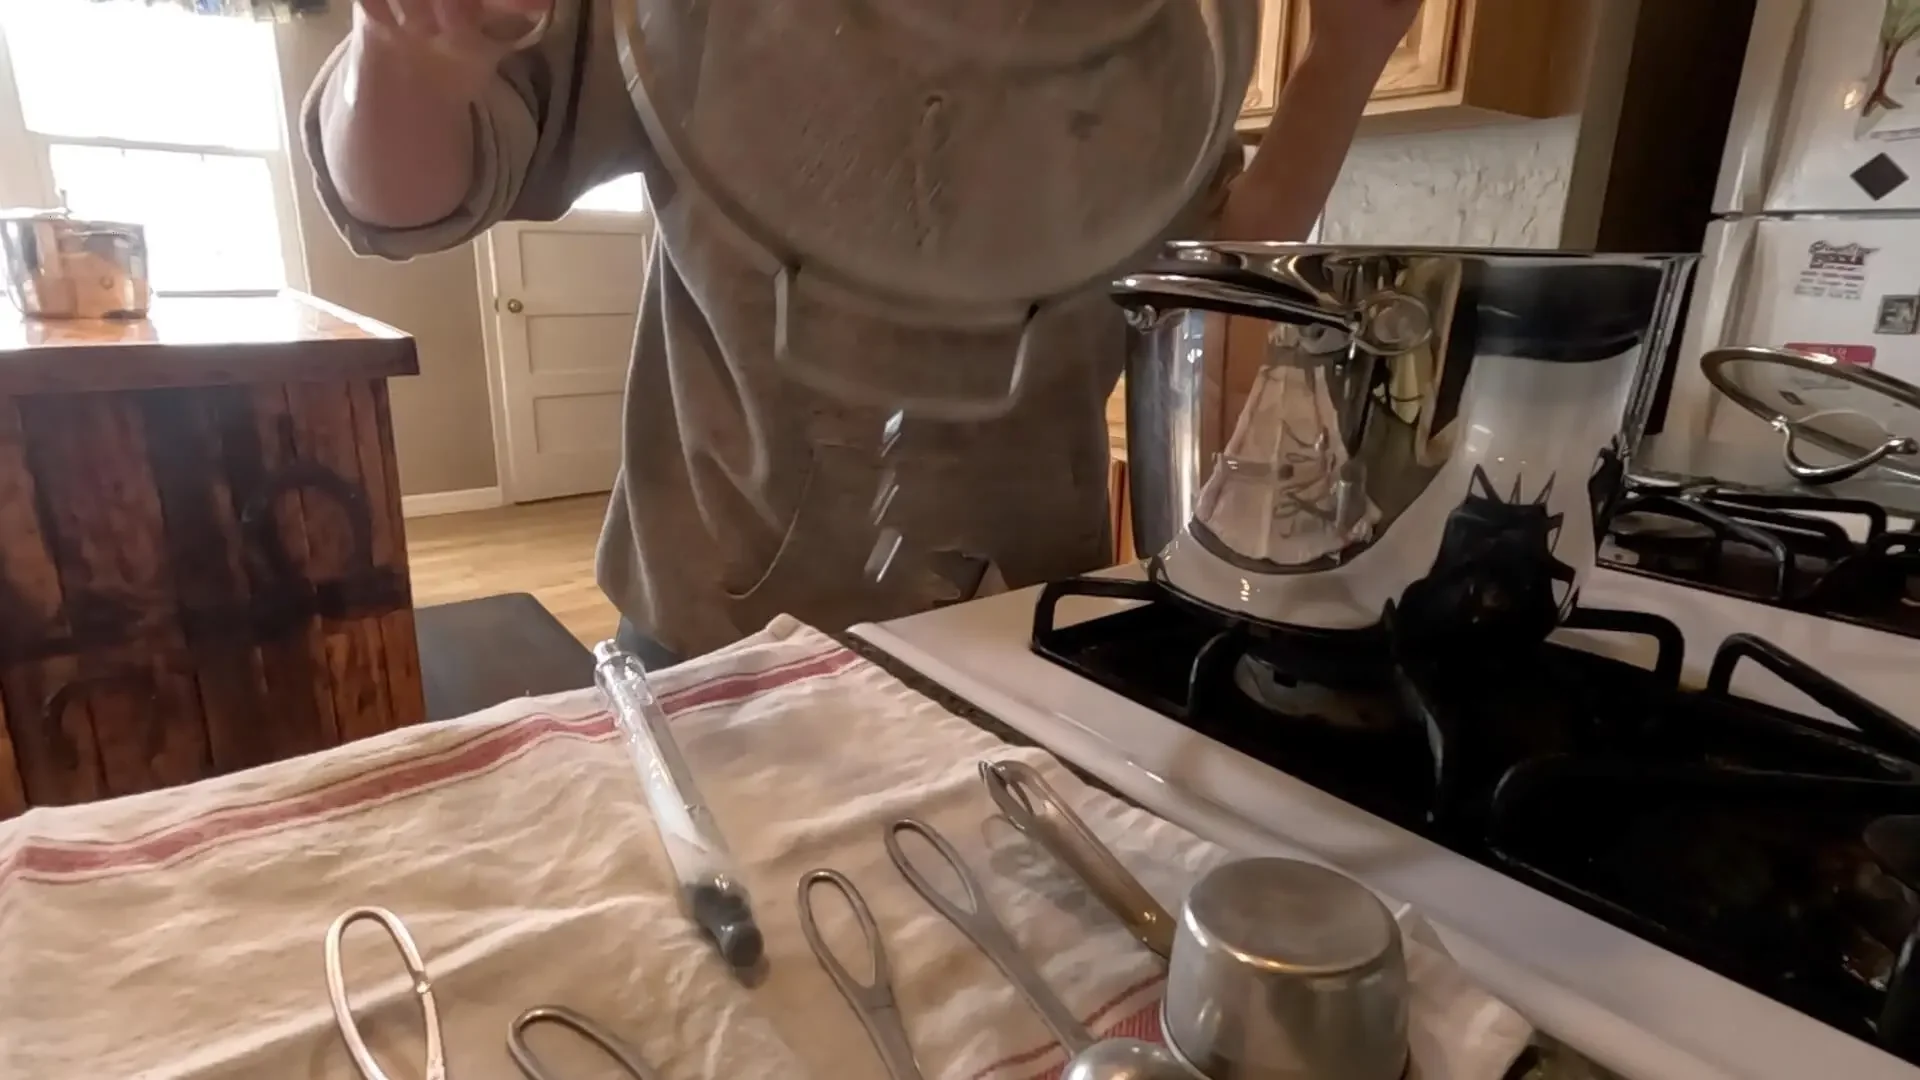
To begin, I laid out all of my equipment and ingredients.
Next, I put all of my equipment (measuring spoons, thermometer, sieve, stockpot, etc) into my milk pot with about 2″ of water, put the lid on, then boiled for ten minutes to sanitize.
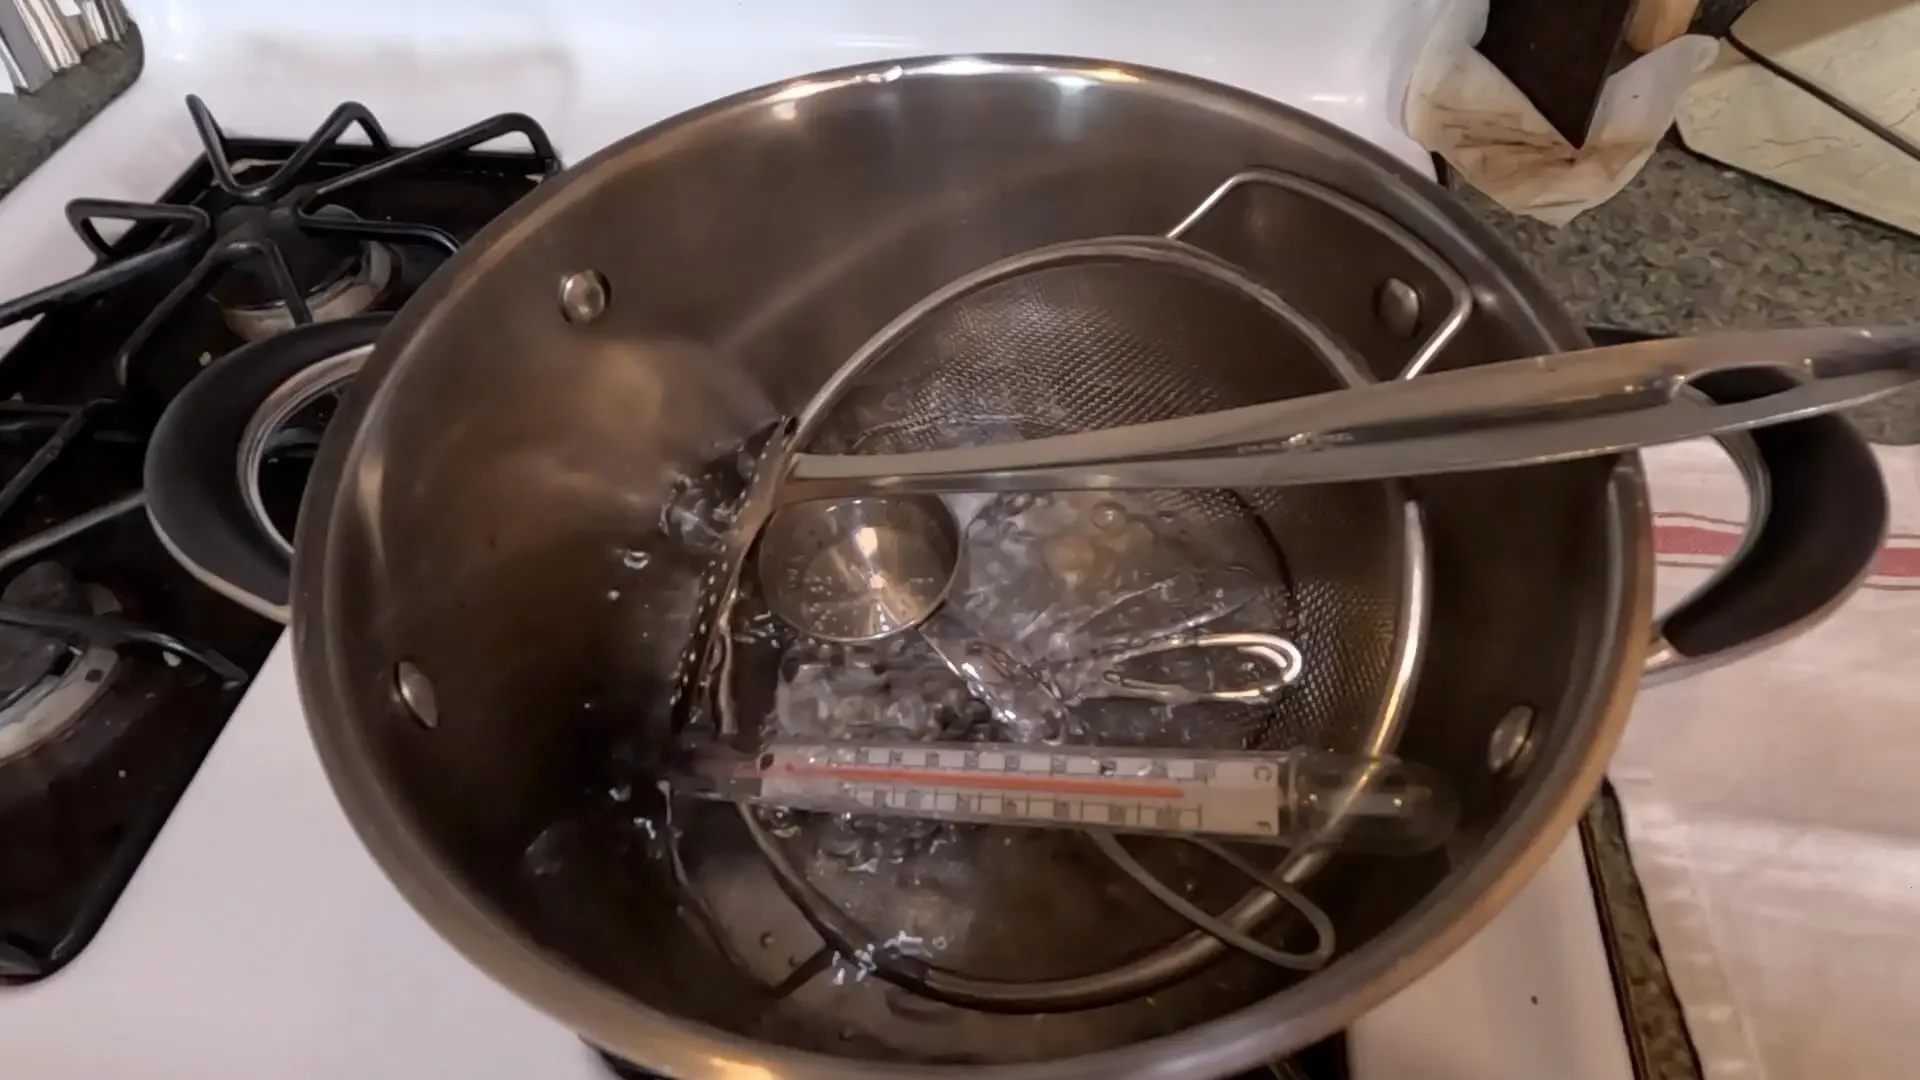
I removed all of the equipment from the boiling water with clean tongs and laid it out to air dry on a clean kitchen towel.
Heat Milk
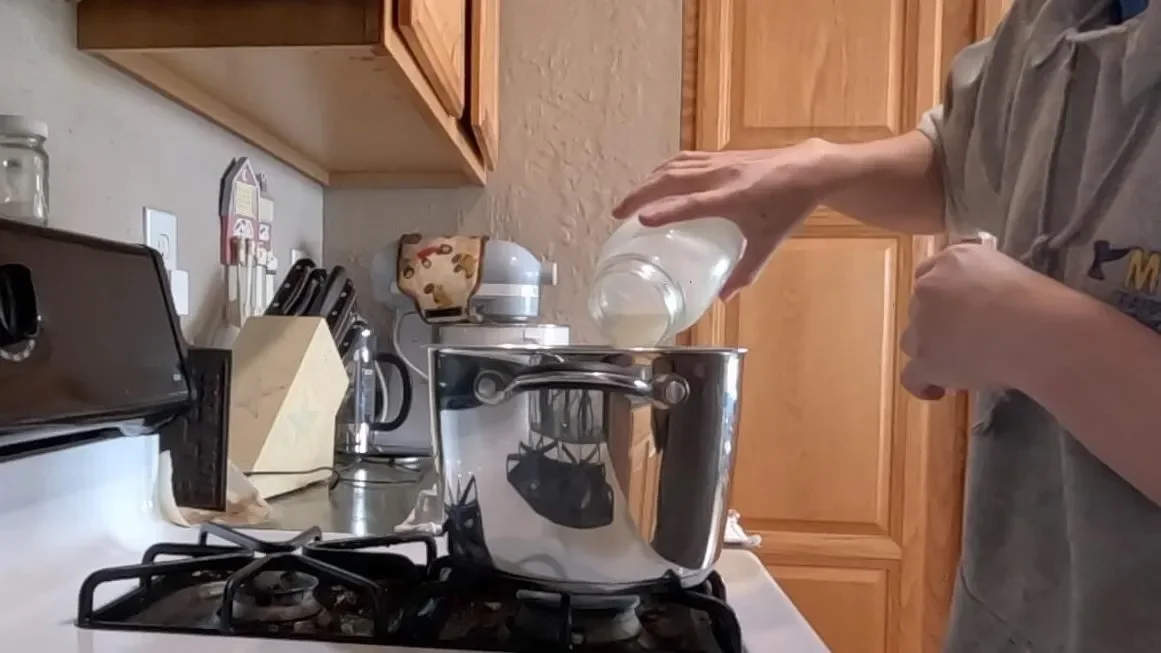
Because I am using frozen sheep milk and I have a limited supply until my ewes freshen again, I decided to make a very small batch. I poured two quarts of milk into my stockpot and gently heated it over a medium flame. Some of my milk was still frozen, this was not a problem. The target temp is 97 degrees Fahrenheit. For cows milk, the target temp is generally 99, since we are working with sheep milk however, I decided to lower it two degrees. Stir occasionally.
Add Cultures
Once I reached 97 degrees, I turned off the heat and added my culture. To be perfectly honest with you, I probably did a lot of things in this recipe that the professionals will warn you not to do. I tell you this not to discourage your faith in me, but because I want to encourage you to just experiment a little! It is ok! Cheesemaking is an art, it is ok to find what works for you!
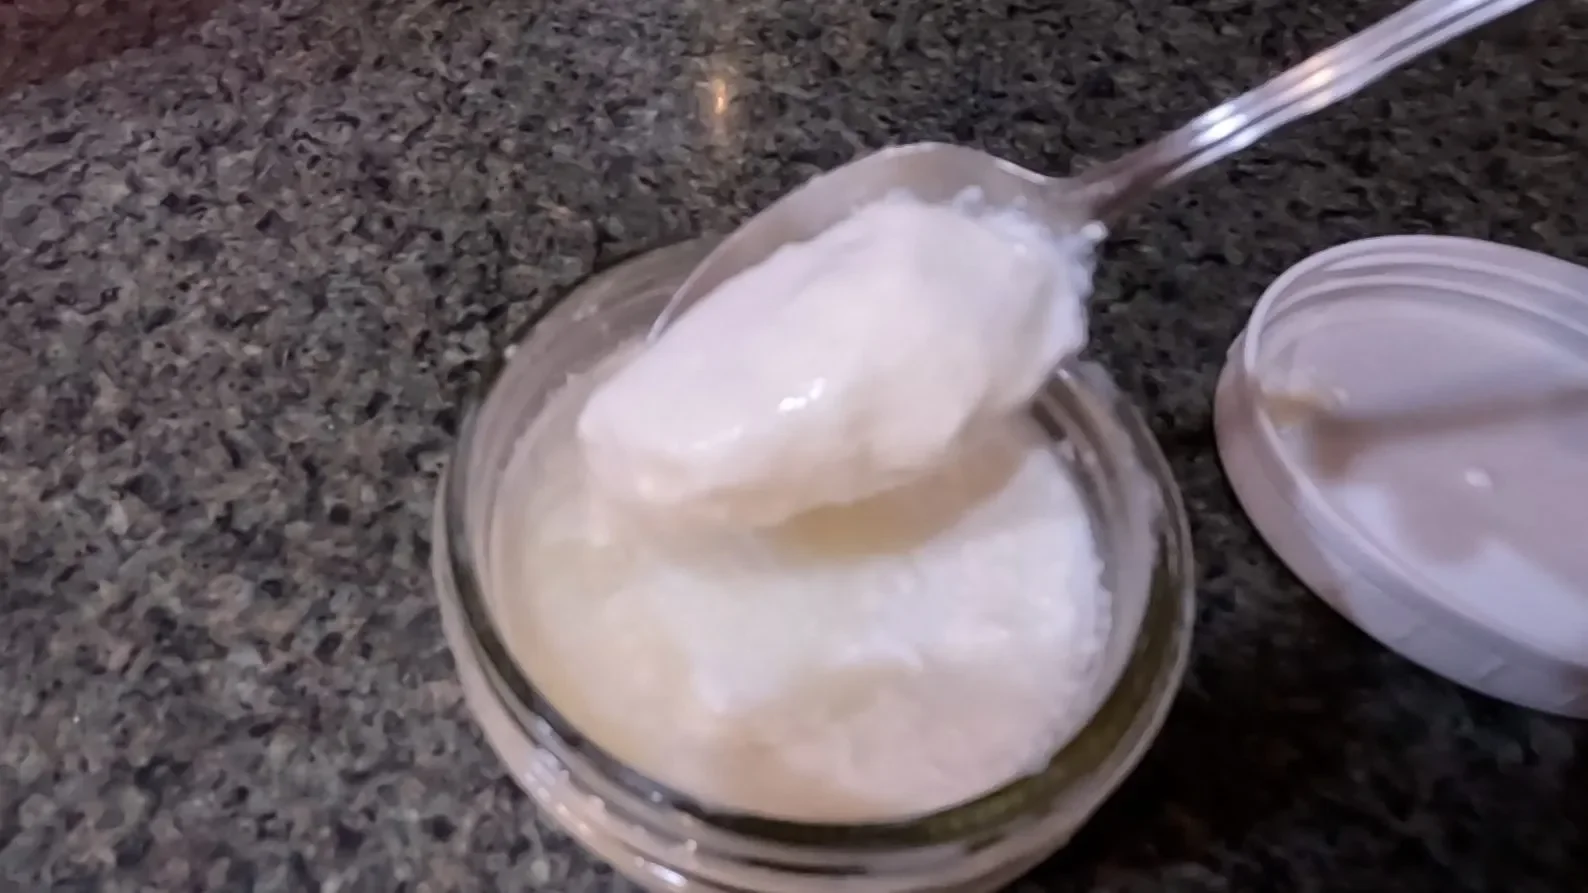
Back to my culture: by the way I am making a traditional, naturally acidified mozzarella – not a “quick” mozzarella where you add an acid. This recipe calls for both a mesophilic culture and a thermophilic culture. Because all of my animals are dry right now, I have no active cultures. The morning before I made this cheese I decided to attempt a clabber with non-fresh milk. FYI – that is not the recommended thing to do but newsflash…it turned out ok! So I had some older clabber in my fridge (probably at least a week old) that I used a spoonful to inoculate some thawed sheep milk. I let it sit for 24 hours. It was not yet completely thickened, but it had a nice lactic acid bacteria smell so I decided to use it for my mesophilic culture. One teaspoon for my two quarts of milk was plenty. For my thermophilic I decided to use a freeze dried culture. Typically I would use yogurt but I didn’t have any on hand. By the way you can use clabber as both a mesophilic and a thermophilic culture.
My recipe called for 1/32nd of a teaspoon for the freeze dried culture. Since I don’t have any measuring spoons any where near that small, I just added a pinch. I let it rehydrate for two minutes and then mixed it in thoroughly, replaced the lid, and let it ripen for about 15 minutes.
Add Rennet
After letting it ripen, I rechecked the temperature. It was still right at the target temp, so I went ahead and added my rennet. The recipe called for 1/8 tsp of rennet for two quarts of milk. I stirred with an up and down motion for approximately 30 seconds. I then drug my spoon backward very slowly through the milk to stop the movement. I replaced the lid and set the timer for ten minutes to check for flocculation.
Flocculation is the point at which milk goes from being a liquid to instantly thickening. Not to be confused with a clean break! For this particular cheese the flocculation didn’t matter too much, but it is nice to check it just to make sure you are on track.
Let it acidify
At this point it is just a waiting game, the milk just needs time to acidify. You will find a wide range for how long this will take. Every milk is different, every season is different. This time, it took about six hours to acidify to the point of stretching for me. I check about once per hour, until it seems it is getting close, then I check more often. This is the part that can be a little tricky, and a little nerve wracking if you are not familiar with the process.
Don’t stress if you mess up. There will be more milk tomorrow, right? Mozzarella is one of those cheeses that is frustratingly simple. And when I say simple, I don’t mean easy. Mozzarella is often touted as a “beginner” cheese. I do not believe this one bit. It is a simple cheese, but it can actually be quite difficult to get right. I digress.
While you are waiting for the cheese to acidify, try to maintain the 97 degree temperature. You DO NOT have to, however if you let the temperature drop it will take longer to acidify as the bacteria will not be as active. To help maintain the temperature I put my milk pot in a hot water bath inside of a larger stock pot. Then occasionally if I noticed the thermometer had dropped a few degrees I would turn the stove on for a few seconds – be careful not to forget about it though… ask me how I know!
Testing the curd
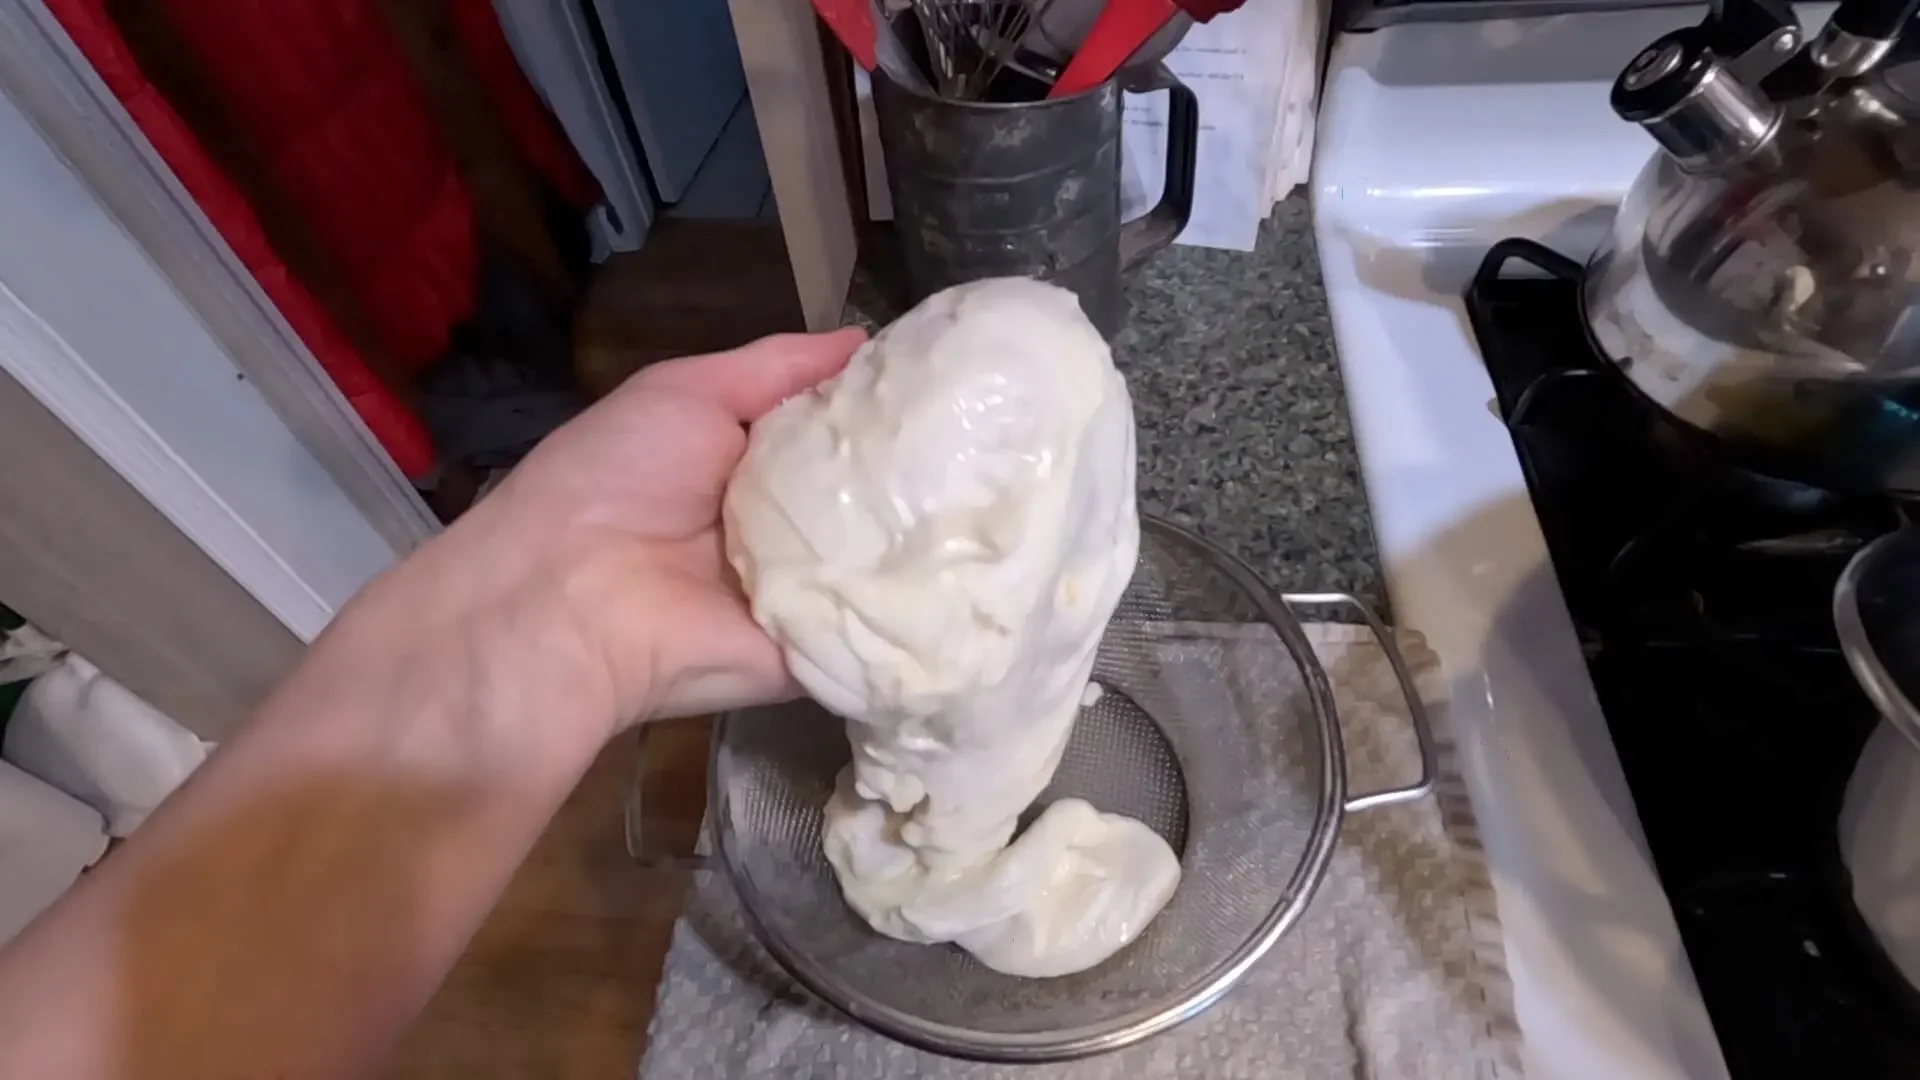
A great way to test if a curd is ready to stretch is by the change in texture. As the ph drops, the curd becomes more pliable and malleable. When it is ready to heat and stretch, you should be able to pick the whole mass up without it tearing or falling apart. Now I will admit, this test works better for cows milk than sheep milk.
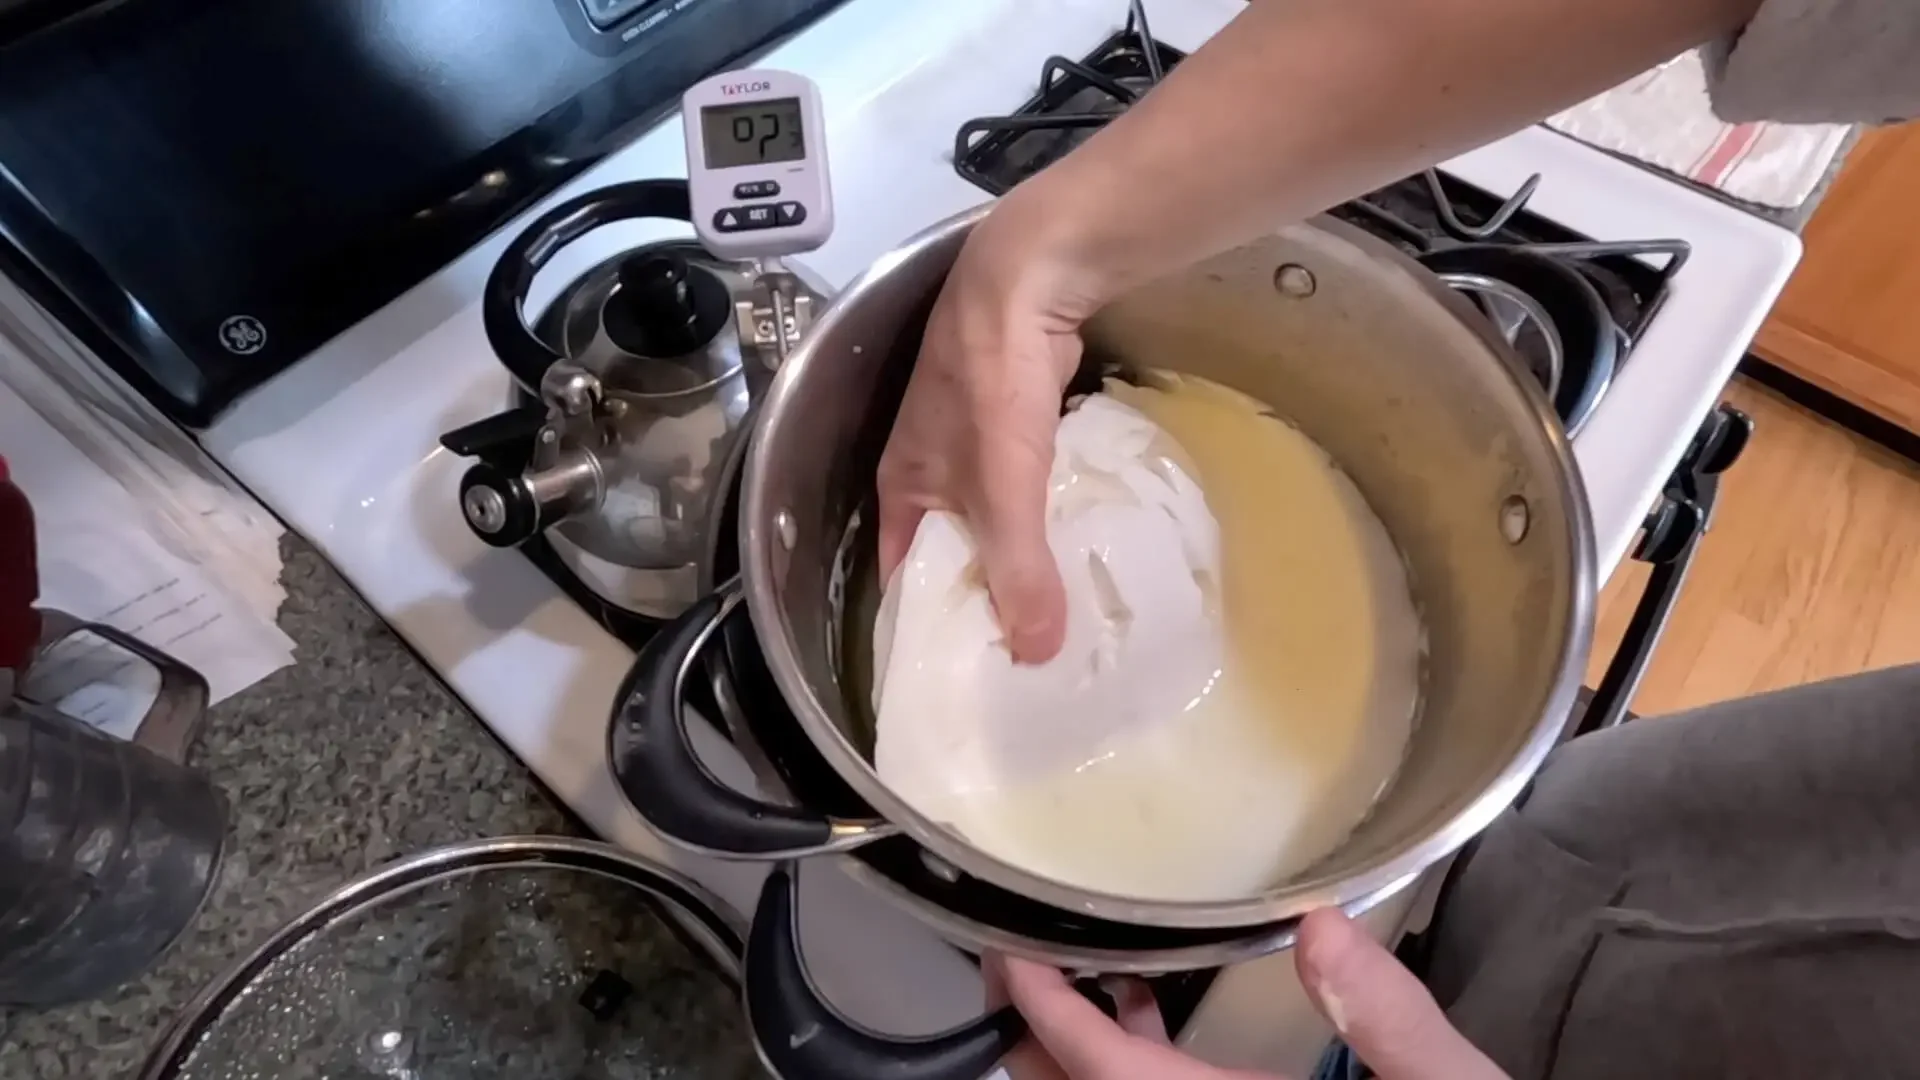
Stretch test. If ready, you should be able to pick up the entire curd mass without it ripping. This was not yet ready.
Another test you can try is simply called the “stretch test”. All you do is heat a kettle of water. You rip off a small chunk of curd, put it into a cup, cover it with the hot water and let it warm up for a couple of minutes. Once warm, you pick it up with a fork and dunk it over and over into the hot water to see if it will stretch. Again, this is a test that works excellent for cow milk, but not so much for sheep milk.


In my experience, the sheep milk will start to stretch slightly using either of these tests once at the correct ph. For cows milk, this slight stretchiness indicates it isn’t quite there yet, which is not the case for sheep milk. The sheep milk is more than likely ready to go.
So how is a milkmaid to know for sure other than lots of trial and error? Well, this is where a ph meter really comes in handy. You can test the ph of your whey to see if it is in the target stretching window of 4.9-5.2. This is what I did. You know I don’t like having to buy extra or special tools, but mozzarella is just one of those things that is finicky and the extra tool really helps avoid frustration!
Ready to stretch? Time to heat!
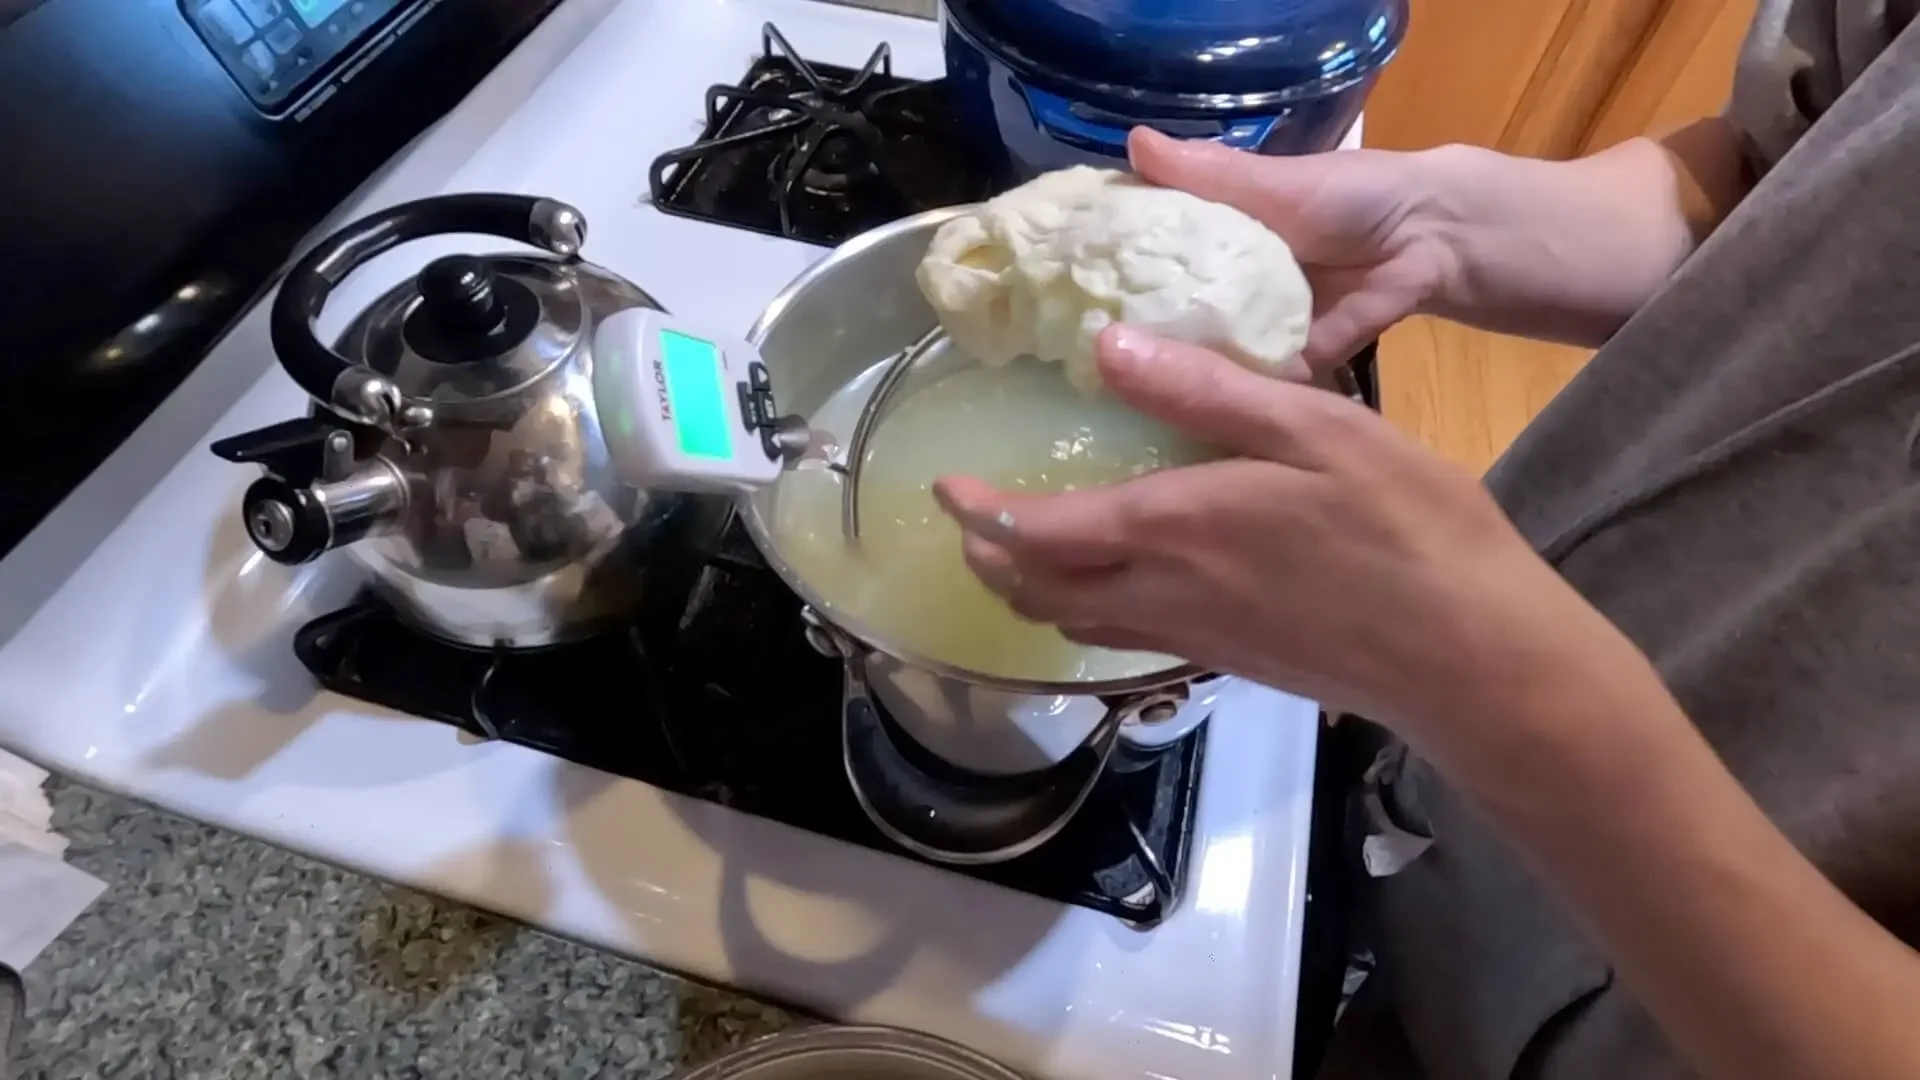
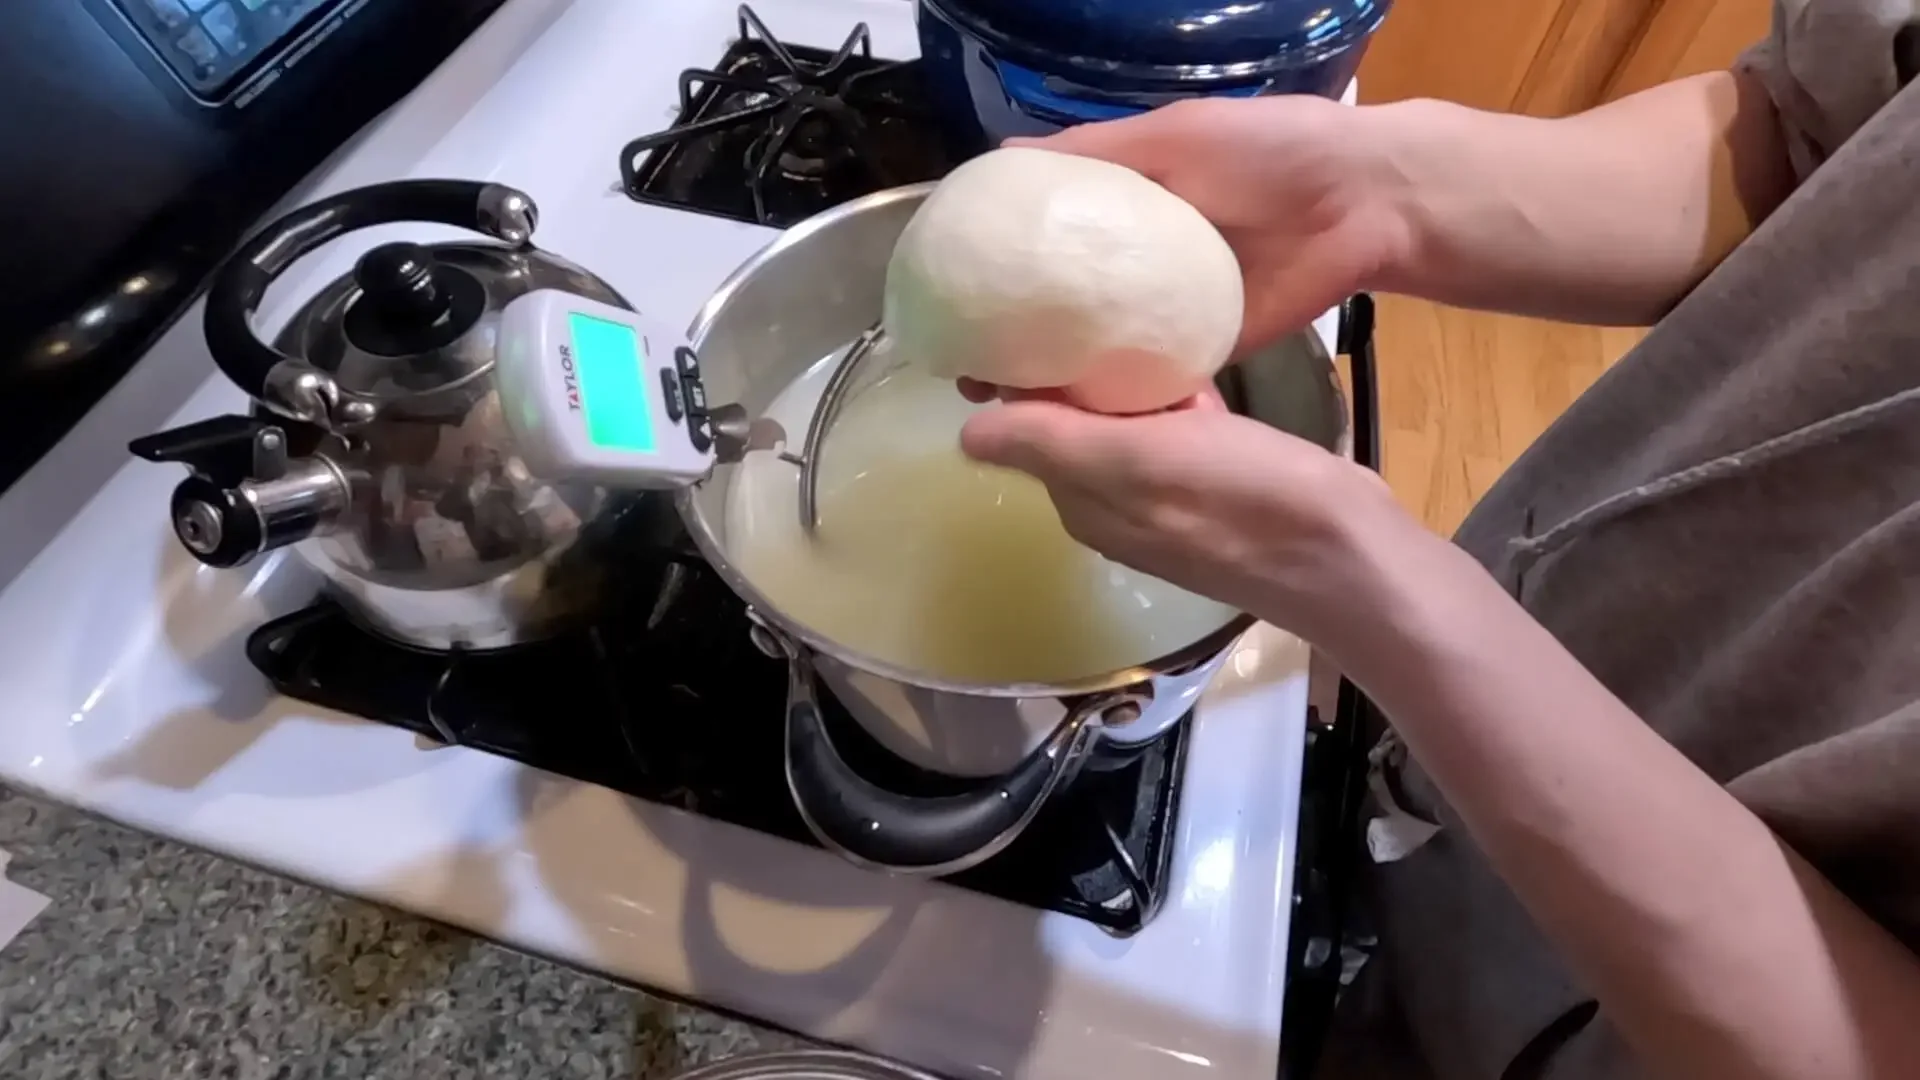
When my whey reached a ph of 4.9, I removed the mass of curds from the whey – you no longer need it to acidify. I heated the whey to approximately 150 degrees. Next, I added the curds back to the whey in a colander. I left them there for approximately 15 minutes to warm thoroughly.
You can see here that I can lift the entire mass without it tearing – that is why I removed it from the whey because it is ready to stretch.
While the curd was warming, I made up a cool brine – 1/4 cup salt to 1 quart cool water or whey.
Knead / stretch your cheese
Once my cheese was thoroughly heated, I pulled it out of the whey and began to gently knead it. The operative word here is gentle! Sheep milk especially needs a gentle touch, or you will squeeze all of the cream right out of it, but mozzarella in general should be worked gentle or it will get tough.
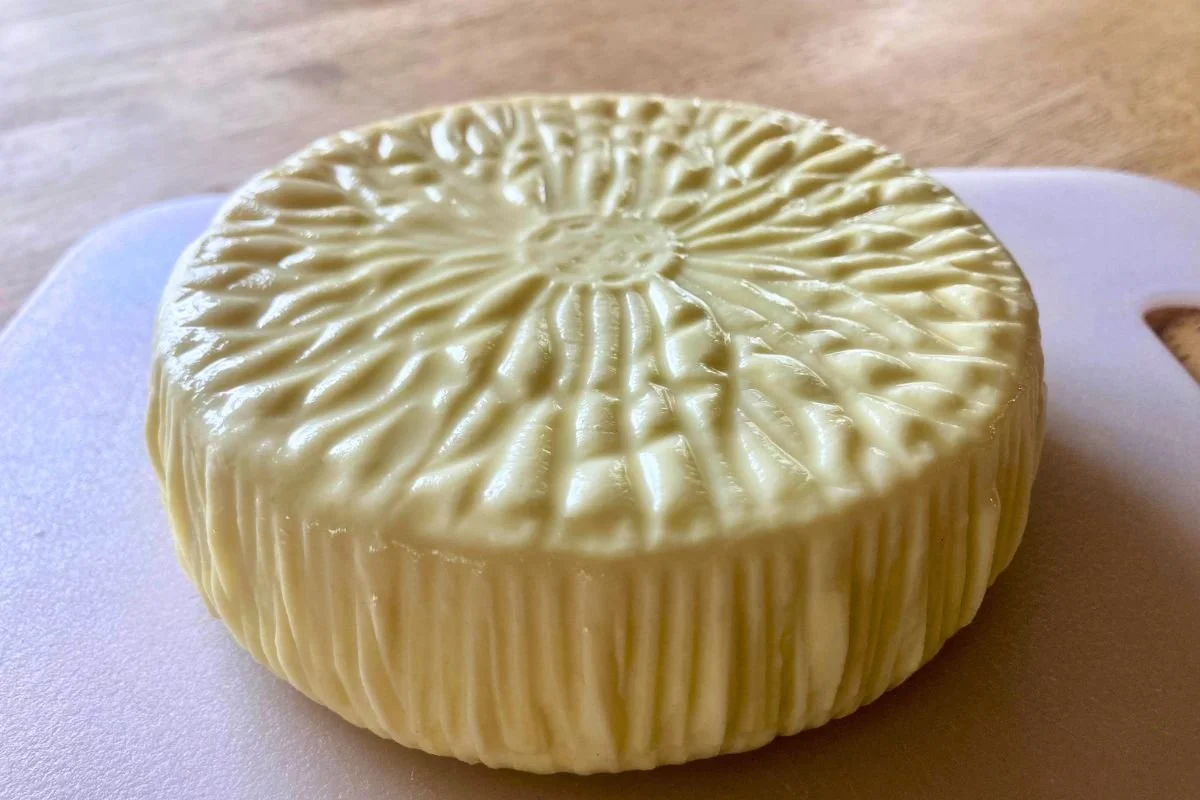
Instead of stretching, I decided to fold the curd under itself over and over until shiny and smooth. I sealed it into a ball and then put it into the brine to cool.
Cool, brine, enjoy
Once it was cool I took it out of the brine and put in the freezer to continue to chill it down so I could grate it easily. After about 15 minutes I pulled it out of the freezer, grated it, and proceeded to enjoy it in my lasagna soup on a below zero evening!
Thanks all for taking the time to read this long post. Mozzarella can be fickle, but it can be done with sheep milk. I hope you have success, but if not keep trying!

Naturally Acidified Sheep Milk Mozzarella
This sheep milk mozzarella can be made at home with only four simple ingredients and minimal hands on time.
Ingredients
- 1 gallon fresh sheep milk
- 40ml active clabber culture
- 1/4 tsp rennet
- salt
Instructions
- Gently heat milk to 97℉ over medium heat while stirring occasionally
- Once target temp is reached, remove from heat. Shake clabber culture to thin then add to warm milk. Mix in for about 30 seconds.
- Add rennet. Stir with an up and down motion for 30 seconds or so. Slowly drag spoon backwards through the milk to slow the movement of the milk.
- Culture: Cover pot and let sit for several hours to acidify. If you can keep it warm it will acidify faster, if not, that is fine it will just take a little longer. See tips below for ways to keep it warm.
- Check hourly to see if the curd has reached the target pH (4.9-5.2). I know that my milk takes right around 5 hours to acidify, see notes below for more information.
- Once the curd is the correct acidity, remove from the pot to a bowl. Heat the whey or a tea kettle to boiling. Pour the boiling water or whey over the curd to let it heat through.
- As the curd warms, gently begin kneading it. (Gently or you will knead all of your cream right out of it).
- Add more hot water as needed to warm it throughout.
- Knead until the curd is smooth and shiny, then, if you want shreddable mozzarella, continue with the directions below.
- Place the curd into a mold. Sprinkle the top with salt and let sit 10 minutes.
- After 10 minutes, flip the curd and sprinkle again with salt. Let sit for another 10 minutes.
- Remove from mold and weigh. Brine for 2 hours / pound, flipping half way through.
- Remove from the brine & place in the fridge overnight to dry and firm up. Shred the next day.
Notes
- Use the freshest milk possible - I like to use milk straight from the udder if I can.
- If you are using older milk - keep in mind it will acidify FASTER than fresher milk.
- Ways to keep your pot warm - wrap in a blanket or large towel. Set in a hot water bath (keep water no more than 97 degrees). If using a water bath you can heat it occasionally just pay attention to your burner so you don't cook your curd and kill off your culture.
- For sheep milk the best way I have found to test for the correct pH is with a pH meter. You can do the tests listed above in the blog post but they aren't as definitive with sheep milk as they are cows milk.


More about dairy sheep and milking:
Pin for later
