The Bare Necessities Guide to Home Butchery (Especially for Lambs)
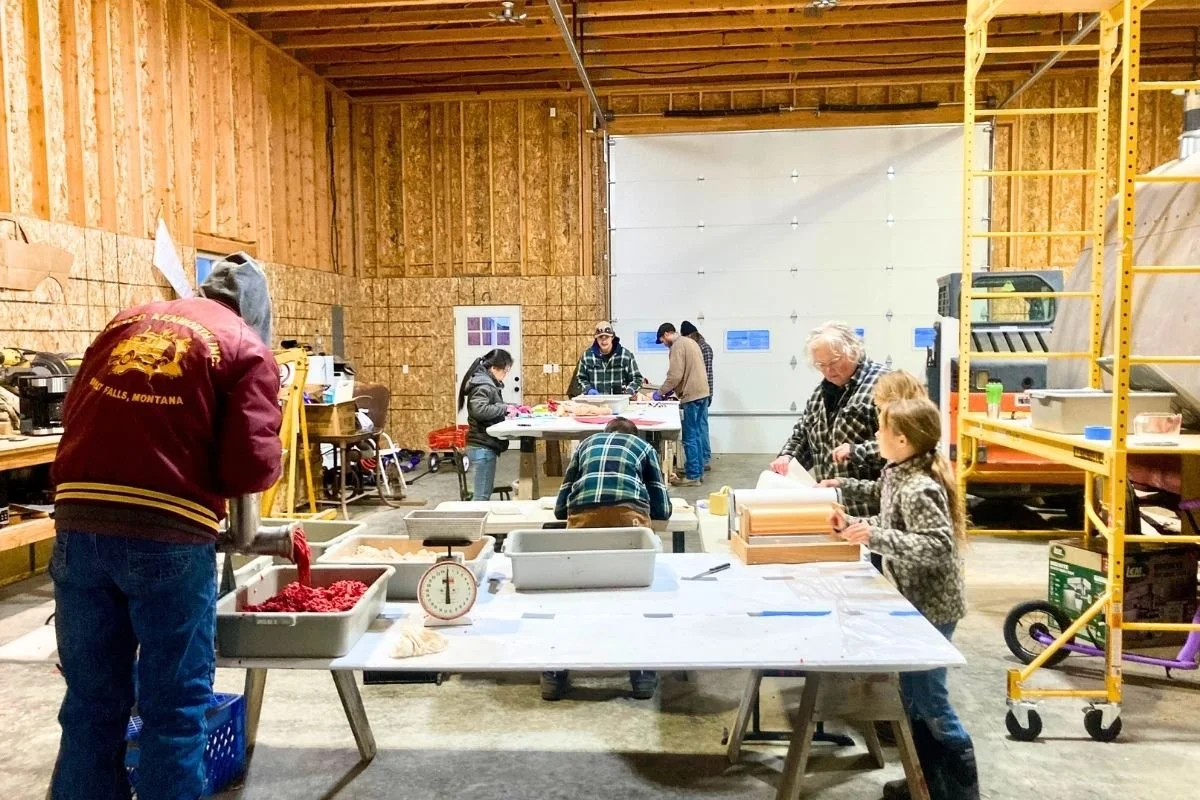
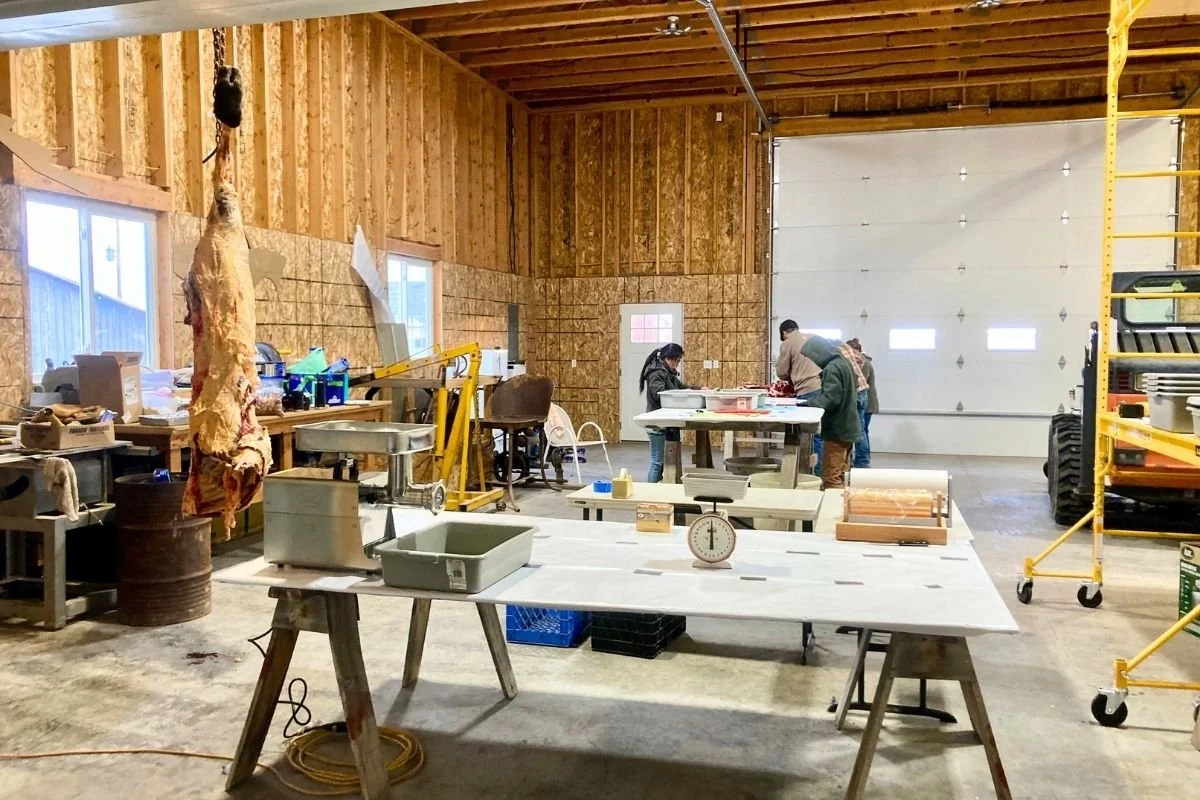
Our home butchering setup out in our shop. It may look like a lot but really it is just sheets of plywood covered with freezer paper and saw horses, and a few other essentials.
If you prefer to skip over the dispatch and butchering details and just want the simple list of tools, drop your name and email below—I’ll send the checklist straight to your inbox.
We once had a friend come out to help butcher a steer. Before the big day, he texted my husband a long list of all the gear he thought he needed—thousands of dollars worth of equipment. My husband just laughed and said, “You really don’t need hardly any of that.”
When butchering day came, our friend realized just how true that was. Home butchery doesn’t require tons of expensive equipment—you can truly get by with the bare essentials.
We butcher all of our own meat here—chickens, pigs, deer, cows, and of course lambs. Each species has its quirks, but since this blog is all about sheep, today we’re focusing on lambs.
How to Butcher a Lamb at Home (With Only the Basics)
Believe it or not, the only tool you absolutely need to butcher a lamb from dispatch through final cuts is a sharp hunting knife. That’s right—one knife can do the entire job.
Of course, a few inexpensive tools make the process easier and faster, so we’ll talk about those too.
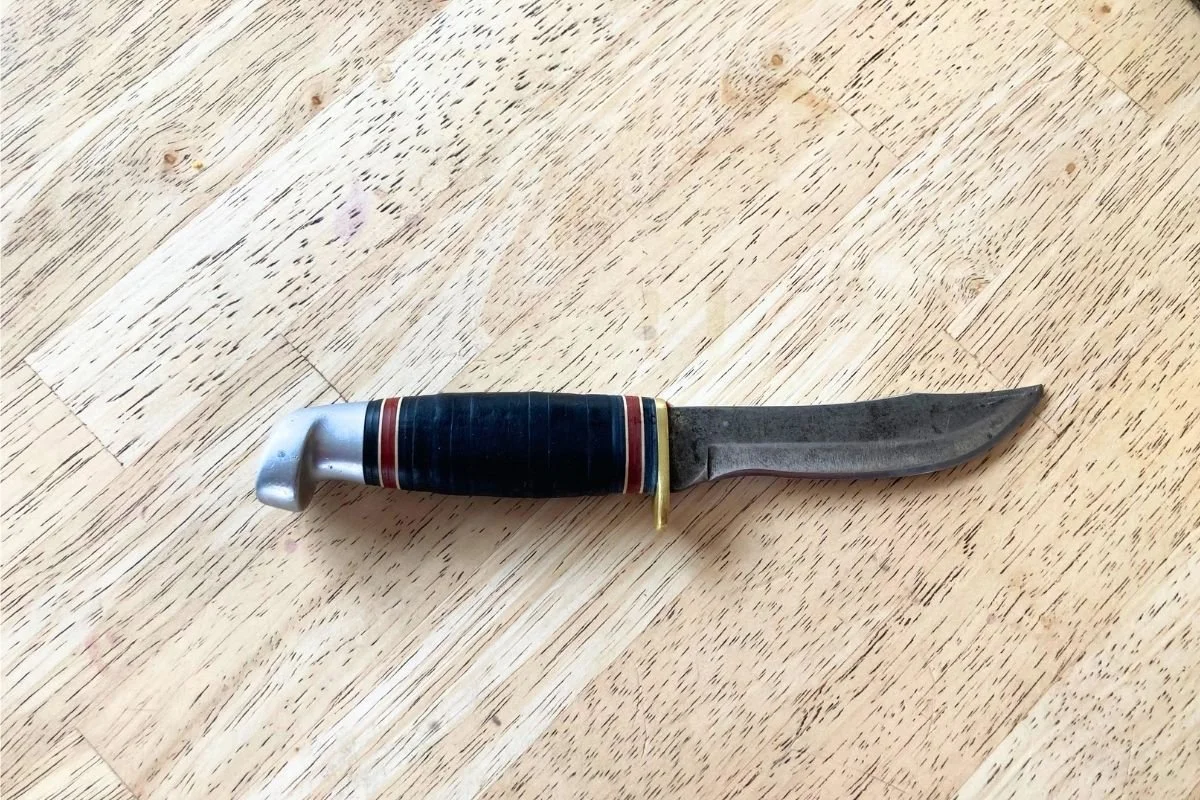
My husband’s hunting knife, one of my favorites to use for butchering.
Dispatching the Lamb
You have two basic options:
A rifle
A knife (throat cut)
If using a rifle, aim for the back of the skull, not the forehead. The frontal bone on sheep is thick due to ramming behavior, so the back is the correct placement. Even with a rifle shot, you’ll still need to slit the throat afterward to bleed the animal out.
It doesn’t sound pleasant, but when done properly, a swift throat cut is actually one of the quickest and smoothest dispatch methods.
Skinning & Gutting
Your main tool here is still the hunting knife.
A way to hang the carcass is extremely helpful—we use a gambrel my husband forged. You can also buy a gambrel, use a sturdy branch, or improvise with rope.
A hand bone saw is optional but incredibly useful (and inexpensive). We use it to split the rib cage and pelvis.
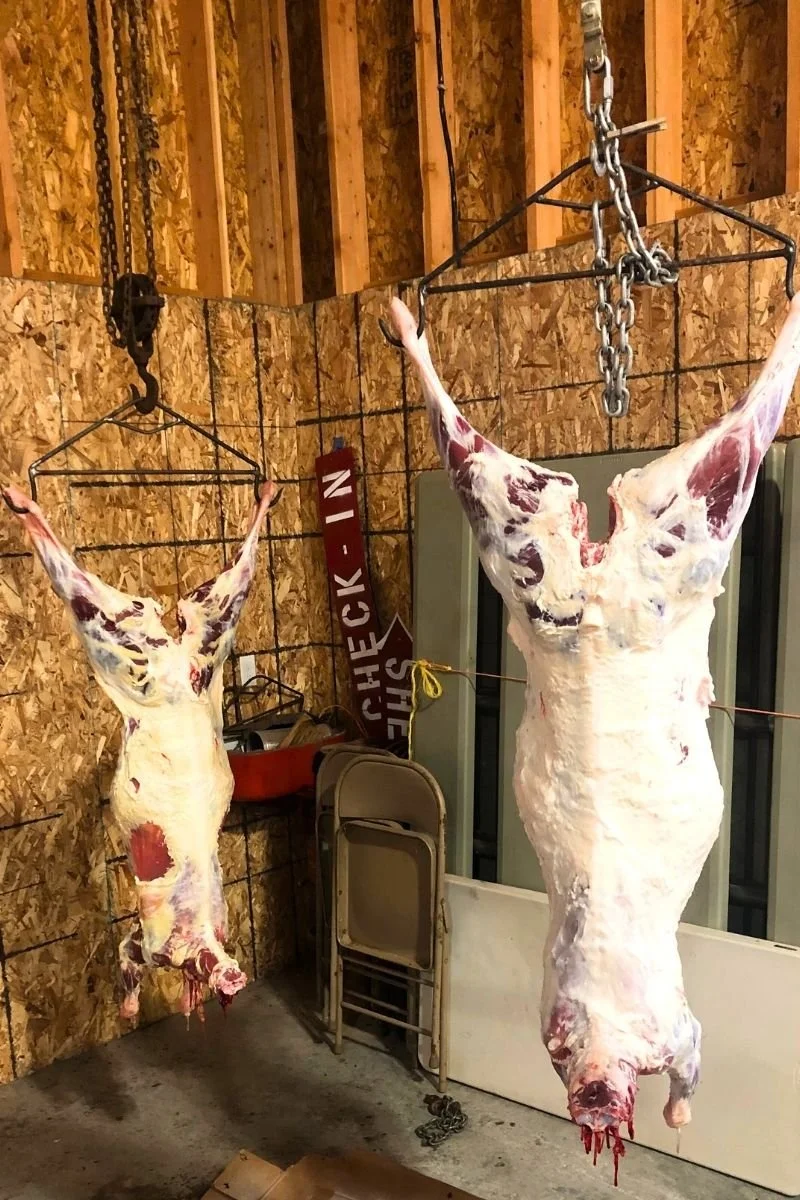
Lambs hanging in our shop on the gambrels my husband made.
Our Method (Not the USDA Standard)
We gut first, then skin. This helps the carcass cool down much faster, which improves flavor and overall meat quality.
Once the intestines and organs are removed, we begin skinning. This entire step is done with knives—no fancy tools needed.
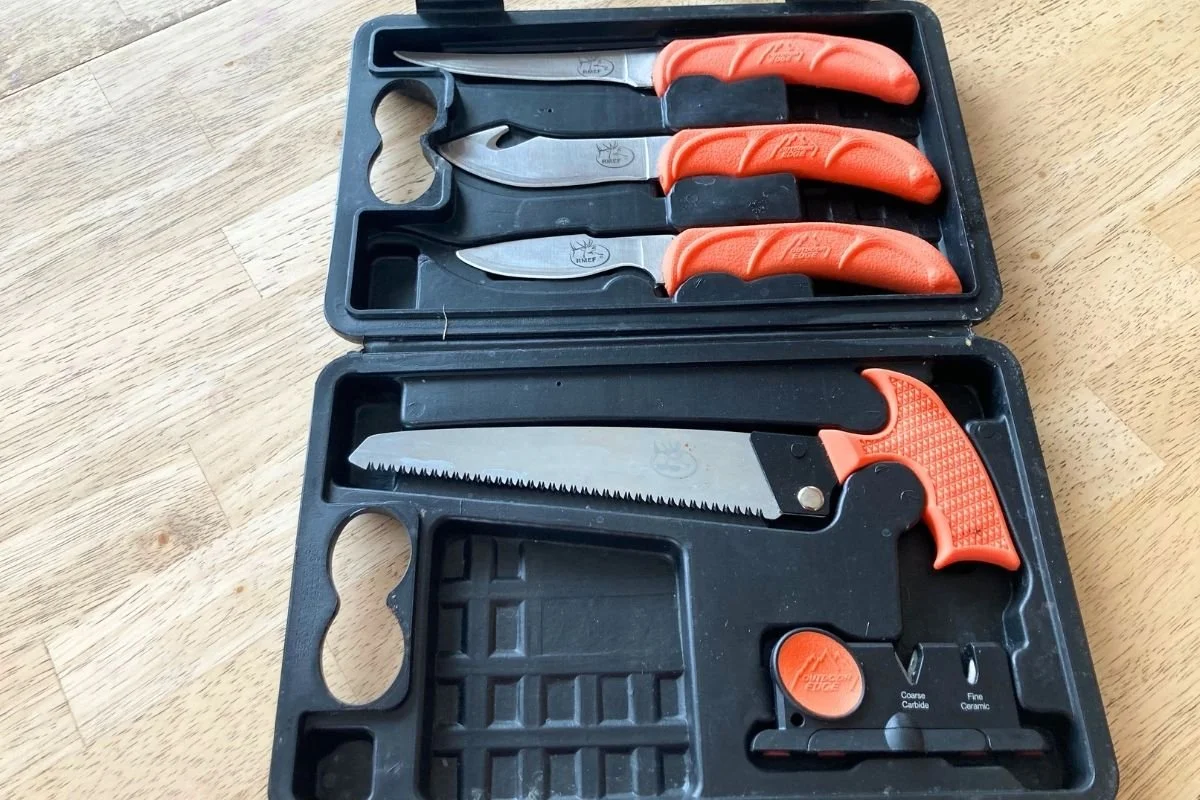
We love this kit - it has about everything you need! Check it out here.
Skin all the way down to the ears, rolling the wool outward so lanolin doesn’t smear onto the meat. If a bit does get on the carcass, don’t worry—you can rinse everything with a hose.
When you reach the head, you can often remove it at the joint with just your knife. If it’s stubborn, use the bone saw (or a sawzall in a pinch).
After skinning, thoroughly hose off the carcass and hang it to chill in a cool area. Everyone prefers different hang times, but we typically let lambs hang for about 24 hours.

Cutting and Wrapping the Meat
I’m not detailing the full cutting process here, but just know: lamb is very beginner-friendly. They’re small enough that two people can cut and wrap one in an afternoon.
There’s a great YouTube tutorial you can watch here and here that walks through basic cuts using simple tools.
We follow that method pretty closely, with a few personal preferences:
We bone out the loin (like a deer) and cut it into steaks instead of making bone-in chops.
We leave the belly whole (lamb breast) and cook it as one piece—this recipe is my kids’ favorite:
Roasted Lamb BellyFor smaller lambs, we keep roasts whole instead of breaking them down into smaller cuts. Our hungry family appreciates large cuts of meat!
Bare Necessities: What You Need to Butcher a Lamb at Home
Absolute Essentials
Sharp hunting knife
The exact set we have is no longer available but this option from the same company is very similar. We love this because for $50 you have everything you need - a bone saw, a boning knife, an all purpose knife, and a sharpener. We have had this set for many years, use it a ton, and the knives hold an edge great.
Hand bone saw
Packaging materials (we use: plastic wrap → freezer paper → freezer tape)
We use LEM paper and tape. For plastic wrap we buy a giant roll from sam’s club and it lasts us years! My husband built an improvised cutter for it and it works great.
Cutting boards
Bowls or containers
Preservation method: freezing, canning, etc
Sharpie for labeling
Really Nice to Have
Gambrel
Grinder (we grind only the trim—roasts are too good to sacrifice!)
This is the small grinder we used for years and loved. We have since upgraded to this which works great for really big jobs
Scale for weighing cuts
Knife sharpener & steel —especially helpful when cutting through layers of fat
Would Love Someday, But Not Required
Meat bandsaw — fantastic for bone-in cuts, but definitely a bigger investment
FAQ: Home Butchering Lambs
How long should a lamb hang before cutting?
We prefer about 24 hours in a cool space. Some people hang longer, but lamb doesn’t require extended aging like beef.
Do I need a stainless steel table or commercial setup?
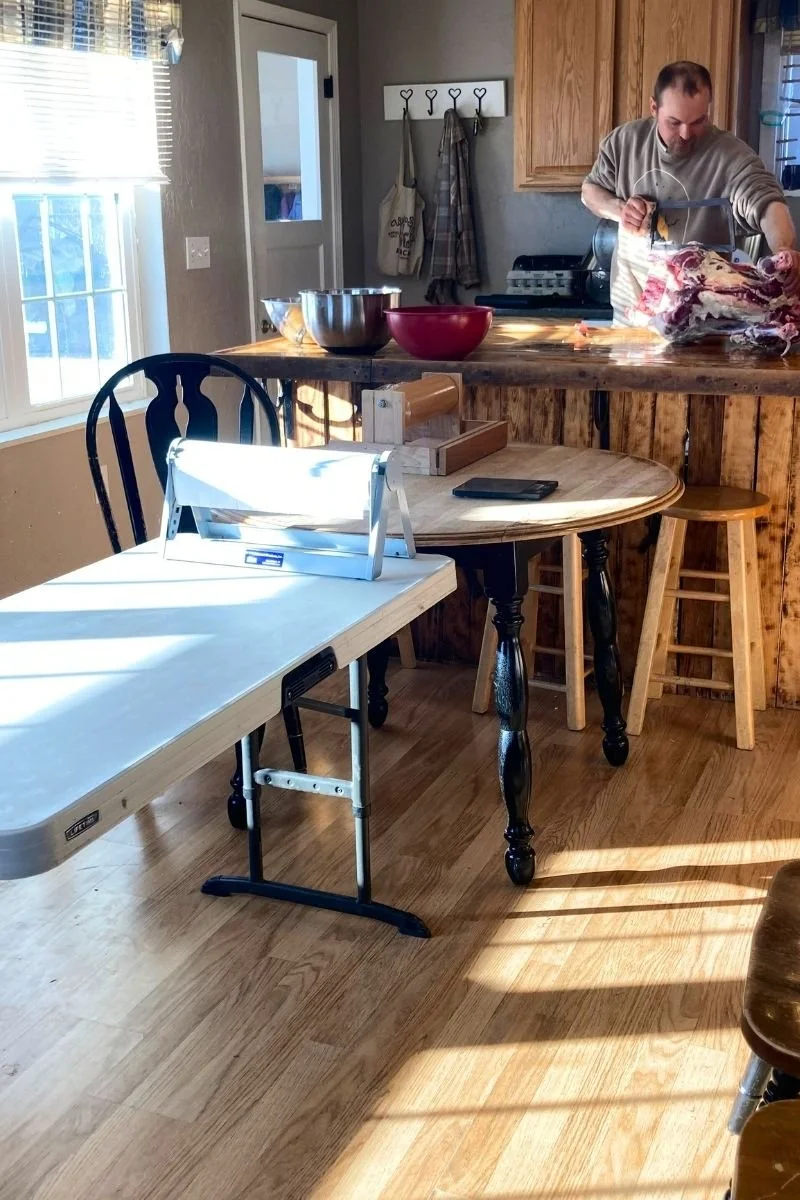
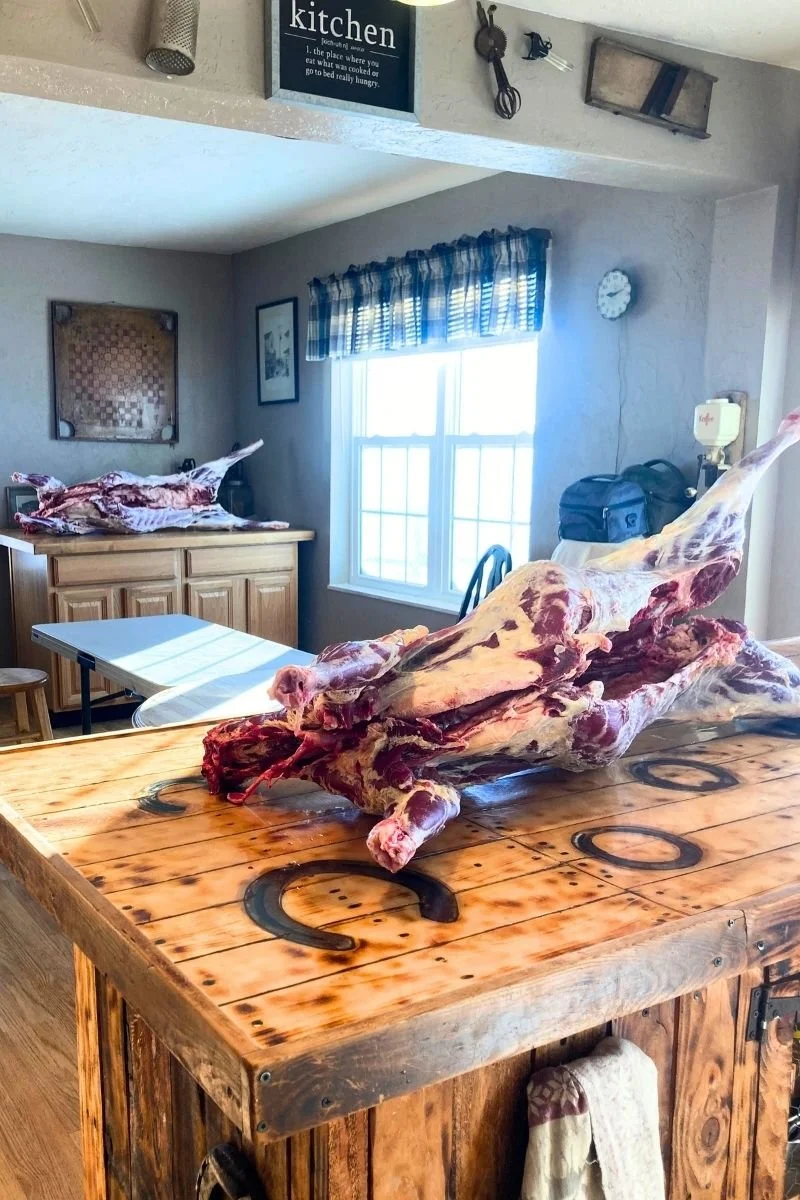
Nope. A clean surface and basic sanitation are enough. Keep everything cold and clean—that matters far more than fancy equipment. You can see our two different setups in the images below. Normally we have a big gathering and have family come help out in our shop. This time we had a storm and ended up bringing the lambs inside and cutting them up right in our kitchen! Same methods, smaller space.
Can I butcher a lamb alone?
Yes, especially if it’s a smaller lamb, though having a second person speeds things up and makes certain steps easier (like lifting and hanging).
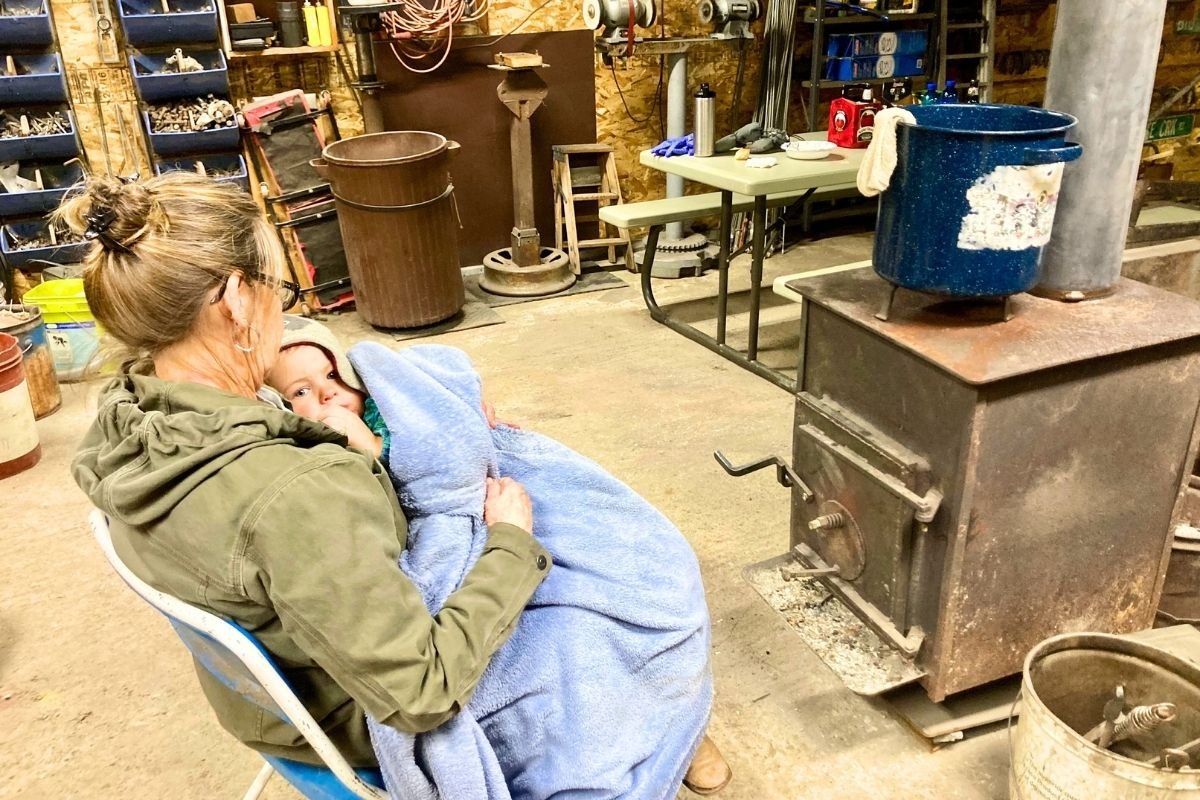
This little guy likes to get in on helping during butchering day but he had had just about enough here and was ready for a Grandma snuggle!
