Buttermilk: Old Fashioned vs Cultured - What's the Real Difference?
If you've started making your own butter at home, you've probably noticed that brownish liquid left behind after churning. That's buttermilk—but is it the same as the buttermilk you can buy at the store? I'm going to show you exactly what makes these two types of buttermilk different, how to make both from scratch, and which one you should use for your homestead kitchen.
When I first started churning butter on our homestead, I assumed that leftover liquid was the same as store-bought buttermilk. Come to find out, they are two totally different things. In this post I’ll explain to you the difference and how to make cultured buttermilk at home.
What Is Old Fashioned Buttermilk and How Is It Different from Cultured Buttermilk?
The confusion around buttermilk makes perfect sense—the same name refers to two entirely different products, and knowing which one you're working with matters for both cooking and food preservation.
Old fashioned buttermilk is simply the liquid that remains after churning sweet or fresh cream into butter. When you agitate heavy cream, the fat molecules clump together to form butter, and what's left behind is a thin, slightly sweet, brownish liquid.
Cultured buttermilk, on the other hand, is made by adding beneficial bacteria to cream and allowing it to ferment for 12-24 hours. The bacteria consume lactose and produce lactic acid, which thickens the cream (sour cream!) and gives it that characteristic tangy flavor.
Despite sharing a name, these two liquids look different, taste different, store differently, and behave differently in recipes. Let me show you exactly how.
How Old Fashioned Buttermilk Is Made
Making old fashioned buttermilk is wonderfully simple—it's just a byproduct of butter making:
Skim cream from your milk (or use a separator)
Pour it into your churning vessel (a jar, a kitchenaid, a blender, an actual churn, etc)
Churn for 10-20 minutes until the cream “breaks” into butter
Strain out the butter
The liquid that remains is your traditional buttermilk
The entire process takes about 15-20 minutes of active work, and you get both fresh butter and buttermilk from the same batch of cream. On our homestead, I typically churn butter once a week, which gives us a steady supply of this mild buttermilk for drinking, cooking, and feeding to our animals.
How Cultured Buttermilk Is Made (My preferred method)
Cultured buttermilk requires a bit more patience but very little hands-on work:
Skim cream from your milk (or use a separator)
Stir in about 3 tbsp clabber (what I use) or cultured buttermilk (from a previous batch) per gallon of cream
Cover & leave at room temperature for 24 hours until thickened
The next morning it should smell like delicious sour cream! Put in the fridge for a day and then churn
Churn for 10-20 minutes until the cream breaks into butter
Strain out the butter
The remaining liquid is your cultured buttermilk
I keep a clabber culture going in my kitchen to use as a starter culture for cheese, cream, quark, cottage cheese and more!
Cultured Buttermilk

Culture your cream before butter making to get buttermilk that is thick, tangy and delicious!
Ingredients
- Fresh Cream
- Mesophilic culture: Clabber or cultured buttermilk
Instructions
- Separate your cream from your milk either by skimming off the top or using a cream separator
- Using a 1:100 ratio, add your culture to the cream. I like to use a well fed clabber culture. I use about 3tbsp / gallon of cream
- Cover and let sit at room temperature for 24 hours
- Refrigerate for 24 hours
- Churn cream into butter - it should take 10-20 minutes
- Strain off cultured buttermilk
- Refrigerate and enjoy in your favorite recipes!
Notes
Cultured buttermilk should last a couple weeks in your fridge. For longer storage, freeze it.
If it separates, just shake it back up.
The Visual and Sensory Differences: My Side-by-Side Comparison
To help you really understand the difference, I separated a batch of cream into two separate bowls. One I cultured and one I didn’t.
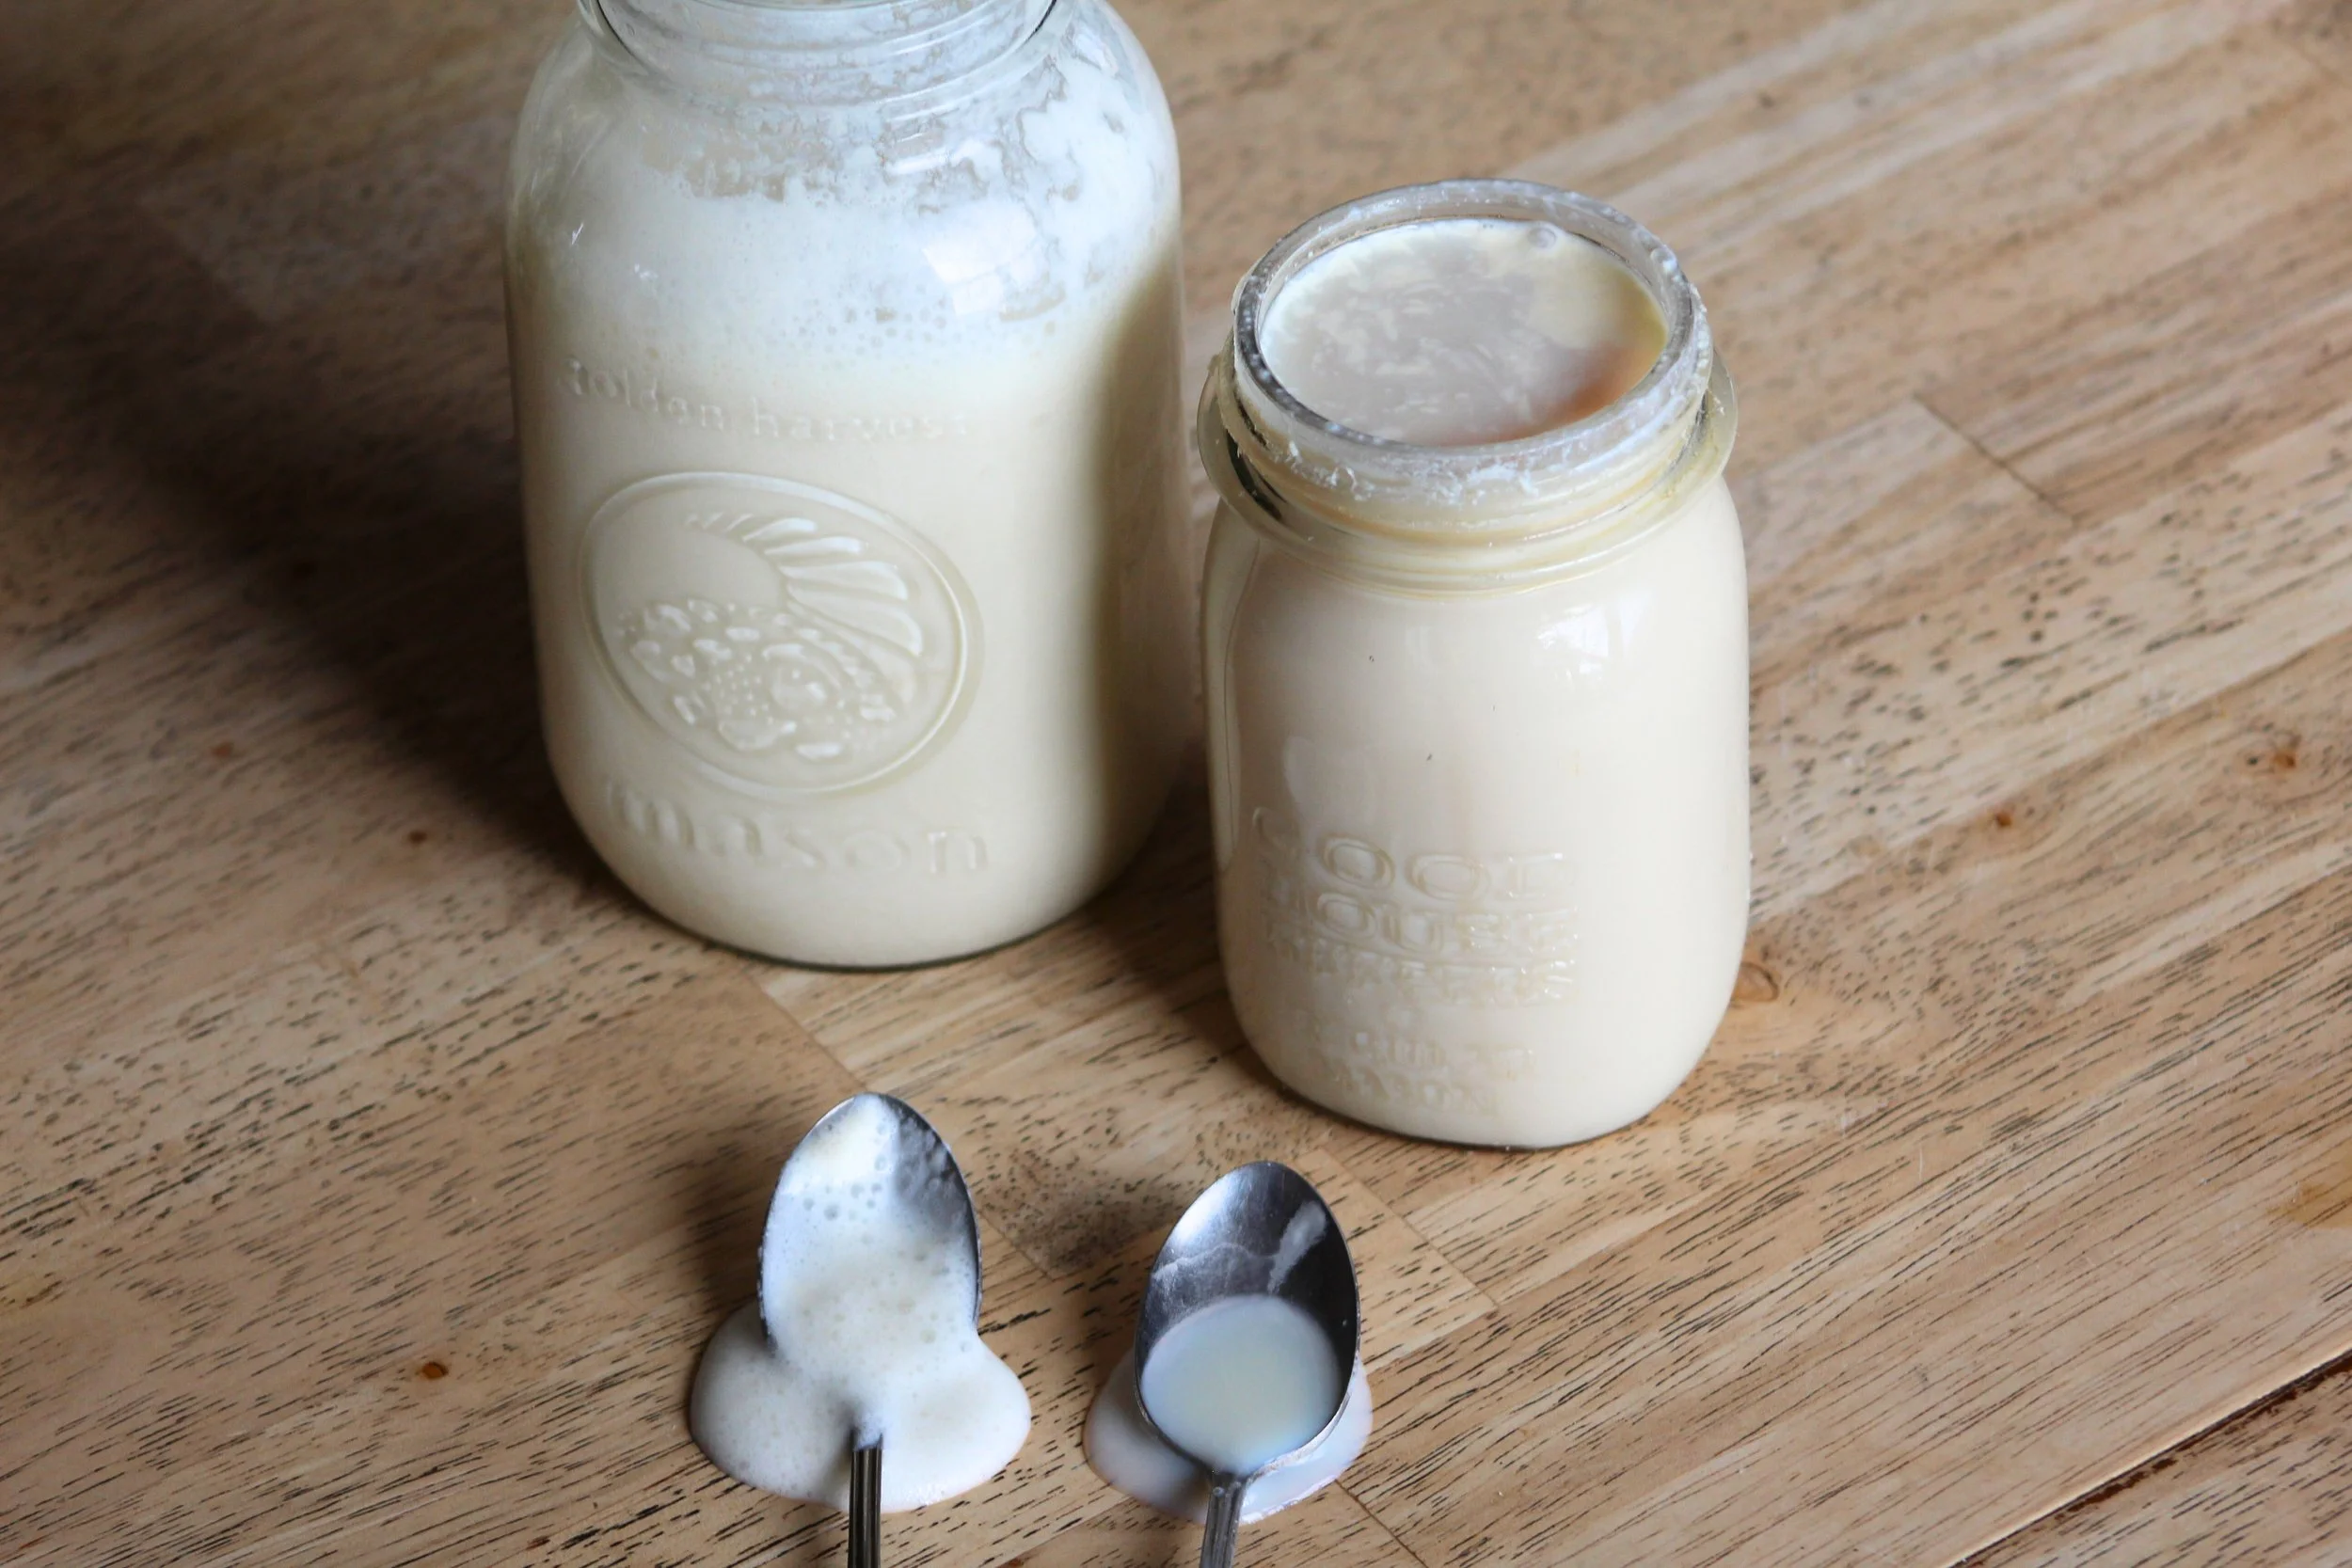
Appearance: Old fashioned buttermilk looked almost like thin skim milk— pale, brownish and watery. When I poured it, it flowed like water with no body to it at all.
Cultured buttermilk was noticeably thicker and opaque, with a creamy white color. It poured more like heavy cream, coating the sides of the glass.
I will note that while it is pretty easy to see the differences in person, it is quite hard to capture on camera!
Smell: Traditional buttermilk had a mild, sweet dairy smell—pleasant and subtle, like fresh milk.
Cultured buttermilk had that unmistakable tangy, sour cream-like aroma. Sharp and distinctly fermented, but in a good way.
Taste: The traditional version tasted mild and slightly sweet, almost neutral. It didn't have that "buttermilk tang" at all.
The cultured version was boldly tangy with a sour bite that made my mouth water—this is the flavor we've come to expect from buttermilk.
Thickness: Traditional buttermilk was as thin as water. No body whatsoever.
Cultured buttermilk was thick enough to leave a coating on a spoon and had a creamy mouthfeel.
How Each Type Performs in Baking
Since most of us use buttermilk for baking, I needed to know: would they work interchangeably?
You can use old fashioned buttermilk in the place of cultured - it will give you a tender, moist product. However, it will not give you that characteristic tang. The acidity level, thickness, and flavor profile all affect how recipes turn out. If you're following a recipe that calls for buttermilk, it almost certainly means cultured buttermilk.
Shelf Life: A Critical Difference for Homesteaders
This is where the two types diverge dramatically—and it matters when you're trying to make the most of what you produce.
Old fashioned buttermilk lasts only 3-4 days in my refrigerator before developing an off smell. Without protective acid or beneficial cultures, it spoils quickly, just like fresh milk. This means you need to use it immediately or find ways to preserve it (freezing, feeding to animals, etc.).
Cultured buttermilk stayed fresh in my fridge for a full 3 weeks. The low pH and living cultures create an environment that's hostile to spoilage bacteria. Even after three weeks, it still smelled tangy (as it should) but not off.
For a homesteader making butter regularly, this difference matters. Traditional buttermilk needs to be used quickly, while cultured buttermilk can sit in your fridge until you're ready to bake.
Can You Freeze Cultured Buttermilk? My Experiment
Since cultured buttermilk already lasts well in the fridge, I wondered if I could extend its life even further by freezing it. This would be a game-changer for those times when butter-making season produces more buttermilk than we can use.
What happened: Upon thawing, the buttermilk had separated into a watery layer on top and grainy curds on the bottom. It looked curdled and unusable.
The fix: A vigorous shake (or 30 seconds with an immersion blender) brought it right back together. Once recombined, the texture was nearly identical to fresh.
The taste test: Even after 3 months frozen, the flavor remained tangy and true. I couldn't detect any significant difference from fresh cultured buttermilk.
Baking performance: I made pancakes with my thawed buttermilk, and they turned out perfectly fluffy and tender. No difference from using fresh.
My freezing recommendations:
Label everything with dates
Thaw overnight in the refrigerator
Shake or blend thoroughly after thawing
Use within 3-4 days of thawing
Now I keep a stash of buttermilk in my freezer at all times. No more scrambling to use up buttermilk or running out when I want to bake.
When to Use Traditional Buttermilk
Traditional buttermilk is perfect for:
Replacing water or liquid in baking recipes - I use it in bread, muffins, etc
Drinking fresh (it's mild and refreshing)
Adding to smoothies
Feeding to chickens, pigs, or bottle calves (they love it!)
Making quick breads or pancakes when you want a very subtle flavor
Soaking grains overnight
Adding to soups for a creamy finish without heaviness
When to Use Cultured Buttermilk
Cultured buttermilk is your go-to for:
Any recipe that calls for "buttermilk" (biscuits, pancakes, cakes, cornbread)
Marinating (the acid tenderizes beautifully)
Making ranch dressing or other tangy sauces
Baking when you want that characteristic buttermilk flavor
Soaking grains if you want extra tanginess
Longer storage—it keeps for weeks
This is what I keep on hand in my fridge for all my regular baking needs.
Frequently Asked Questions
Why does my cultured buttermilk sometimes separate in the fridge?
This is completely normal and doesn't mean it's gone bad. The whey (liquid) separates from the curds, especially as the buttermilk ages. Just give it a good shake before using. If it smells off or has mold, then it's time to toss it, but separation alone is fine.
Related Posts You Might Enjoy
Pin This for Later
