How to Make Ghee from Cow's Milk Butter
If you're looking for a way to preserve butter without refrigeration, create a high-heat cooking fat with a beautiful nutty flavor, or simply free up precious freezer space, learning how to make ghee is the answer. In this post, I'll walk you through the simple process of transforming butter into shelf-stable liquid gold, plus share tips for storage, uses, and troubleshooting.
Winter is the season for stocking up on the homestead. With my freezers packed full of 70+ pounds of butter and no room left, I turned to ghee-making out of necessity. The mostly hands-off process gives me time to catch up on dishes while my kitchen fills with the most incredible nutty, toasted aroma.
What Is Ghee and Why Make It at Home
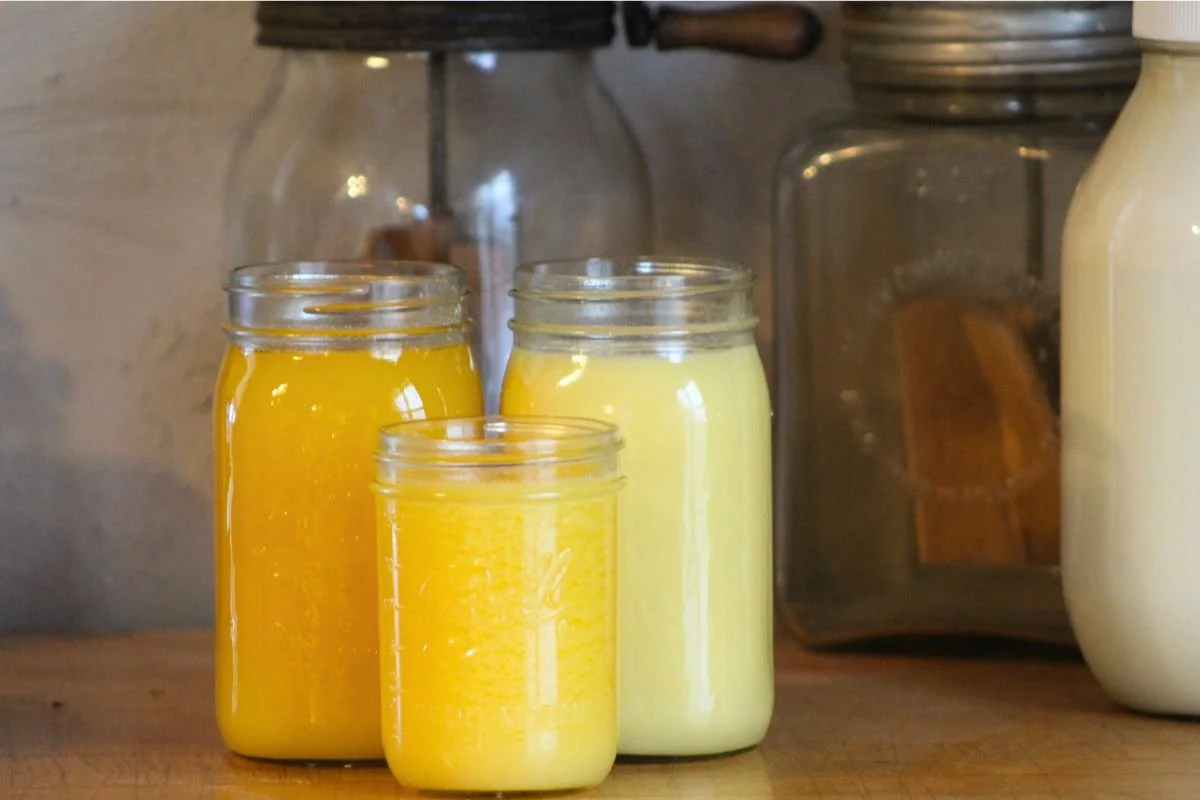
Ghee is clarified butter with the milk solids and water removed, leaving behind a pure, golden cooking oil that's stable at room temperature. By removing these solids through a gentle cooking process, you create a cooking fat that can sit on your pantry shelf for months without spoiling—no refrigeration needed.
Making ghee at home is surprisingly simple. The process reminds me of rendering any other kind of fat like lard, tallow, or schmaltz. You heat the butter until it melts, then continue simmering it until a clear, rich oil emerges from under the foam along with the browned milk solids. The result? A versatile cooking fat with a high smoke point (around 450°F) that's perfect for frying, roasting, and spreading on toast.
As a bonus, removing the lactose and casein during the clarifying process makes ghee suitable for many people with dairy sensitivities. And if you have dairy sheep, keep an eye out this spring for a post on making ghee with sheep's milk!
Benefits of Making Your Own Ghee
There are several reasons I love making ghee on the homestead:
Preserves butter without freezer space. When my freezers are full, ghee lets me continue preserving our butter harvest on open shelves in my cool basement.
High smoke point for cooking. Unlike butter, which burns easily, ghee can handle high-heat cooking methods like frying and searing without smoking or developing off flavors.
Rich, nutty flavor. The browning of the milk solids creates a complex, slightly sweet taste that reminds me of movie theater popcorn—but much better for you!
Long shelf life. Properly made ghee lasts 3-6 months at room temperature, up to a year refrigerated, or indefinitely in the freezer.
Saves time on butter making. If you're making butter from scratch, ghee is perfect for those days when you're feeling a little lazy. You don't need to knead the butter or wash it to remove all the buttermilk—that will happen during the cooking process.

What You'll Need to Make Ghee
The beauty of ghee-making is its simplicity. You only need one ingredient and a few basic kitchen tools.
Ingredients:
Butter (any amount—I typically work with several pounds at once)
Equipment:
Heavy-bottomed stockpot (make sure it's large enough—butter foams up considerably)
Fine mesh strainer or cheesecloth
Clean, dry glass jars for storage
Ladle or large spoon
Time: 1-2 hours (mostly hands-off)
Step-by-Step Instructions for Making Ghee
Step 1: Melt the Butter
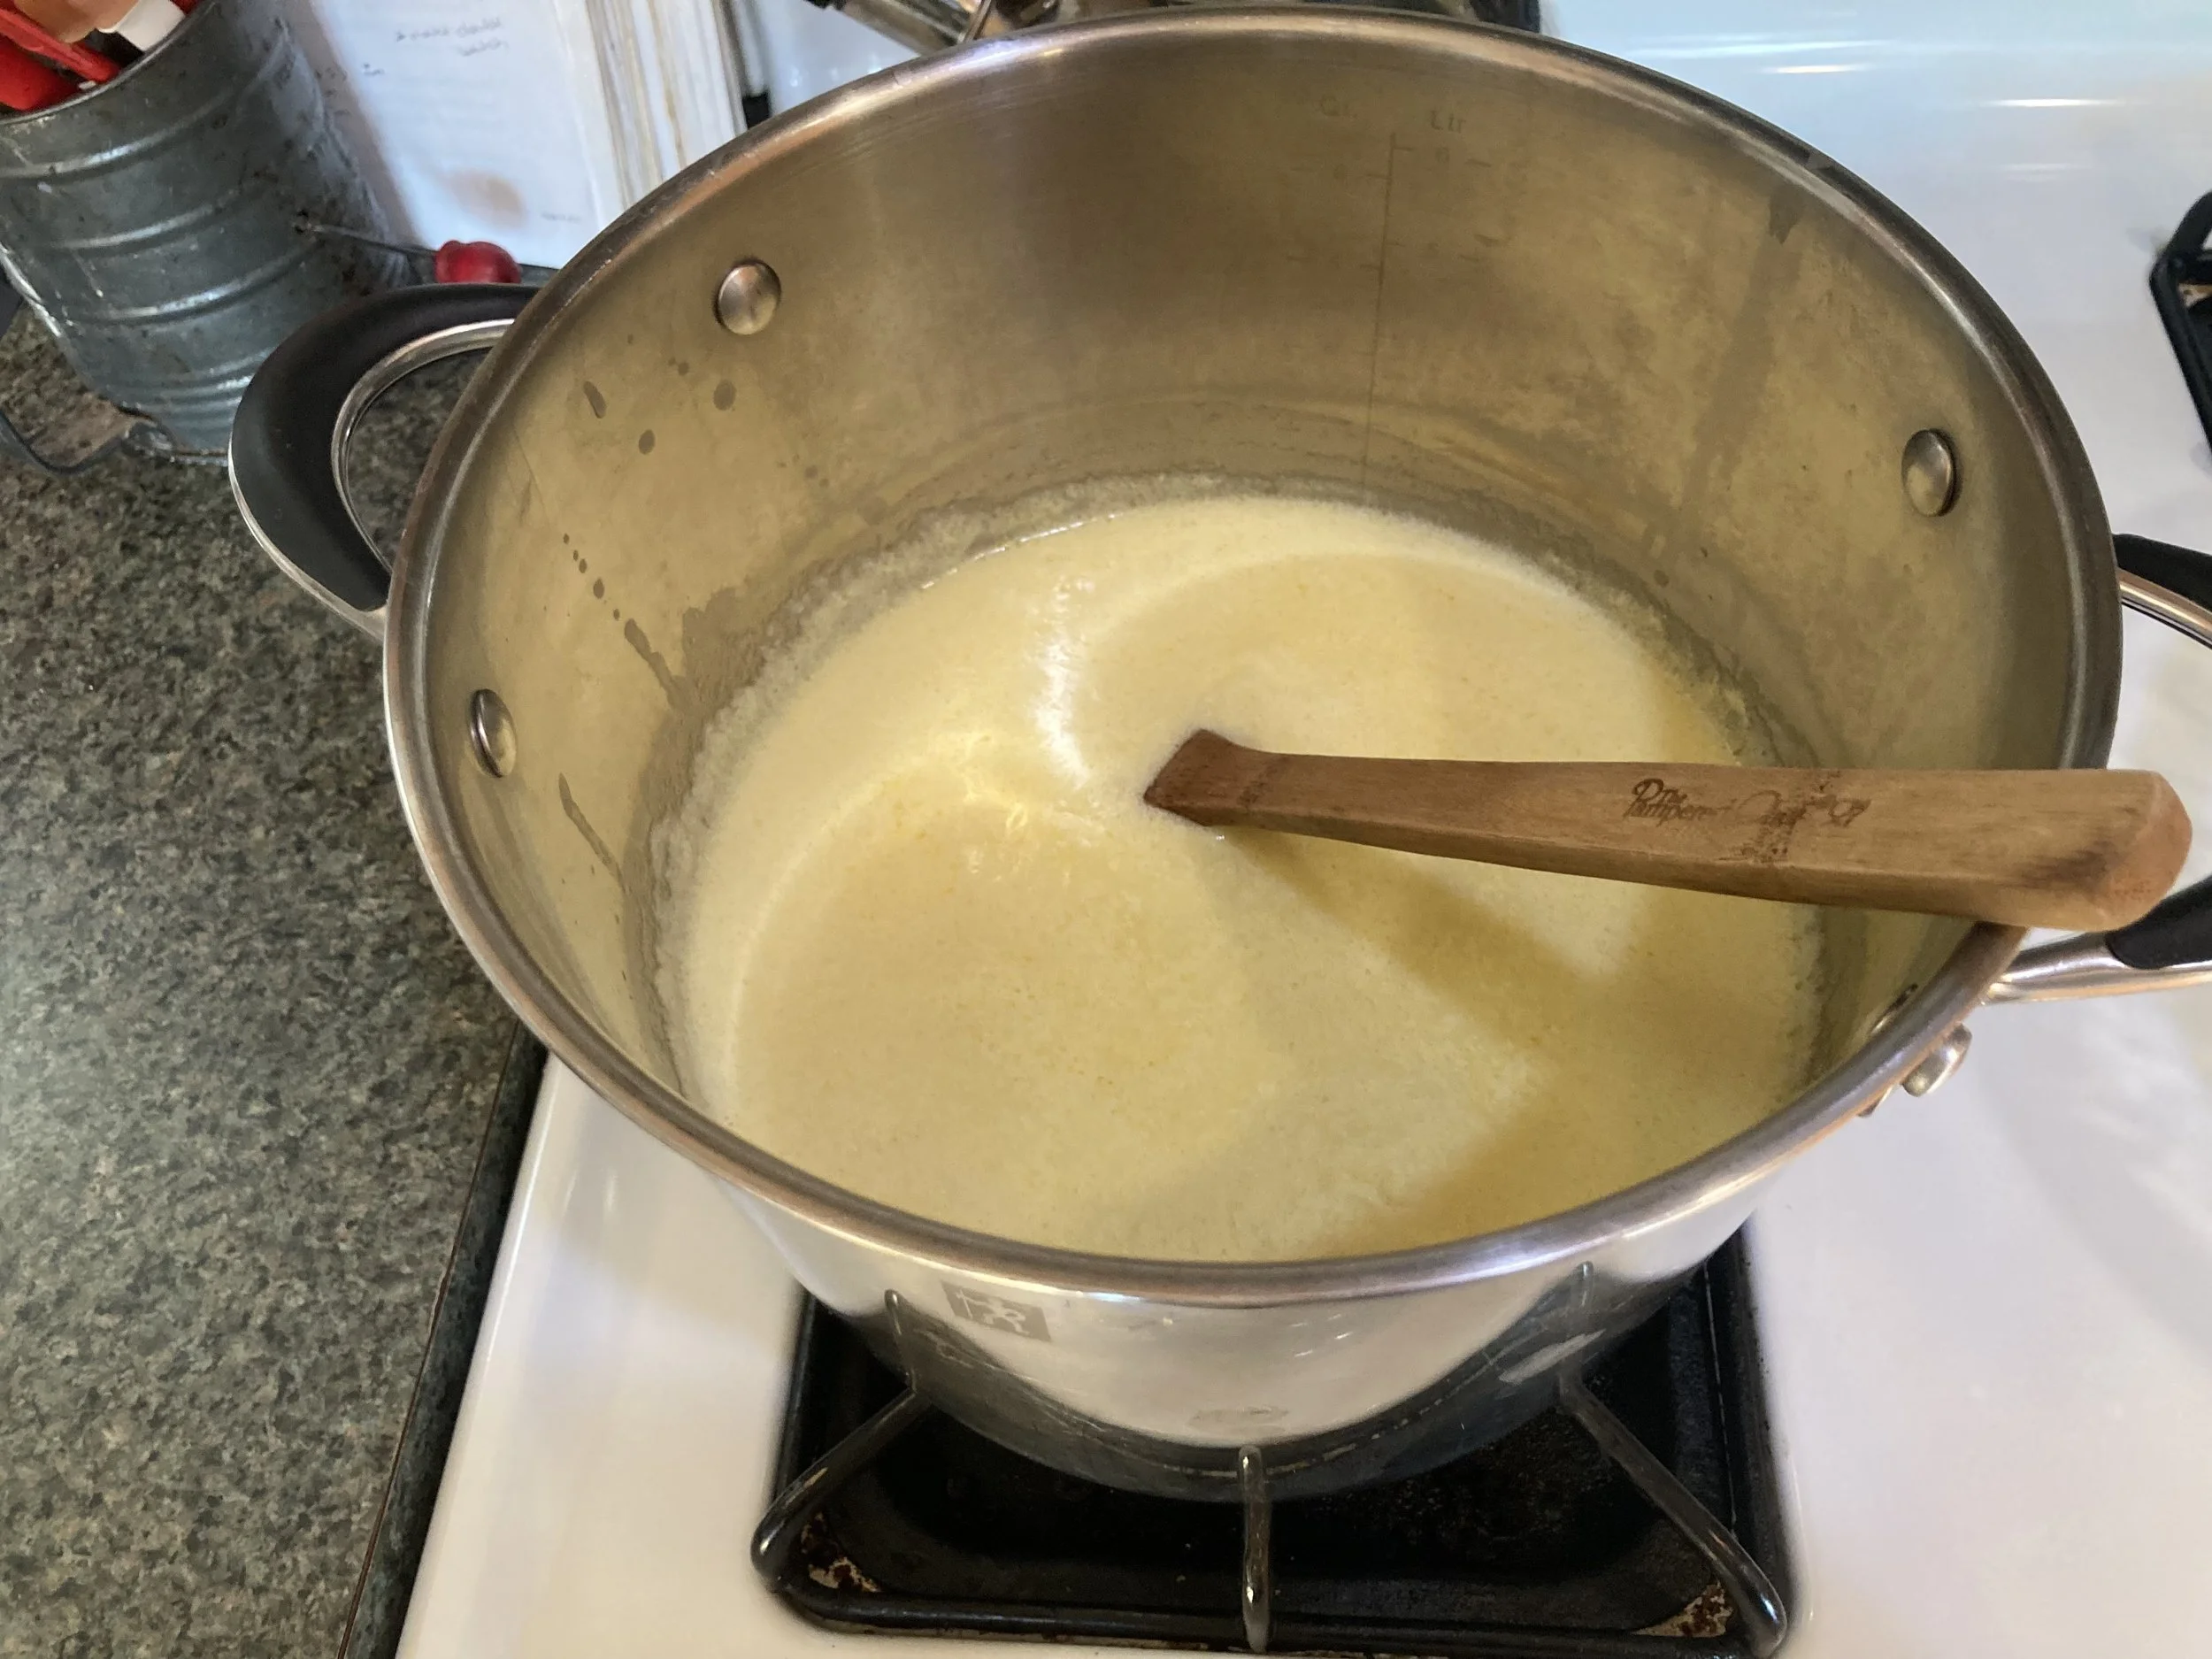
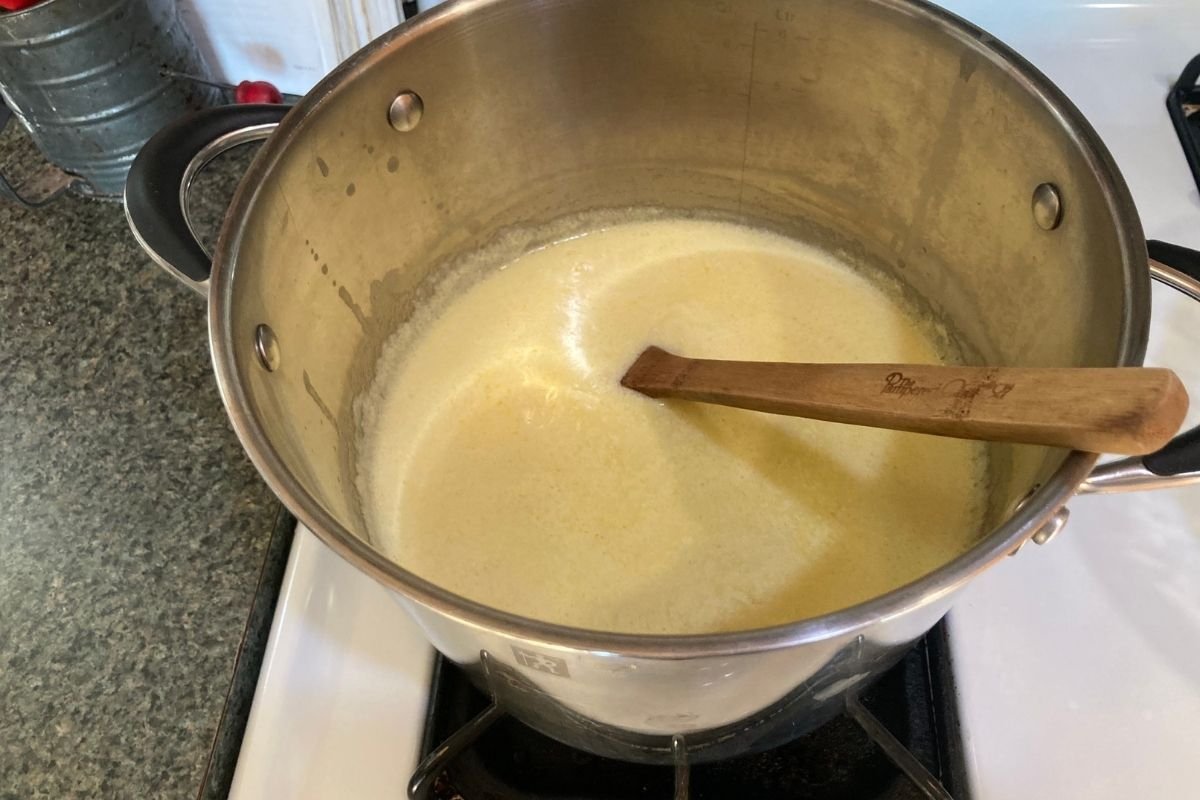
Add your butter to a stockpot and begin melting it over medium heat. This is important: make sure you have plenty of room in your pot because the butter will foam up quite a bit during this process.
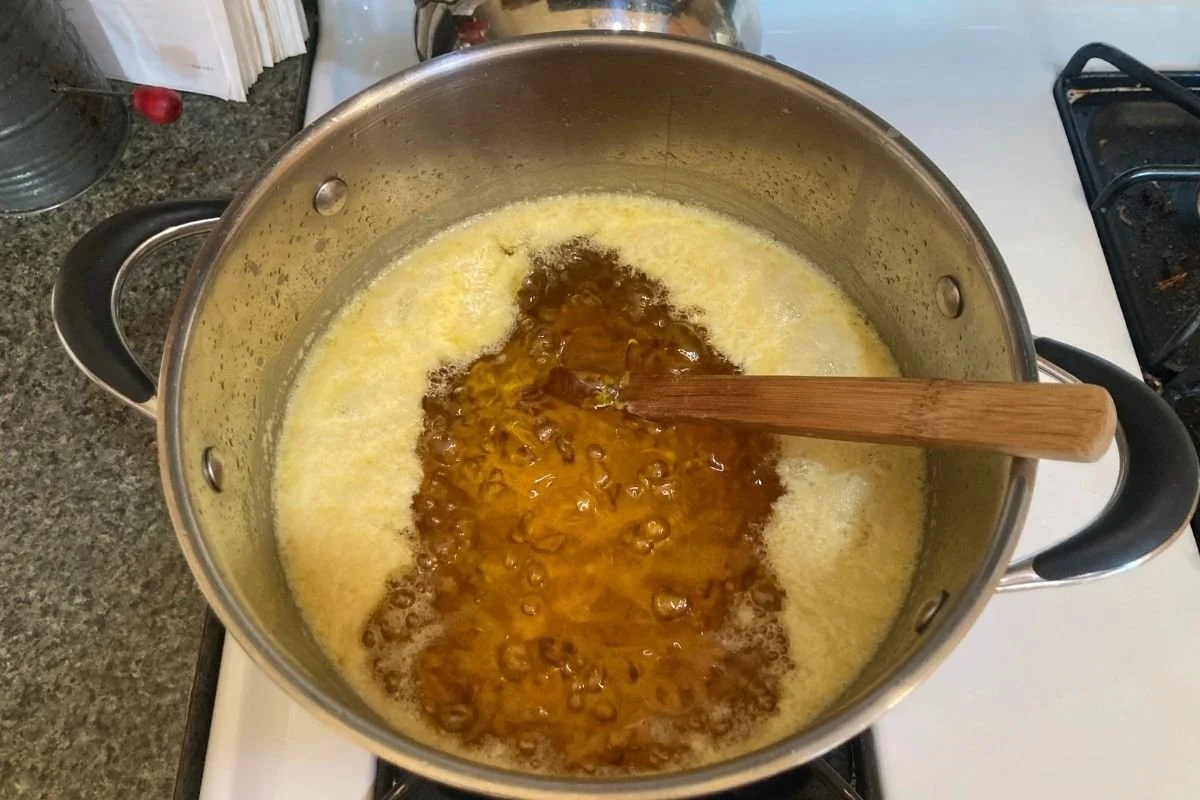
Step 2: Simmer and Wait
Once melted, the butter will foam vigorously for quite a while. Don't be alarmed—this is the water cooking off. I stir mine occasionally while doing other tasks in the kitchen. The key here is patience. Let the butter do its thing while you catch up on dishes or other kitchen chores.
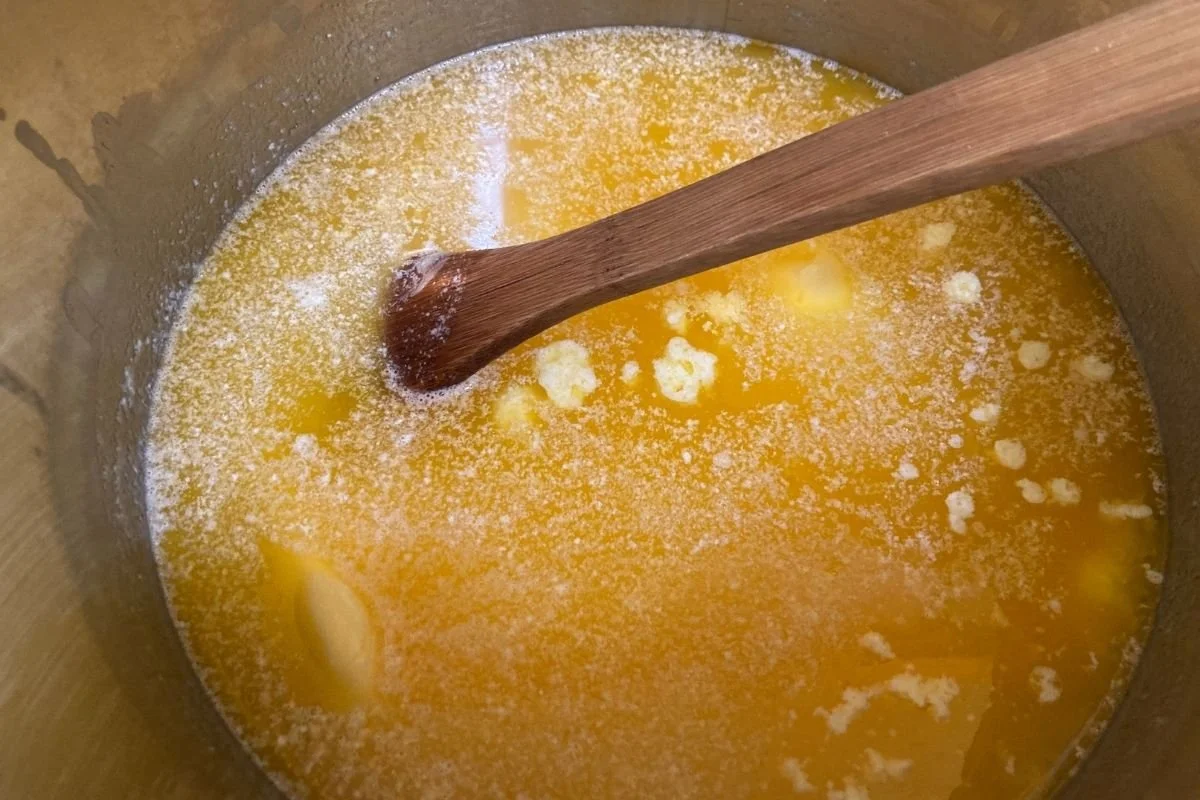
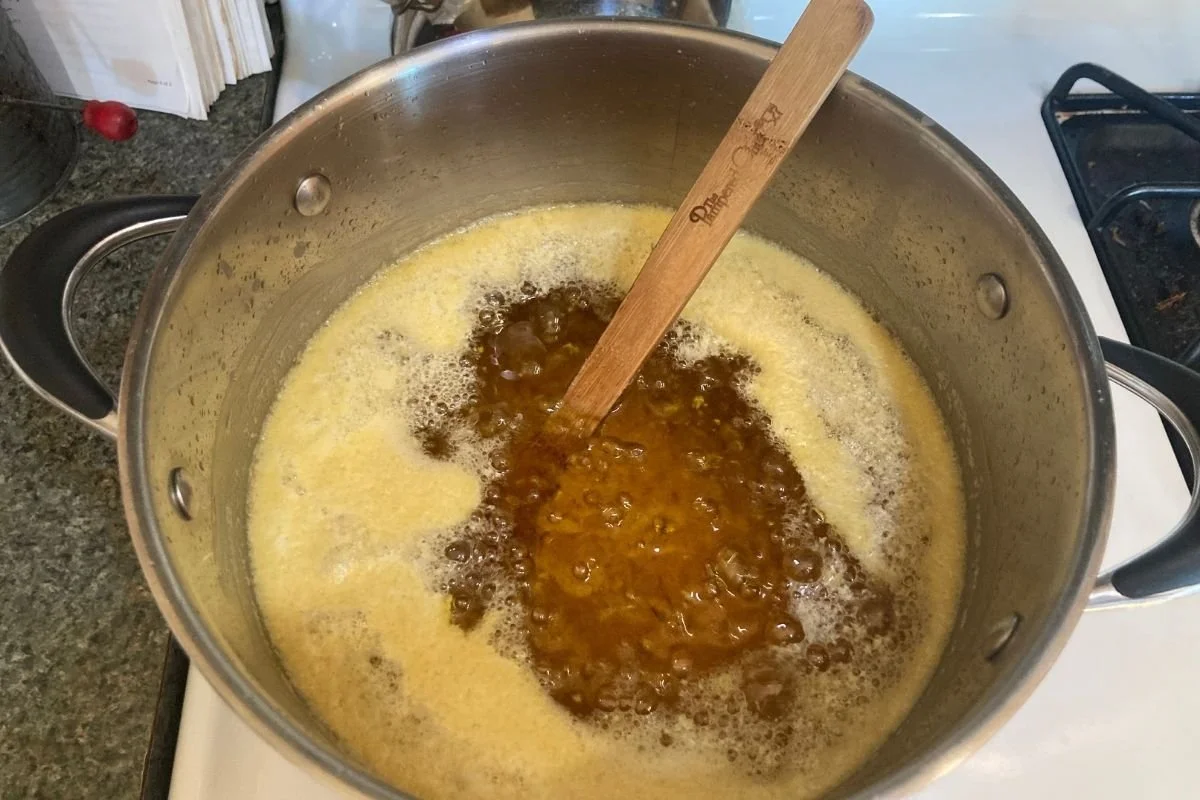
Step 3: Watch for the Change
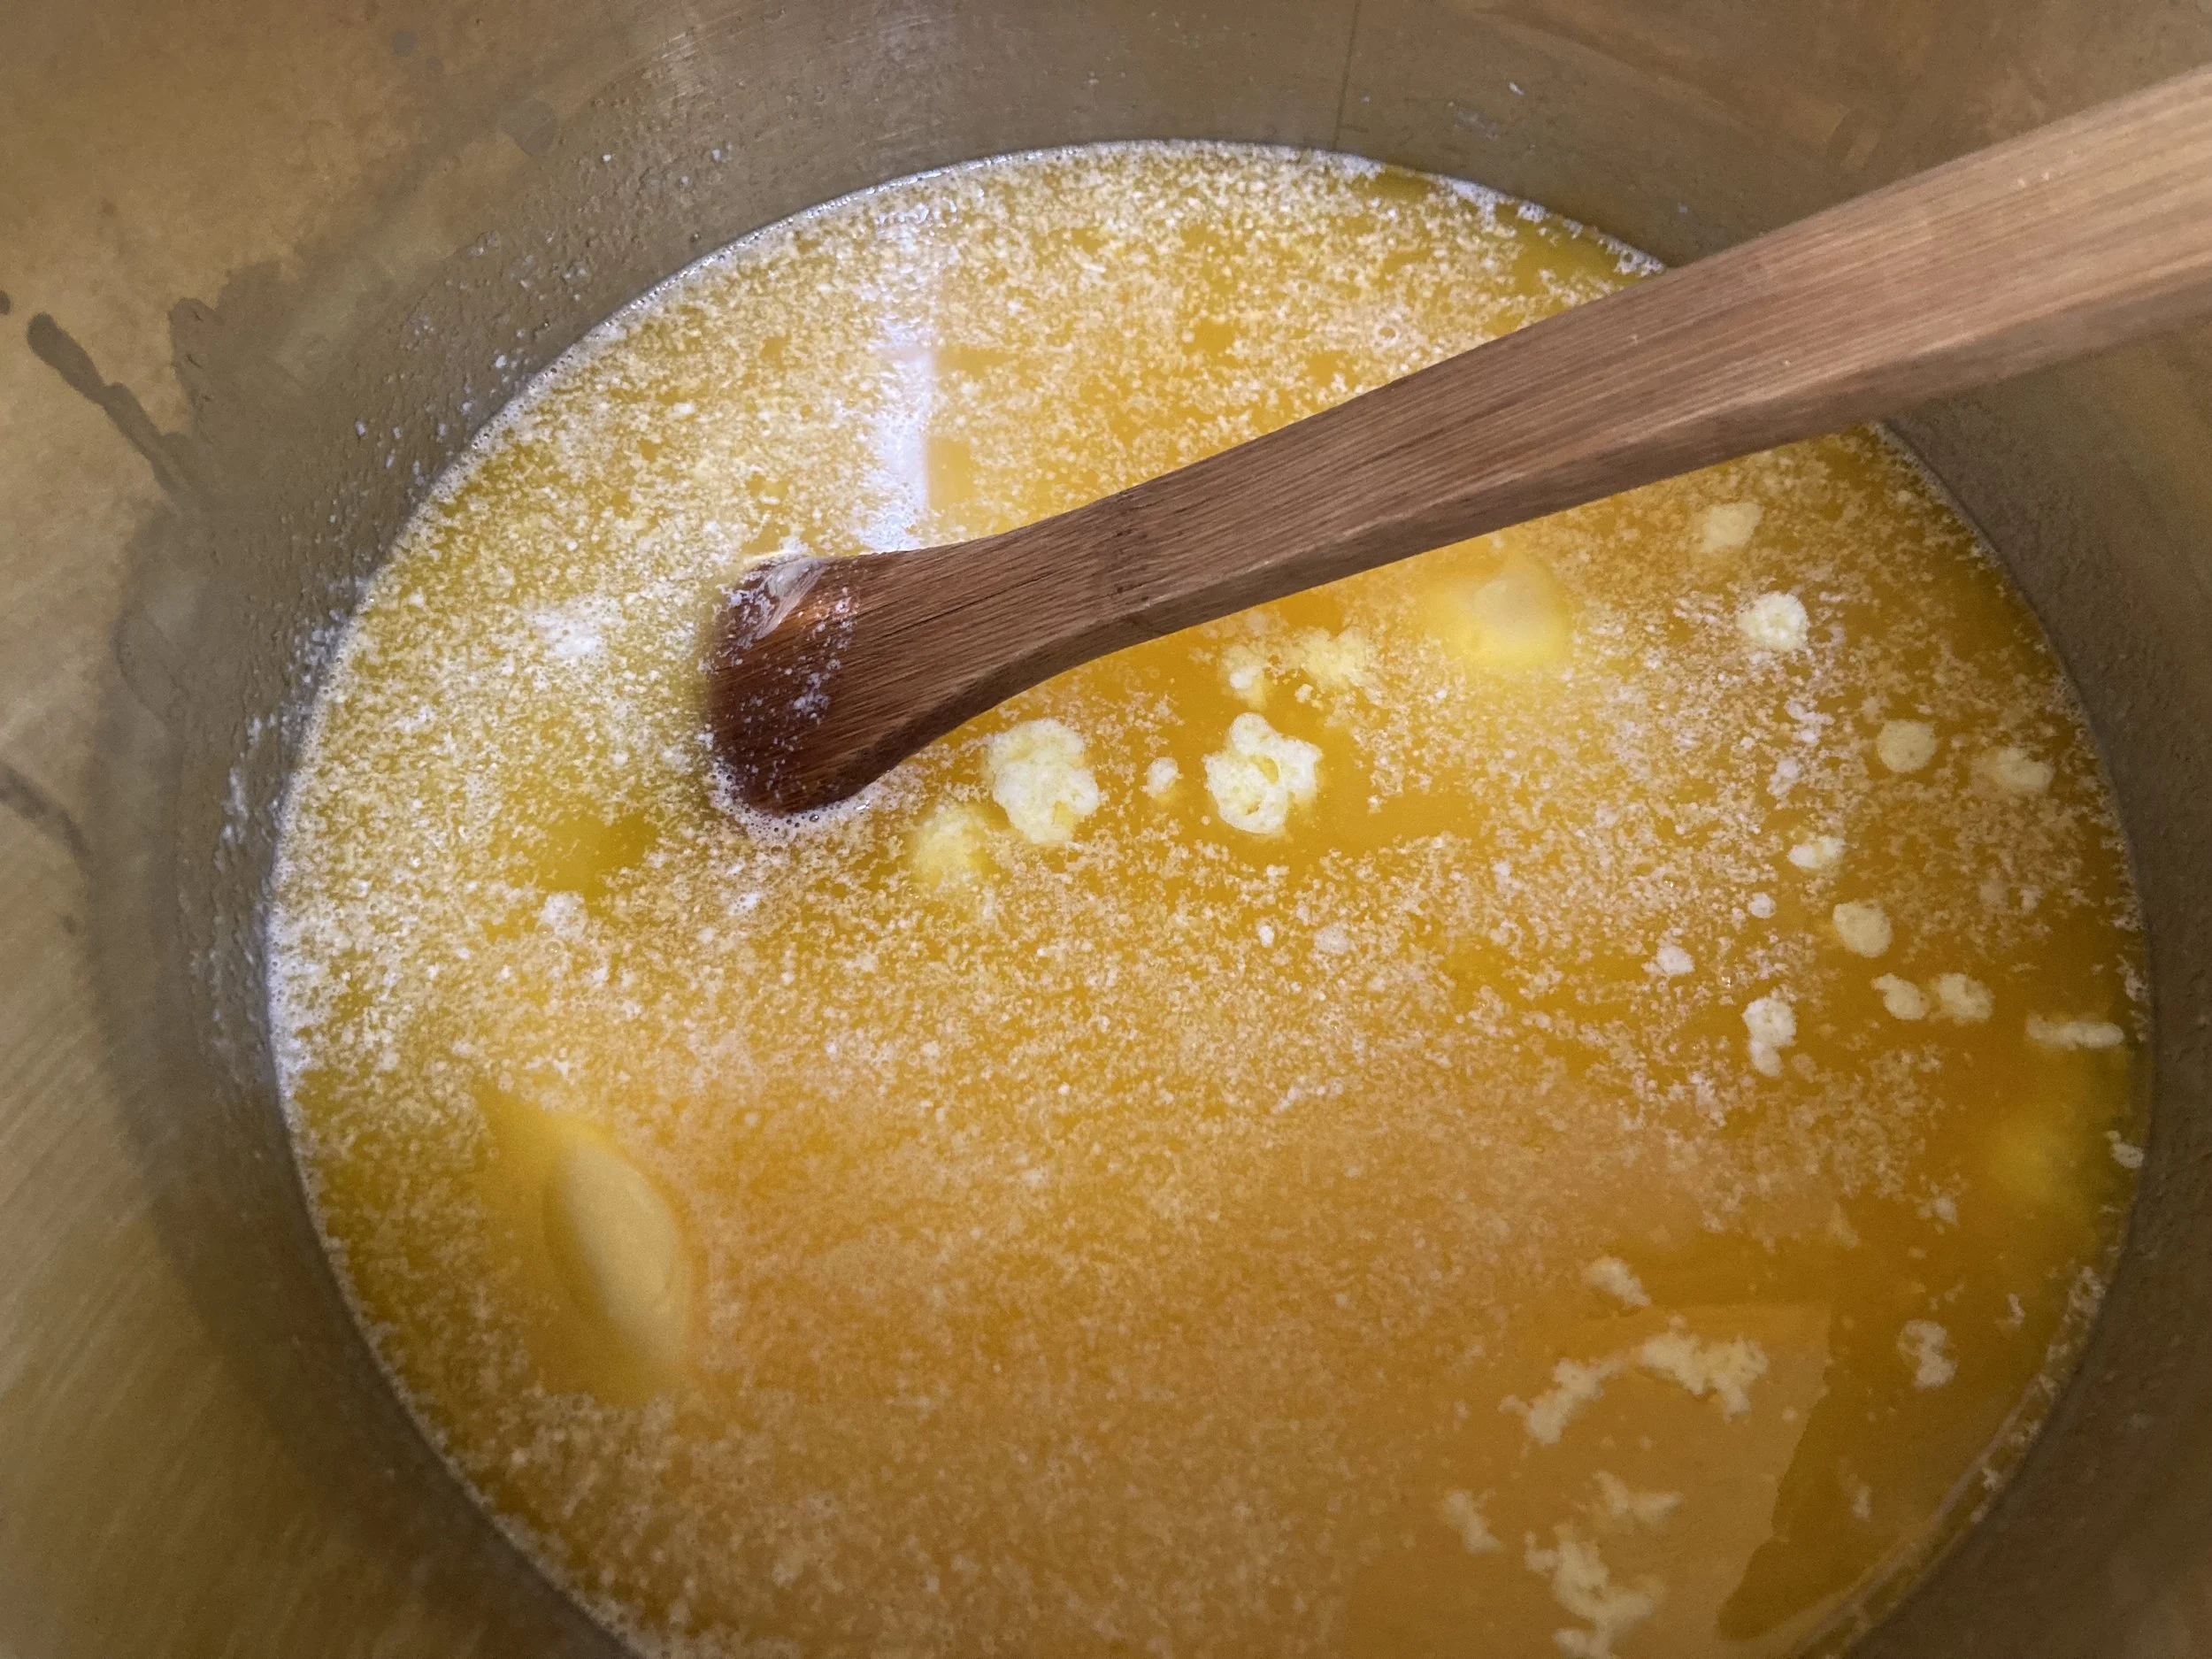
After 30-45 minutes, the foam will start to subside and you'll begin to see a clear, rich golden oil emerge. The milk solids will settle to the bottom and begin to lightly brown. This is when things start getting exciting—and aromatic!
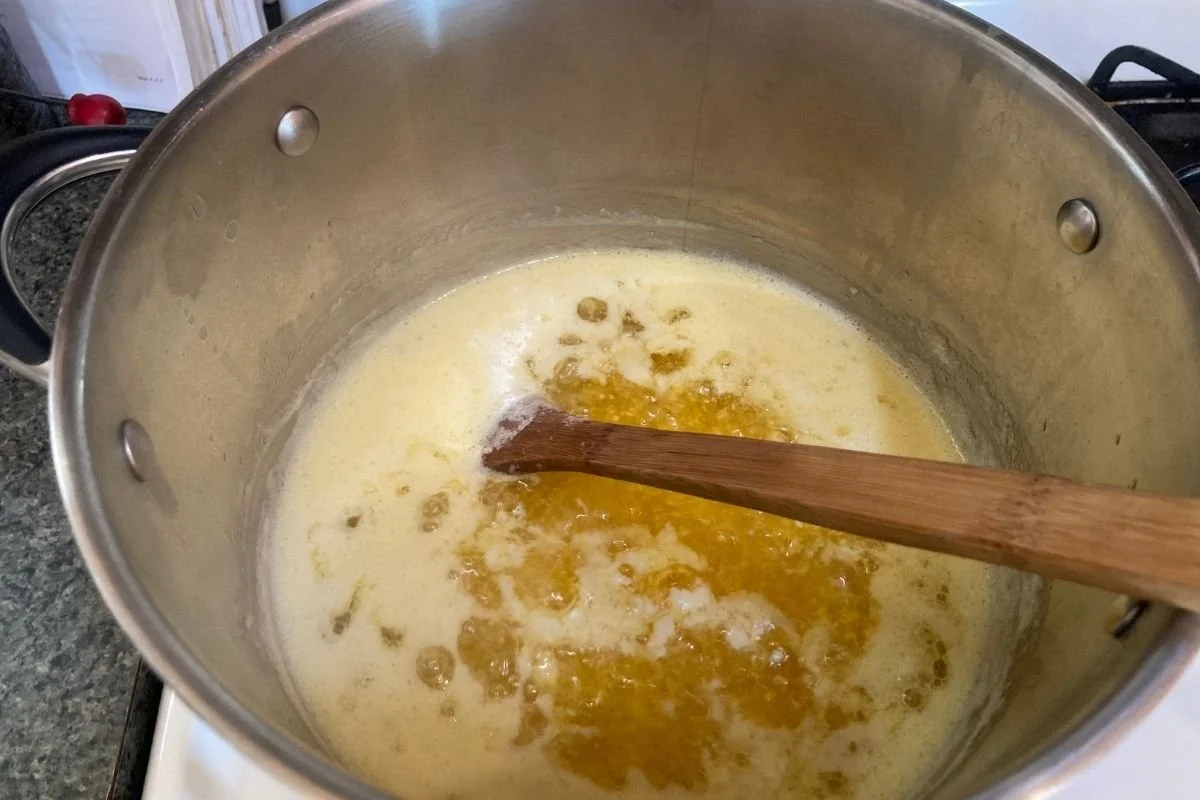
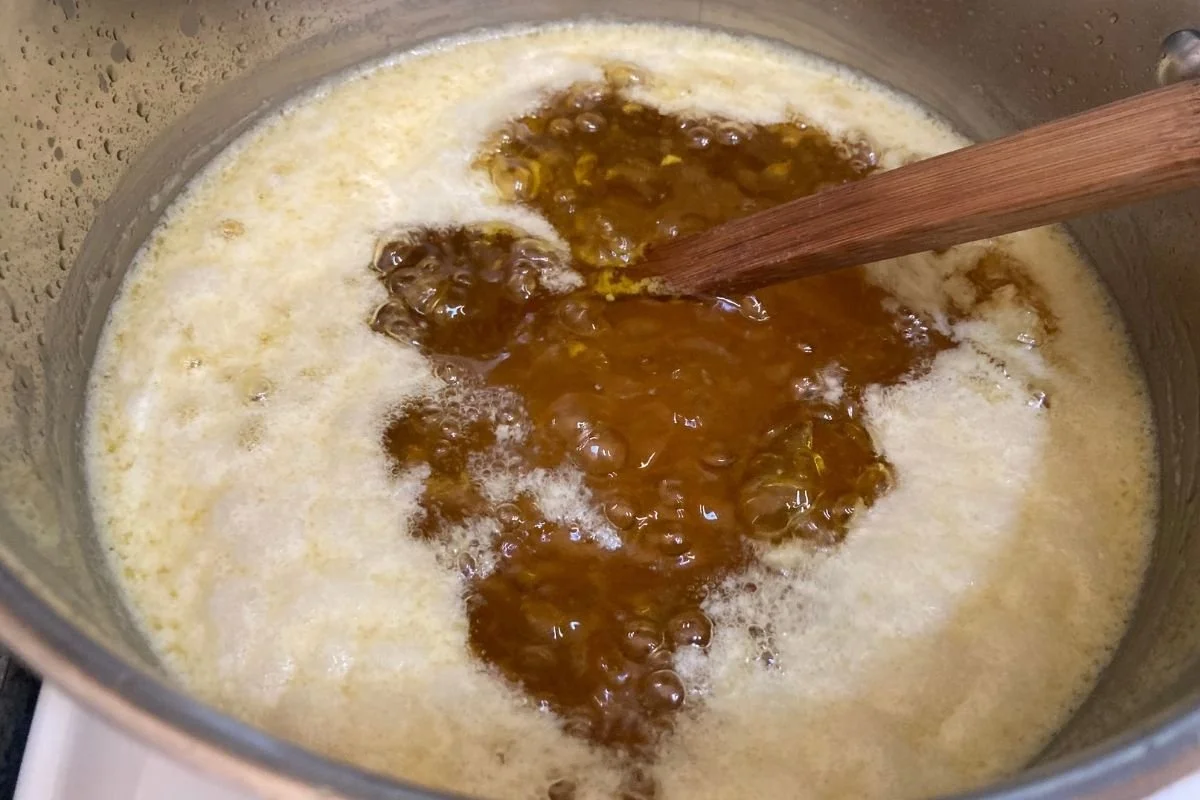

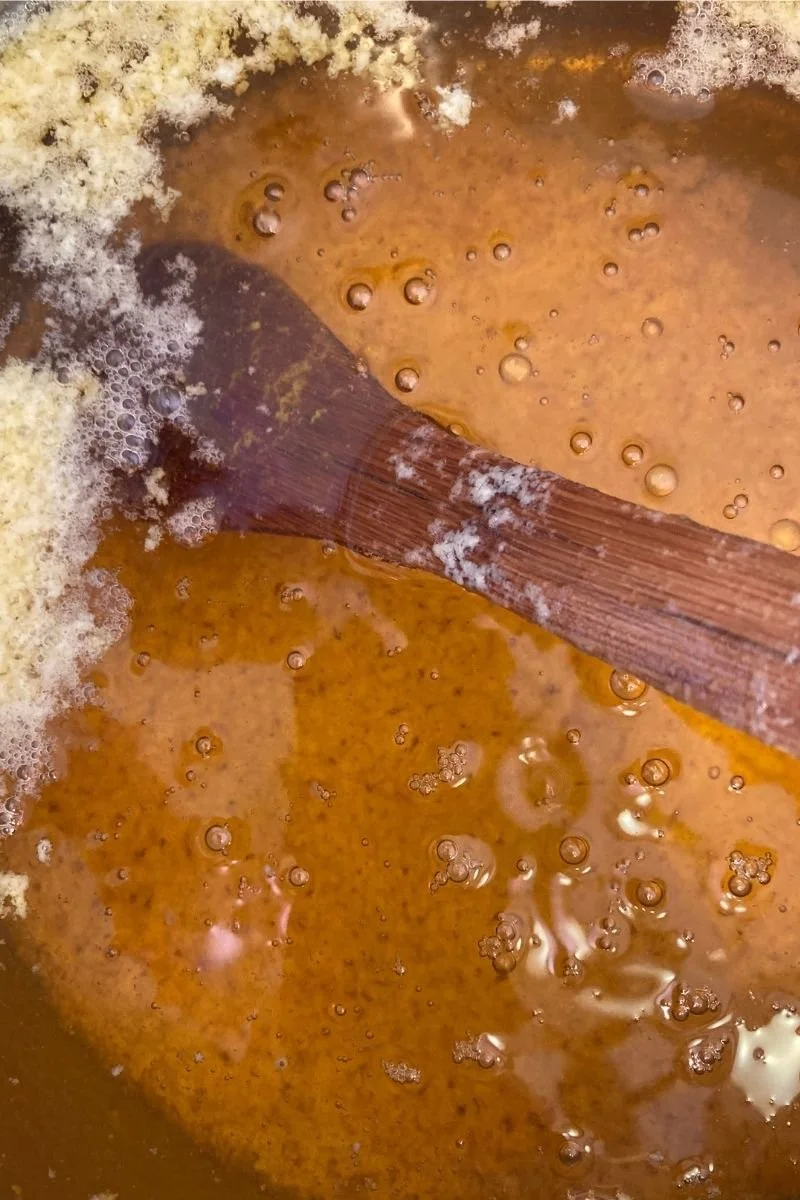
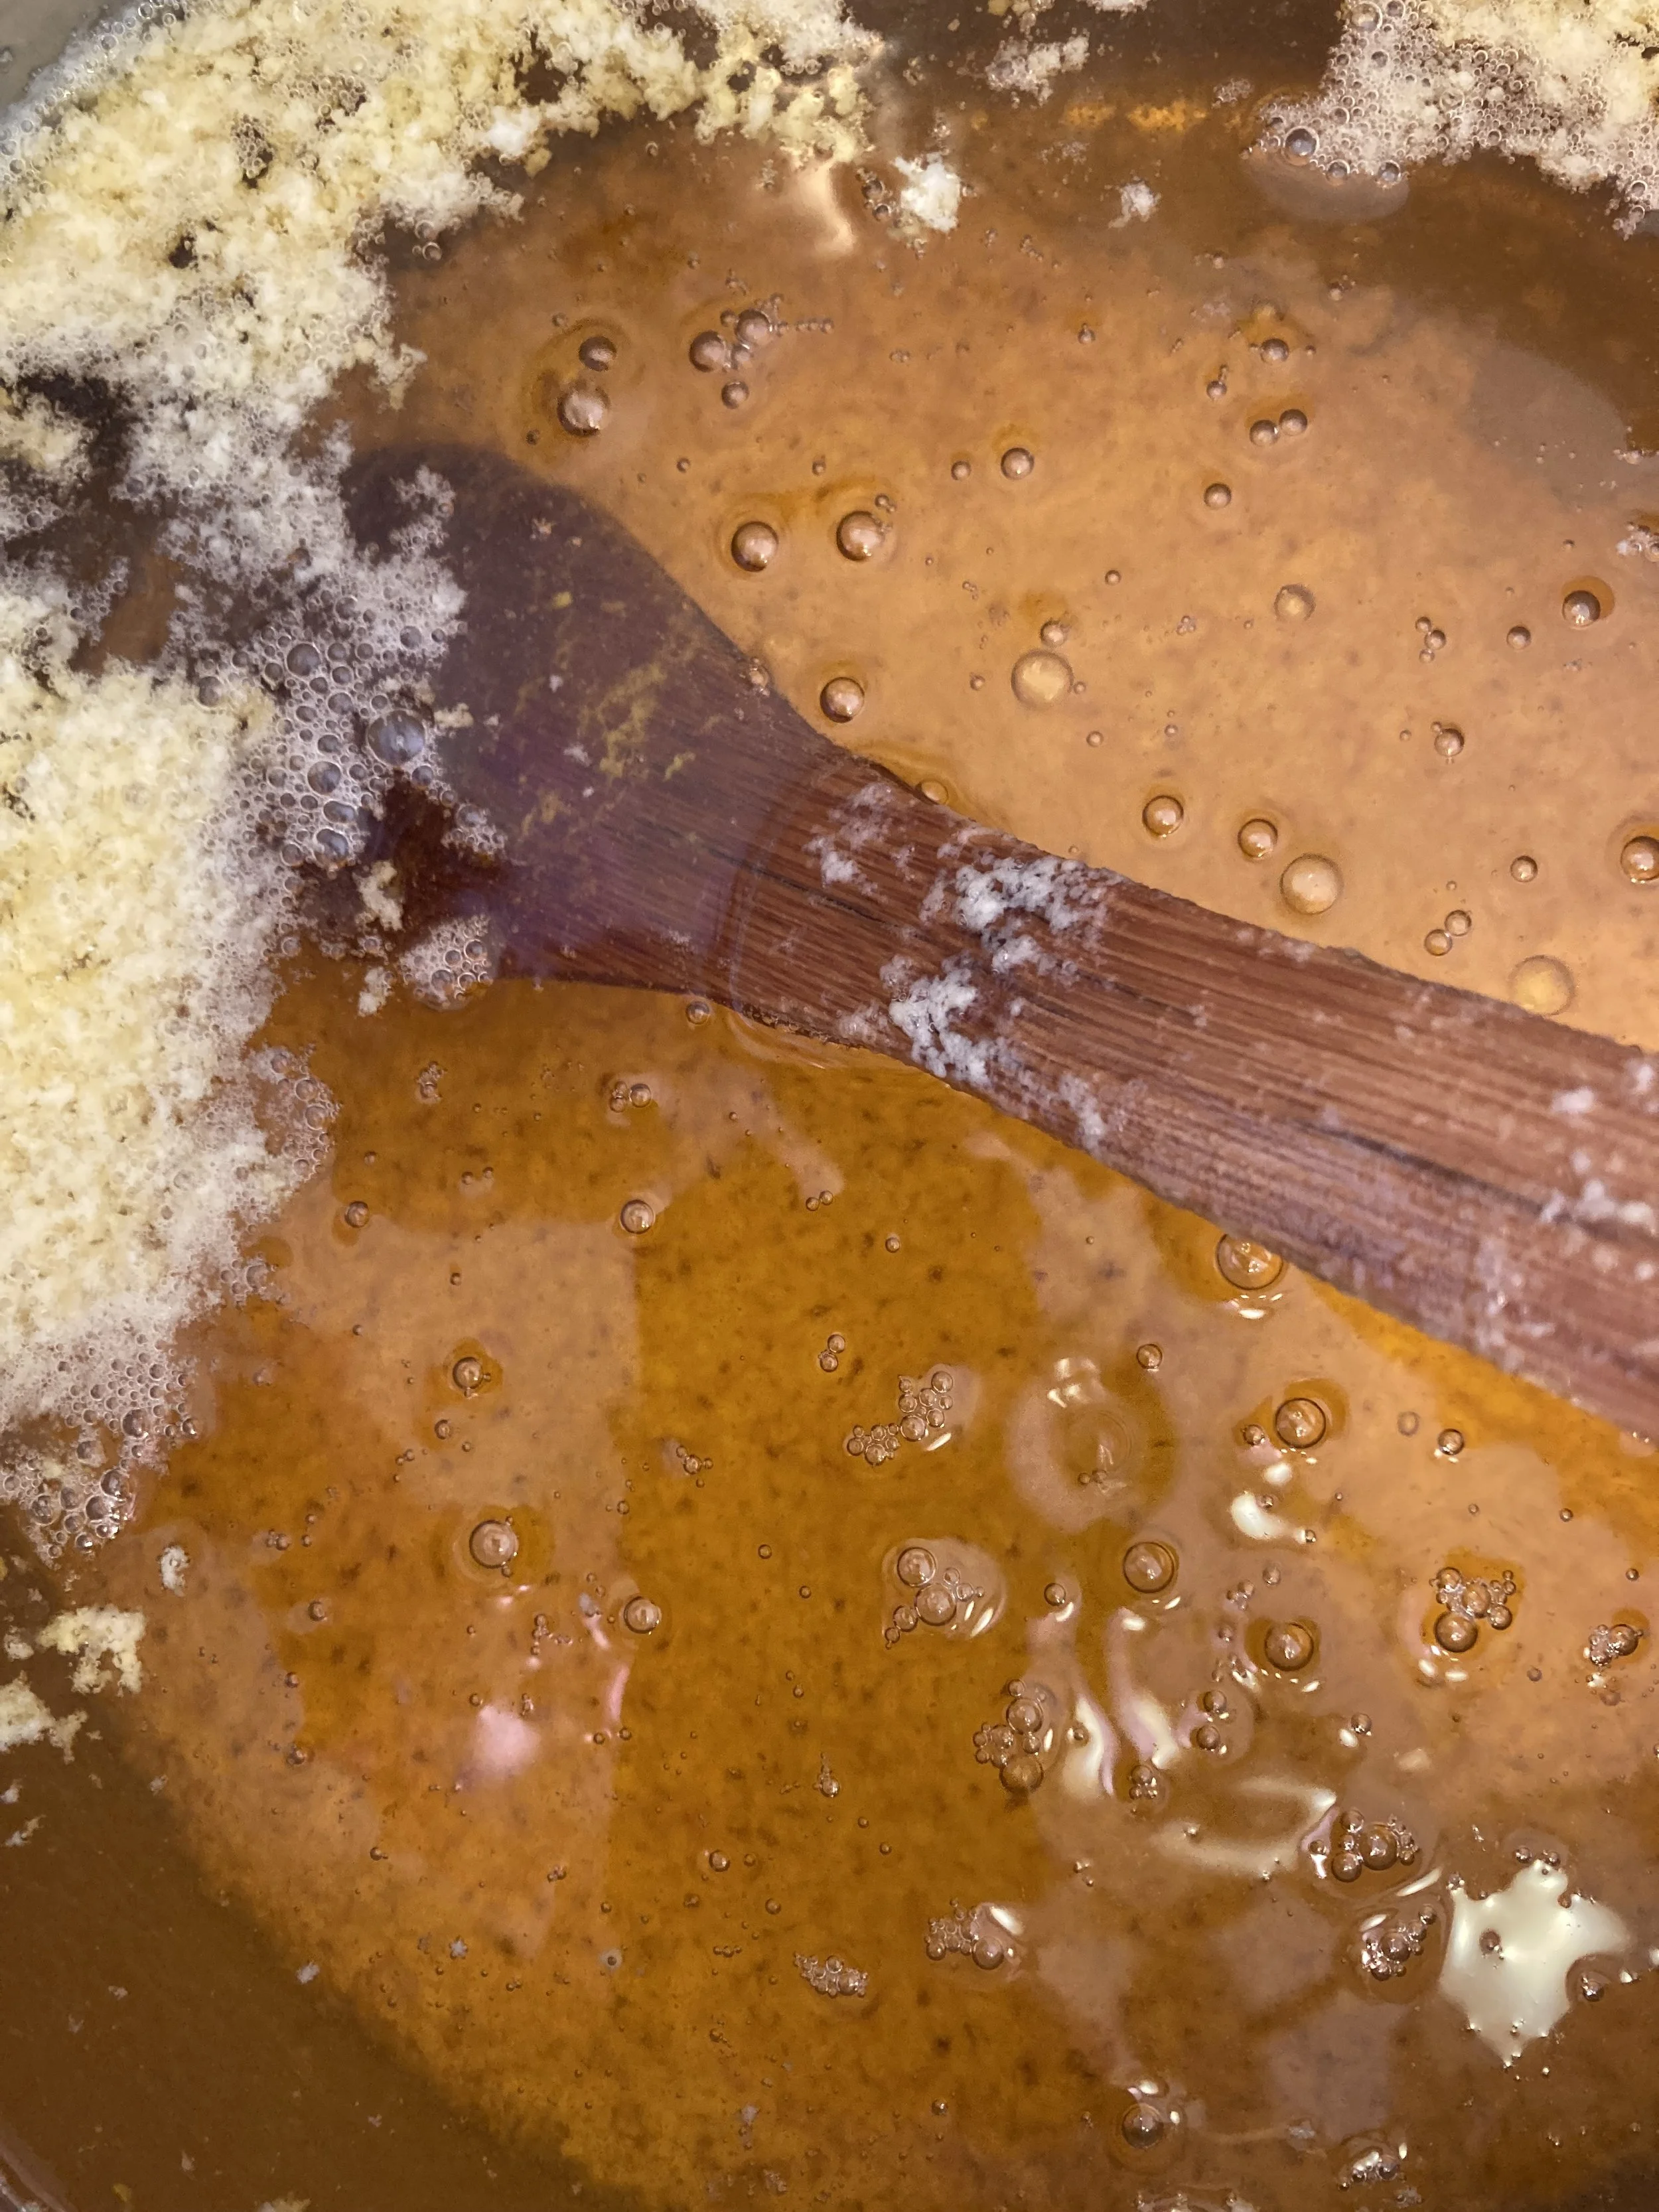
Step 4: Know When It's Done
You'll know the ghee is ready when:
The solids at the bottom are lightly browned (not burned!)
The oil is clear and deep golden
It smells nutty, toasted, and absolutely delicious
The smell is your best indicator. When your kitchen smells like the best movie theater popcorn you've ever encountered, you're there. Don't let the solids on the bottom burn though, as that flavor will affect the finished ghee in an unpleasant way.
Step 5: Strain and Store
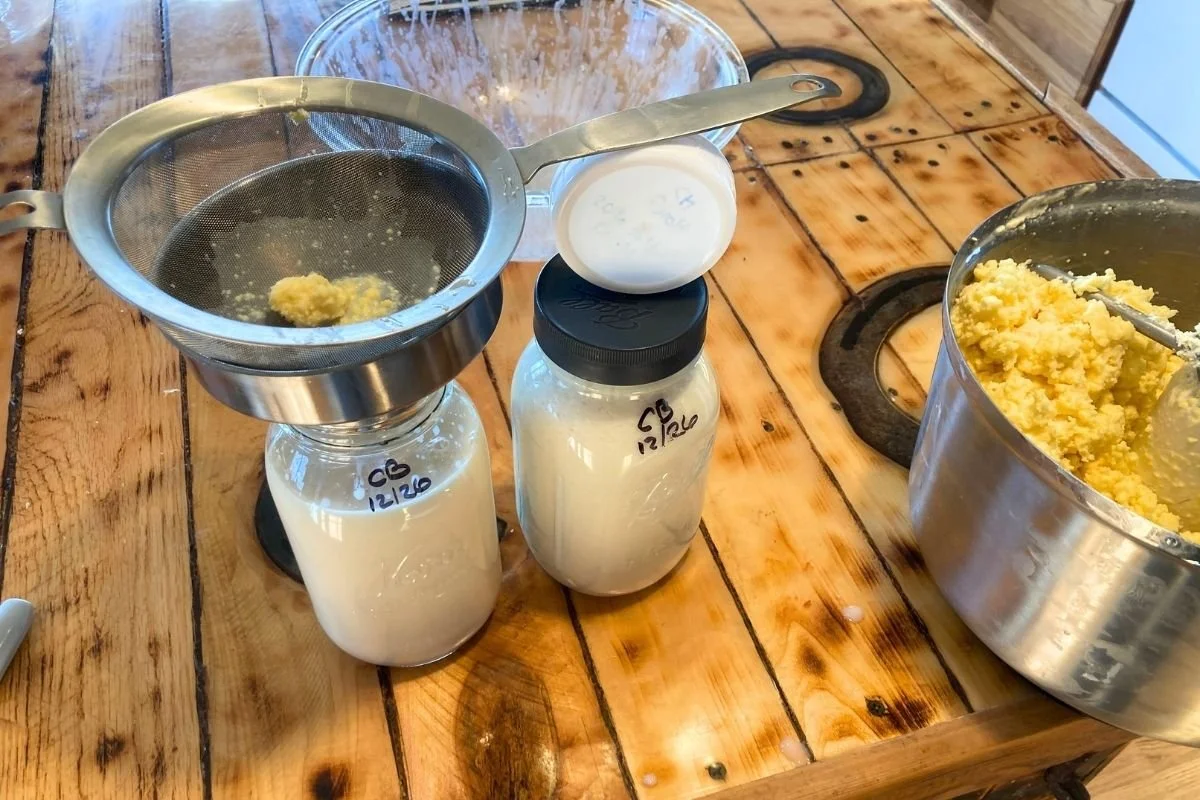
Carefully ladle or pour the ghee through a fine mesh strainer lined with a single layer of butter muslin into clean, dry glass jars. Leave the browned solids in the pot—more on what to do with those below!
Critical storage tip: Do not cover your jars while the ghee is still hot or cooling. Covering can create condensation that will drop back into your ghee and cause mold at room temperature. Wait until it's completely cool before sealing. It is very important to cook the ghee long enough to remove all water from it, as that is what makes it stable at room temperature.
How to Store Ghee
At Room Temperature: Properly made ghee with all water removed will last 3-6 months on the shelf in a cool, dark place. I keep mine in my basement where it stays consistently cool. The ghee will become semi-solid at cooler temperatures but remains soft enough to spread on bread.
Refrigerated: If you're uncertain whether you cooked it long enough, want an even longer shelf life, or are just nervous about room temperature storage, you can refrigerate it for up to a year.
Frozen: Ghee also freezes beautifully if you want to extend its life even further, though this somewhat defeats the purpose of making it to save freezer space!
How I Use Ghee on the Homestead
I use my ghee for everything: frying eggs, spreading on toast, roasting vegetables, greasing cast iron pans, and any high-heat cooking. It has become an indispensable part of my kitchen. The rich, nutty flavor elevates even the simplest dishes.
Don't Waste Those Browned Milk Solids
When you strain your ghee, you'll be left with delicious browned milk solids in the pot. Don't throw them away! I haven't experimented extensively with them yet, but I've tasted them and they're wonderful. They have a rich, nutty, slightly sweet flavor.
I think they would be excellent:
Stirred into savory dishes like rice or pasta
Spread on garlic bread
Mixed into mashed potatoes or other root vegetables
Fed to pigs or chickens as a nutrient-rich treat
If you've found creative uses for them, please share in the comments below! I'd love to hear your ideas.

Starting from Scratch: Making Ghee from Fresh Cream
If you're working with fresh milk from your dairy animals and want to go from cream to ghee, here's my full process. This is how I typically make ghee since I'm processing fresh milk regularly.
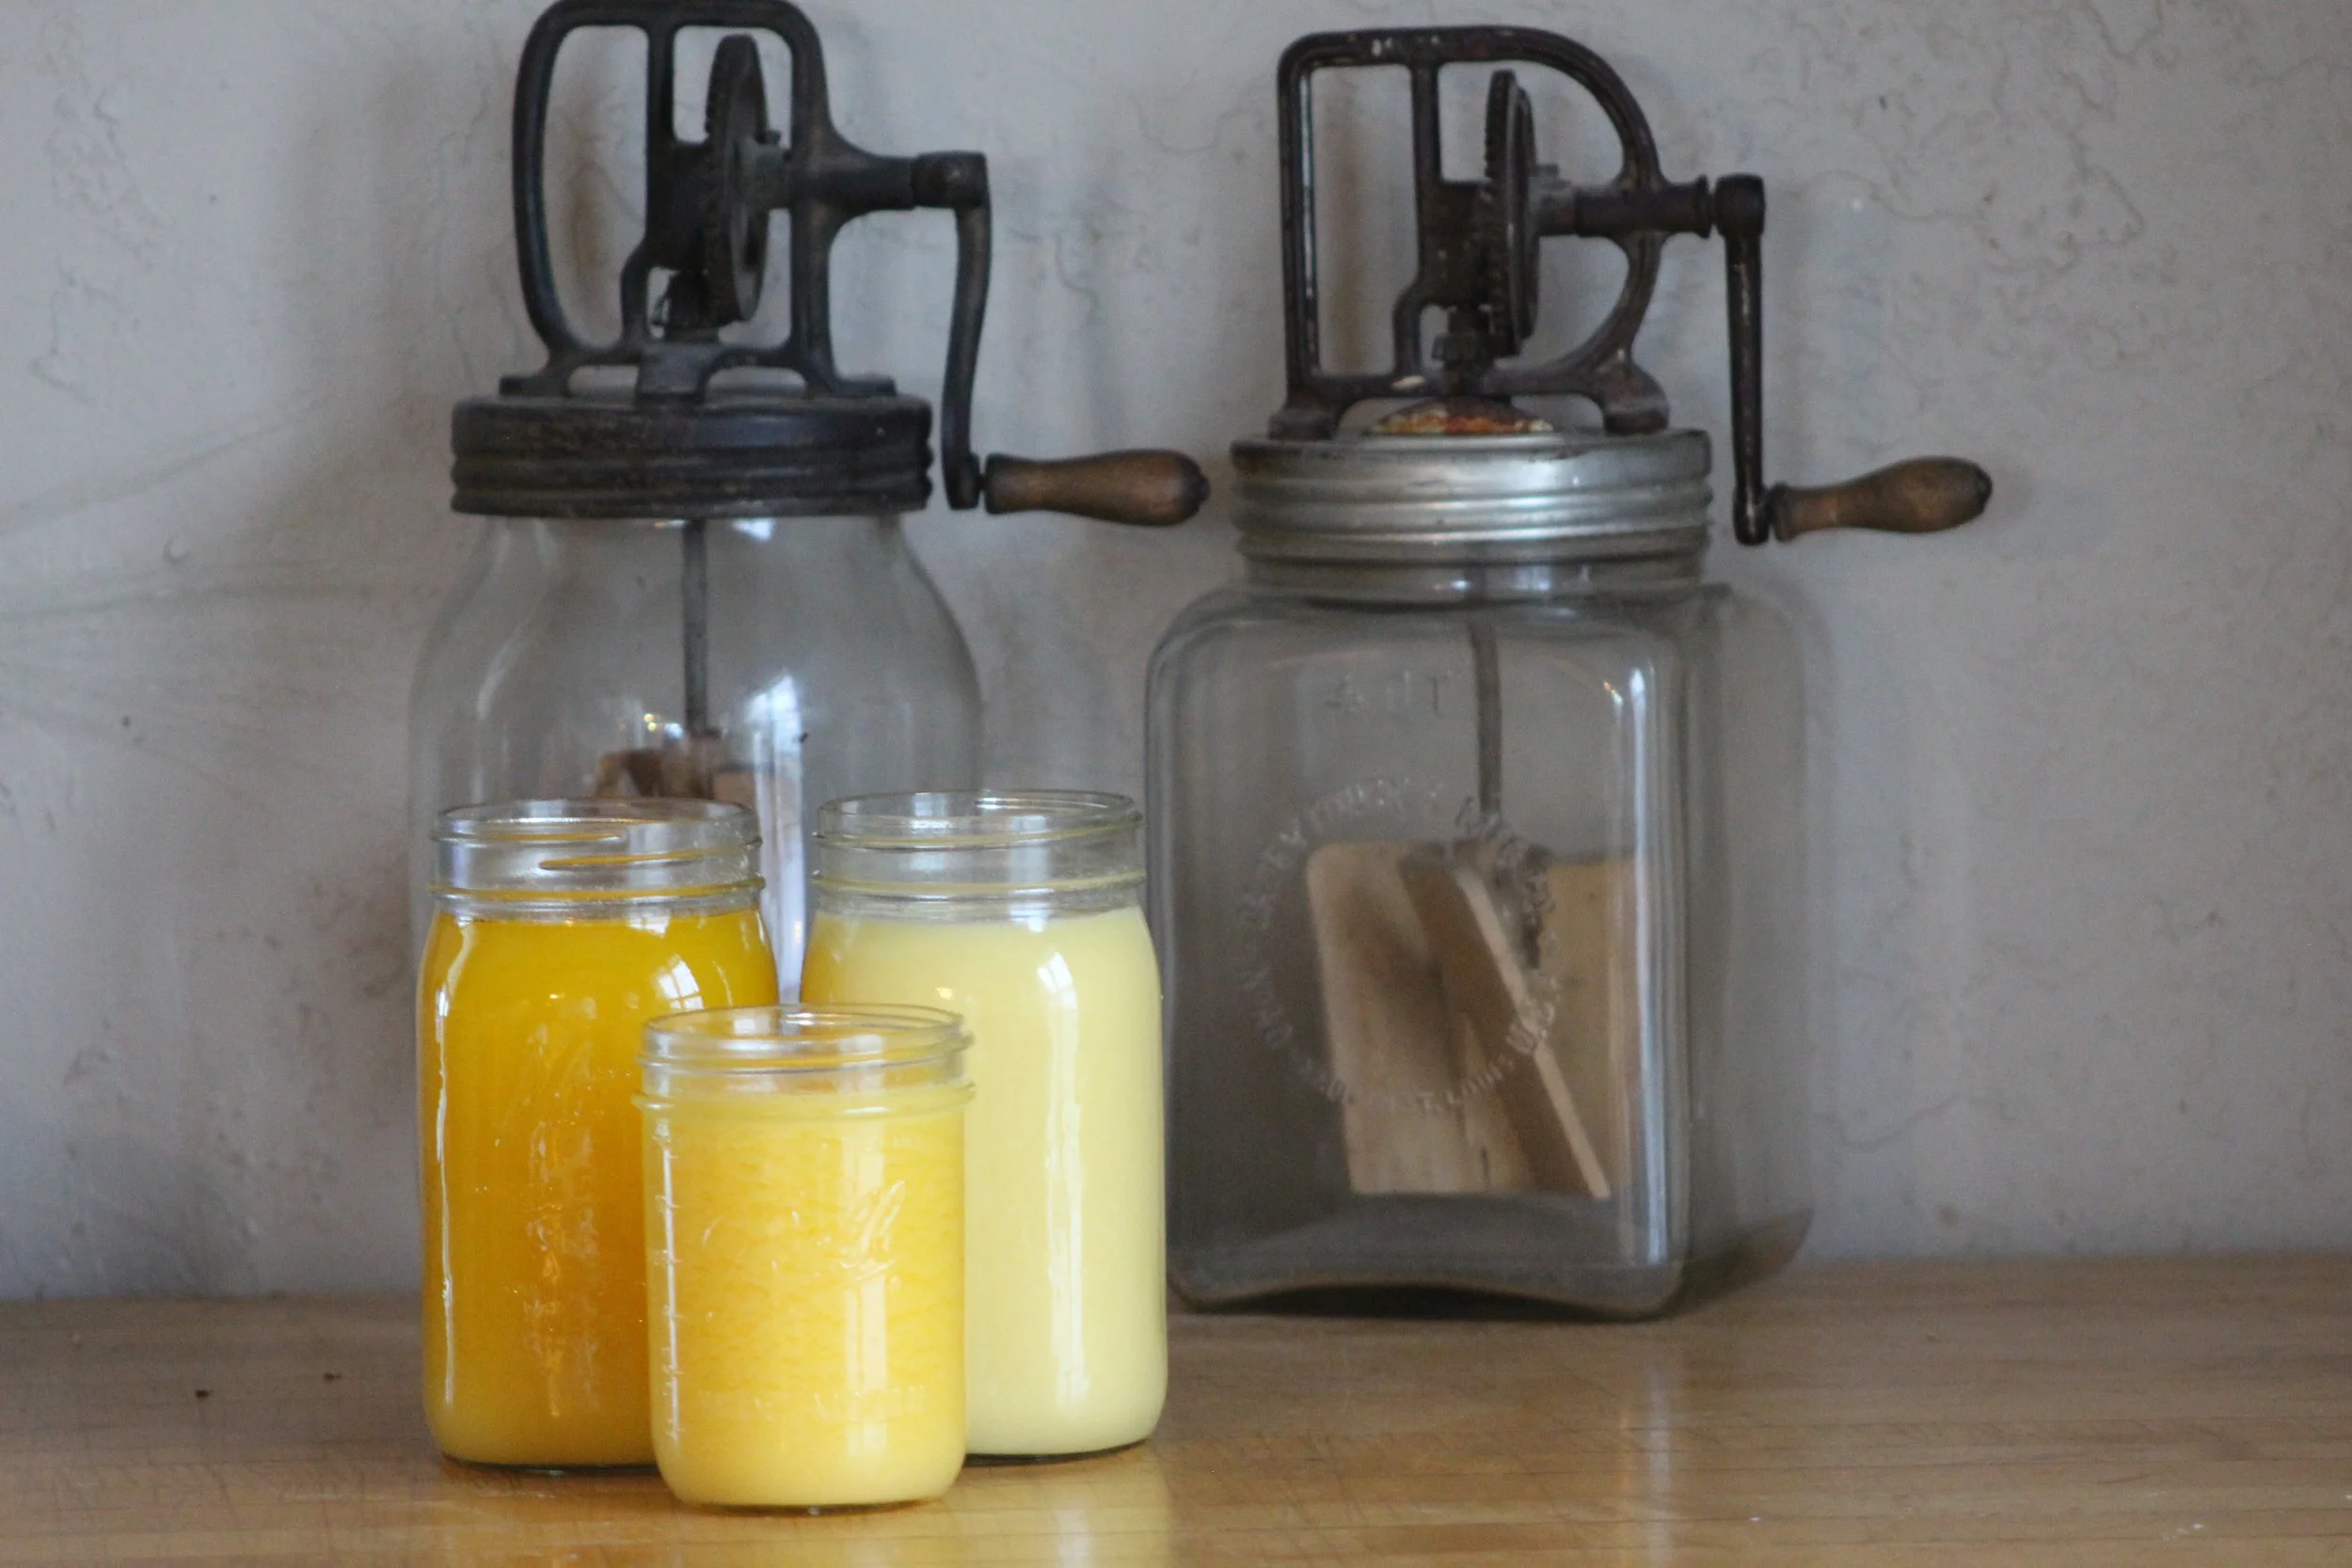
Separate and Culture the Cream
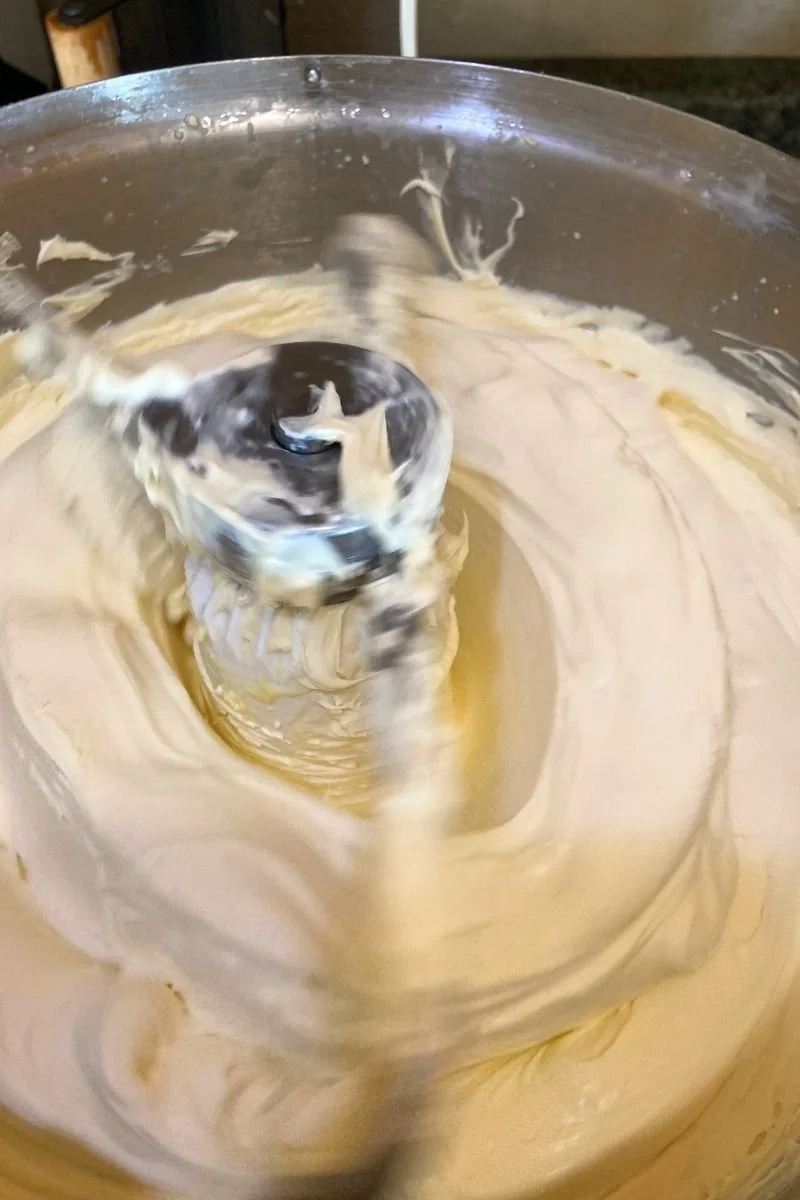
Separate cream from your milk using a cream separator or by hand skimming. I like to culture my cream with a little clabber before making butter—this adds wonderful flavor and helps the butter come together nicely. I add clabber to my still-warm cream at a rate of about 1 part clabber to 100 parts cream, though I'm not particular here. Sometimes I just add a couple spoonfuls. Let it sit at room temperature for 24 hours, then refrigerate for 24 hours.
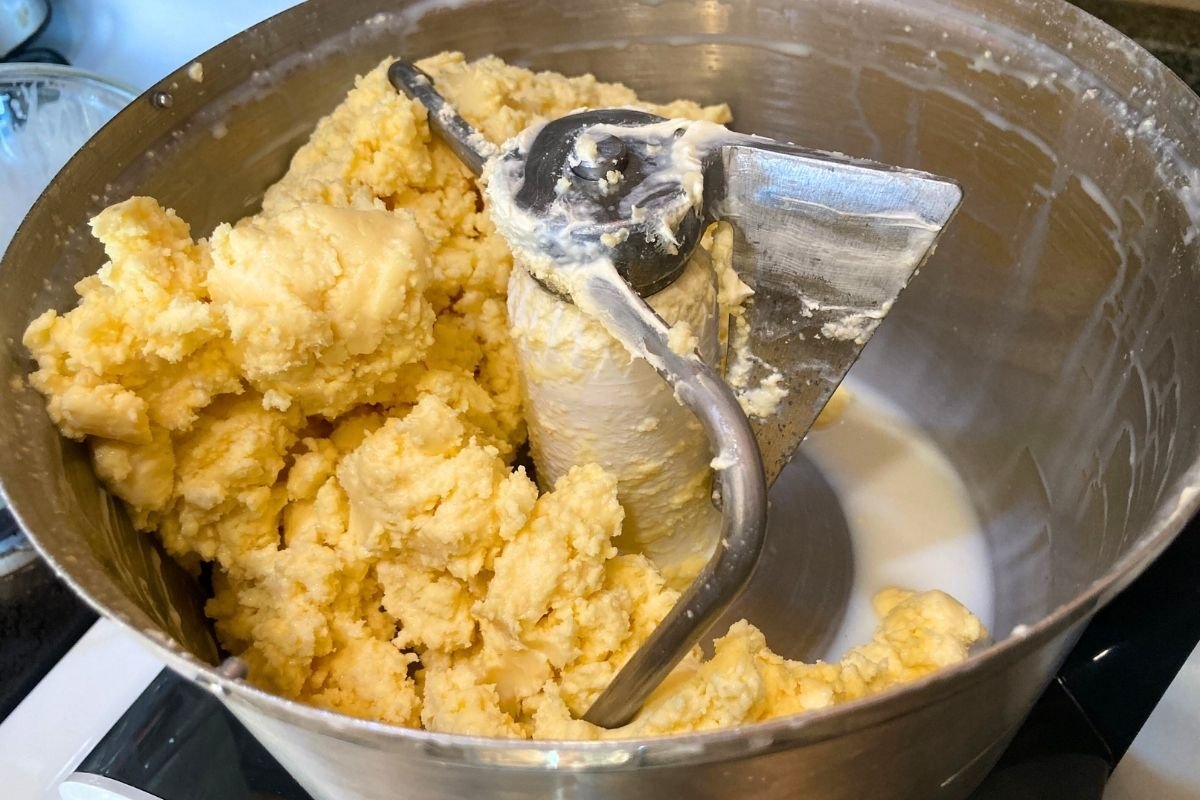
Make Butter
Churn your cream into butter. You can check out my post on butter making here. Once your butter comes together, pour off the buttermilk. Did you know there's a difference between old-fashioned buttermilk from churning and cultured buttermilk from the store? You can learn about it in this post.
Skip the Washing
Here's where ghee-making becomes wonderfully convenient: you don't need to knead the butter or wash it to remove all the buttermilk like you normally would. That will all happen during the cooking process! This makes ghee perfect for those days when you need to make butter but you're feeling a little lazy. I do like to continue churning my butter for about 30 seconds at a time, as many times as it takes to stop getting buttermilk pouring out, but you don't have to.
Now proceed with the ghee-making instructions above, starting at Step 1.
Frequently Asked Questions About Making Ghee
How do I know if all the water has been removed from my ghee?
The ghee should be completely clear and golden (not cloudy or milky), the milk solids should be lightly browned at the bottom, and you should hear no more sizzling or popping sounds. When in doubt, cook it a bit longer. If you're still uncertain, store it in the refrigerator rather than at room temperature.
Can I use salted butter to make ghee?
Yes, you can use salted butter. The salt will remain with the milk solids at the bottom, so your finished ghee will be essentially unsalted. I prefer to use unsalted butter so I have more control over seasoning in my cooking.
Why did my ghee turn out cloudy instead of clear?
Cloudy ghee means there's still water content that hasn't been cooked off, or milk solids that weren't fully separated. Return it to the pot and continue cooking until it becomes clear and golden. Make sure you're straining it well through cheesecloth or a fine mesh strainer.
Can I make ghee in a slow cooker or Instant Pot?
While you can make ghee in these appliances, I prefer the stovetop method because it gives you more control and allows you to monitor the browning of the solids and the aroma more easily. The stovetop method also typically takes less time.

Cow's Butter Ghee
Transform butter into shelf-stable liquid gold with this simple process. Ghee is clarified butter with all milk solids and water removed, creating a rich, nutty cooking fat with a high smoke point that can be stored at room temperature for months.
Ingredients
- Butter
Instructions
- Melt butter in a pot over medium heat. Make sure the pot is plenty deep for the amount of butter you are using as it will foam up as it cooks.
- Stir occasionally - the butter will foam up as the water is being cooked off. The key here is patience - this part takes awhile! In my kitchen this takes 1-2 hours depending on how much I am making. I usually make about a gallons worth of butter at a time - or about 8lbs worth.
- You'll know the ghee is ready to be strained when all the foam is gone and the oil has turned a rich, clear color. All of the solids will be at the bottom of the pot and beginning to toast. It will smell nutty, toasted and delicious.
- It is very important to cook the ghee long enough to remove all water from it, as that is what makes it stable at room temperature.
- Remove your pot from the heat. Pour it carefully through a fine mesh sieve lined with butter muslin to strain.
- Do not cover your jars while the ghee is still hot or cooling. Covering can create condensation that will drop back into your ghee and cause mold at room temperature. Wait until it's completely cool before sealing.
- Store in glass jars in a cool, dark location. I keep mine in my basement with my canned goods.
- You can also store in the fridge or freezer for even longer storage.
You might also enjoy:
Pin for later
